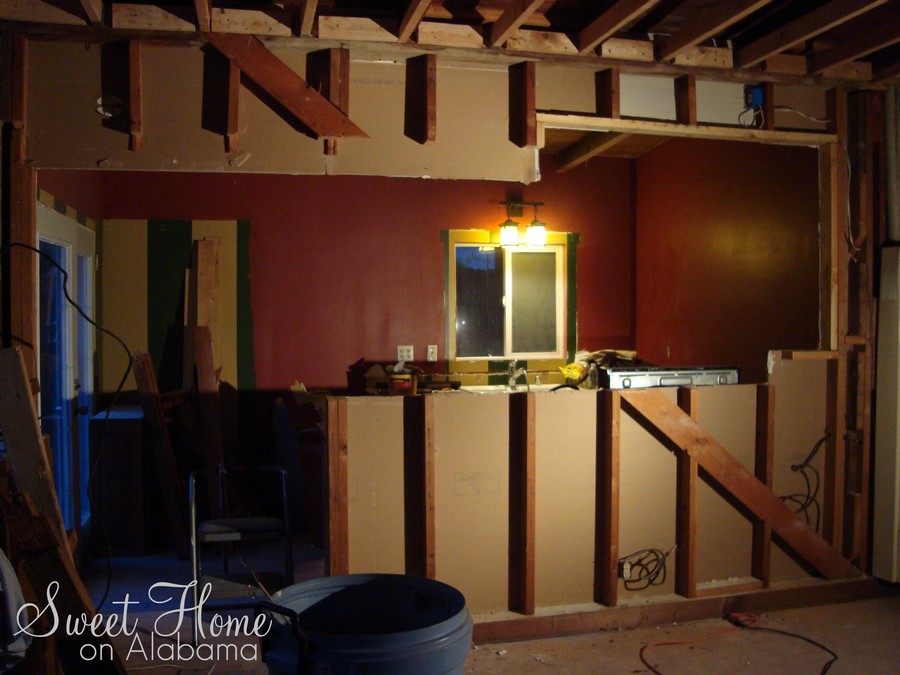
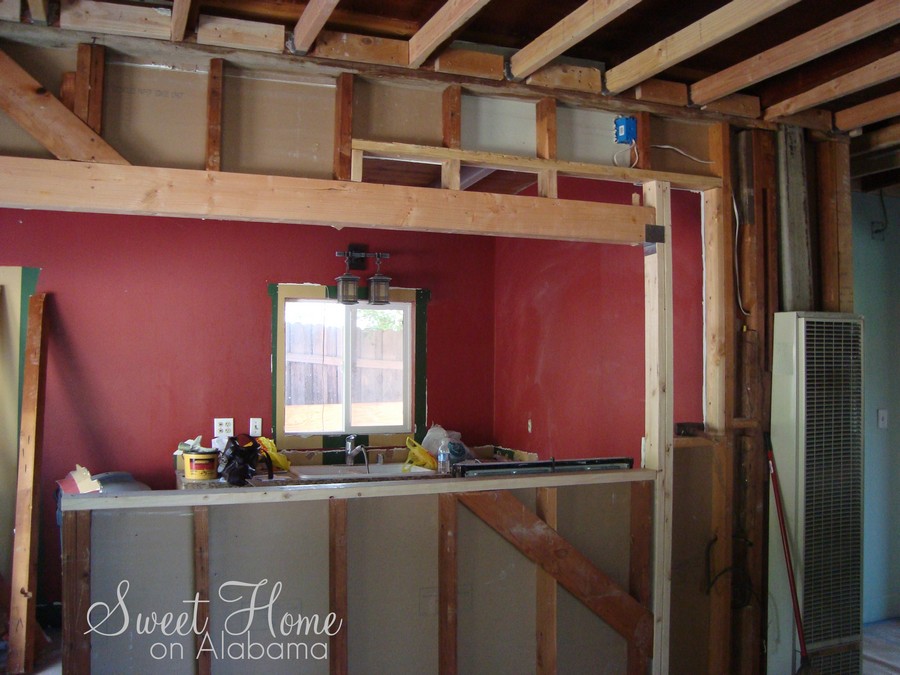
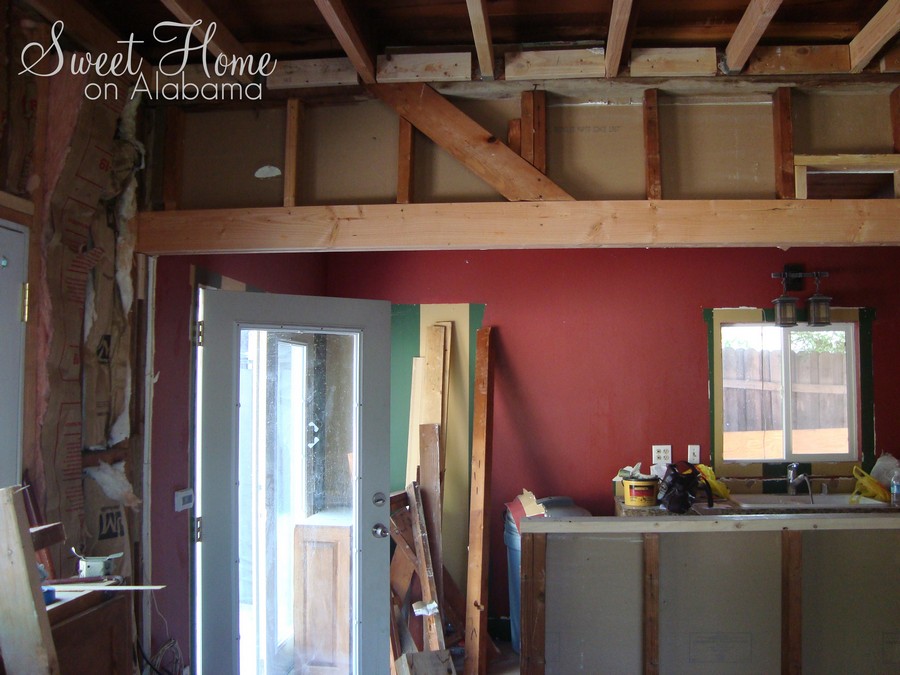
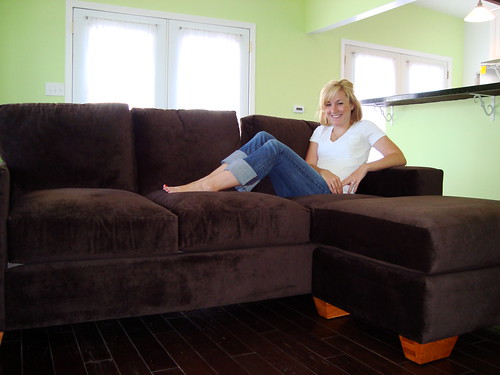
We finally got our new couch from "The Sofa Company." They were able to customize the size and give us the couch we wanted in the length we needed. They took about half a foot off the length. We also had them make the perfect sized automan to put our feet on.
Here it is when it first was dropped off.
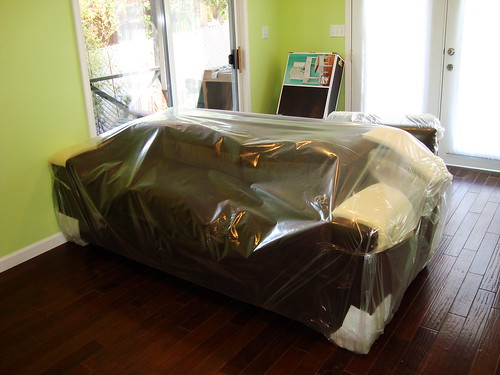
We love this couch! Doesn't it look all comfy and cozy?
We are actually in a contest on Facebook where you can vote for our couch. The winners get $1,000.00! Please help us to win this money. I am still officially laid off with the school district so we may need it really bad...
Here is the link: http://apps.facebook.com/promotionshq/contests/45885/voteable_entries/6406731
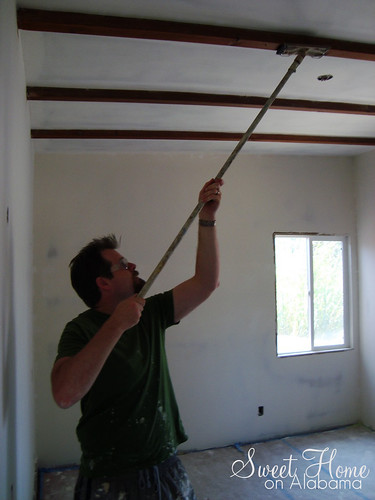
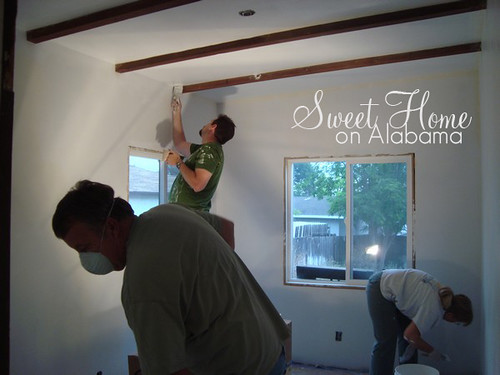
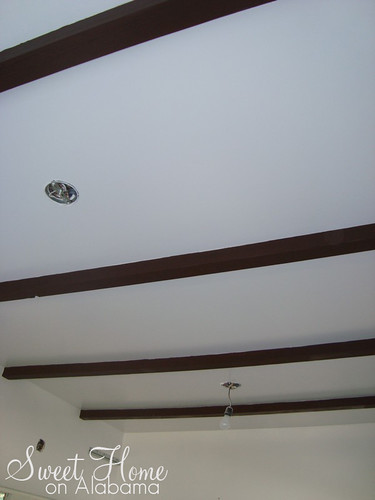
Currently our house has no attic. The ceiling you are looking at in this picture is also the roof. That's right. If you moved one inch through that wood, you would be outside. This means when the sun is beating down on the roof, you feel the heat on the inside. We decided that we would insulate the ceiling to help keep it cool in the summer and warm in the winter. In many of the rooms, like the kitchen here, we wanted to keep the exposed-beam look. In order to maintain this look, we had to frame out each section, or bay, and insert insulation.
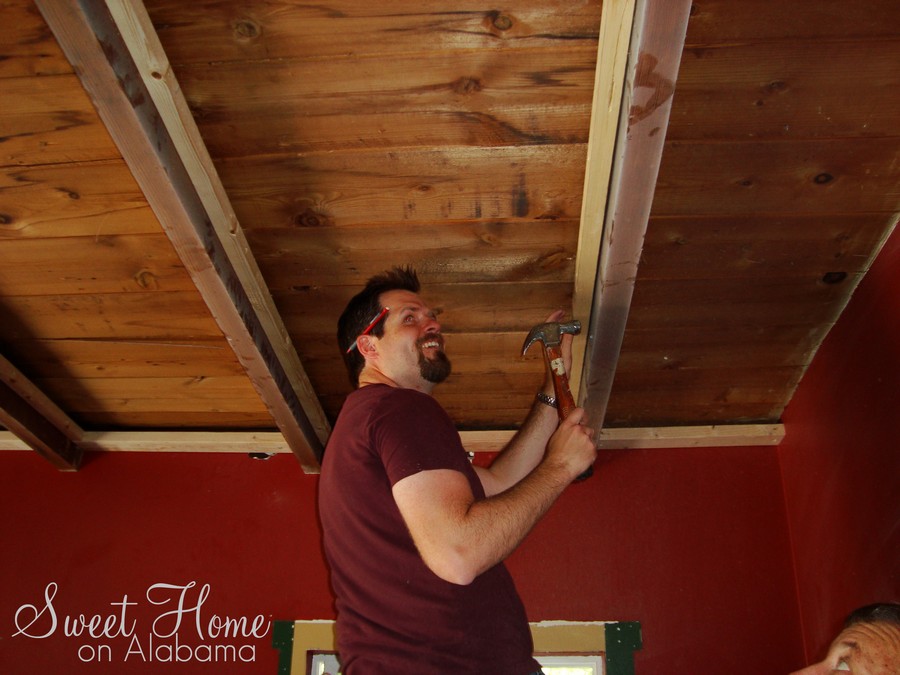
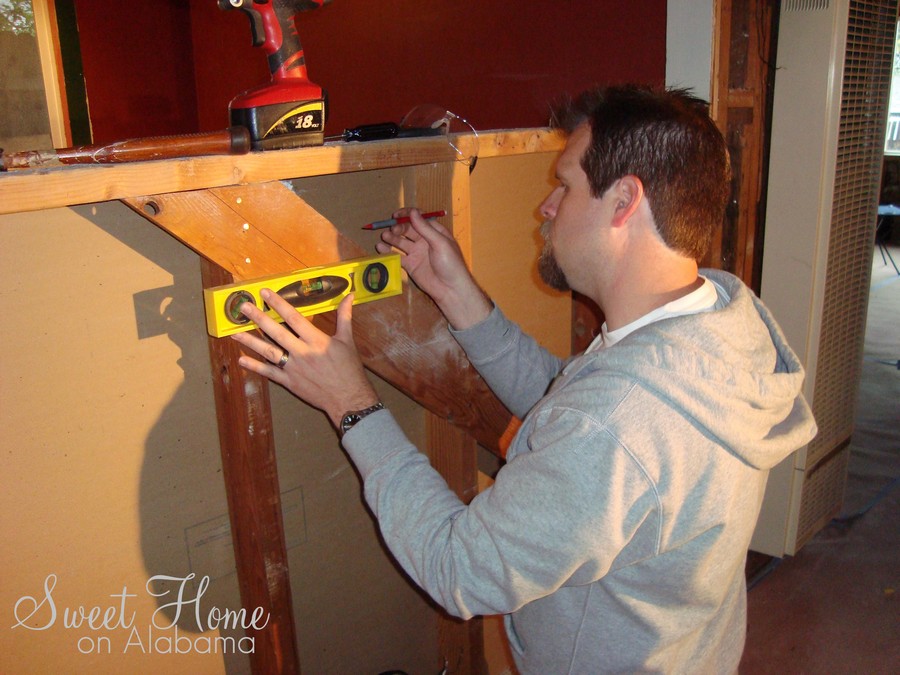
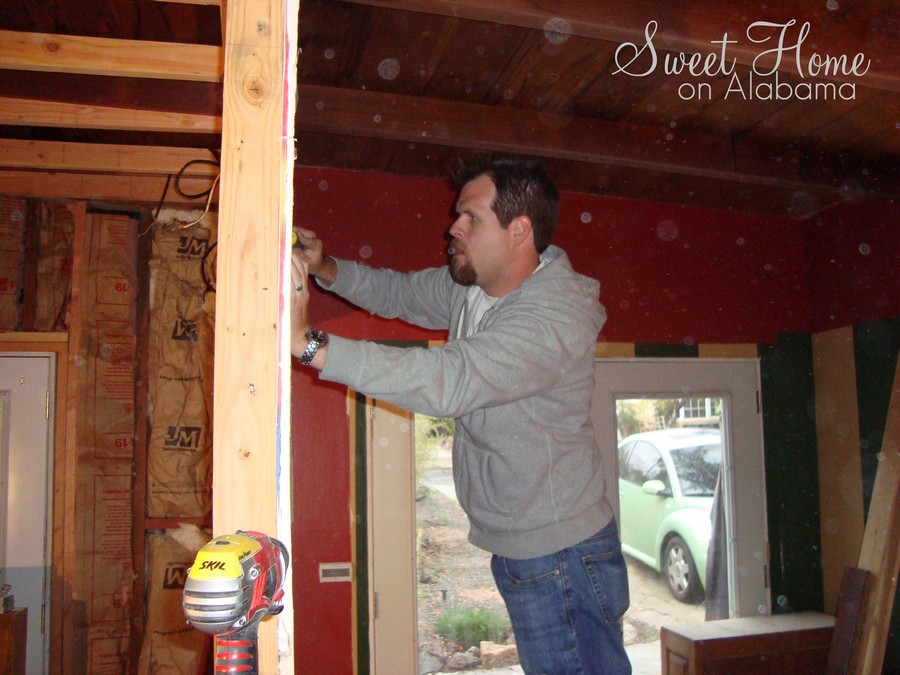
Here I am with Laura's Dad working on framing out the ceiling bays. We are attaching 2X2's on the sides of all of the beams. On the ends we attached 2X4's. This is what the drywall will be screwed into eventually.
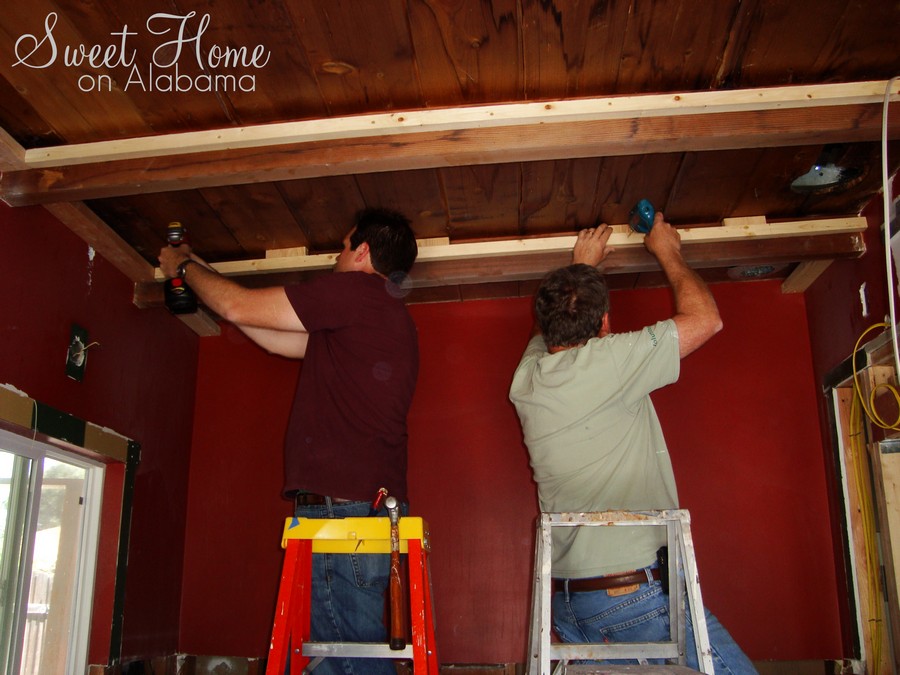
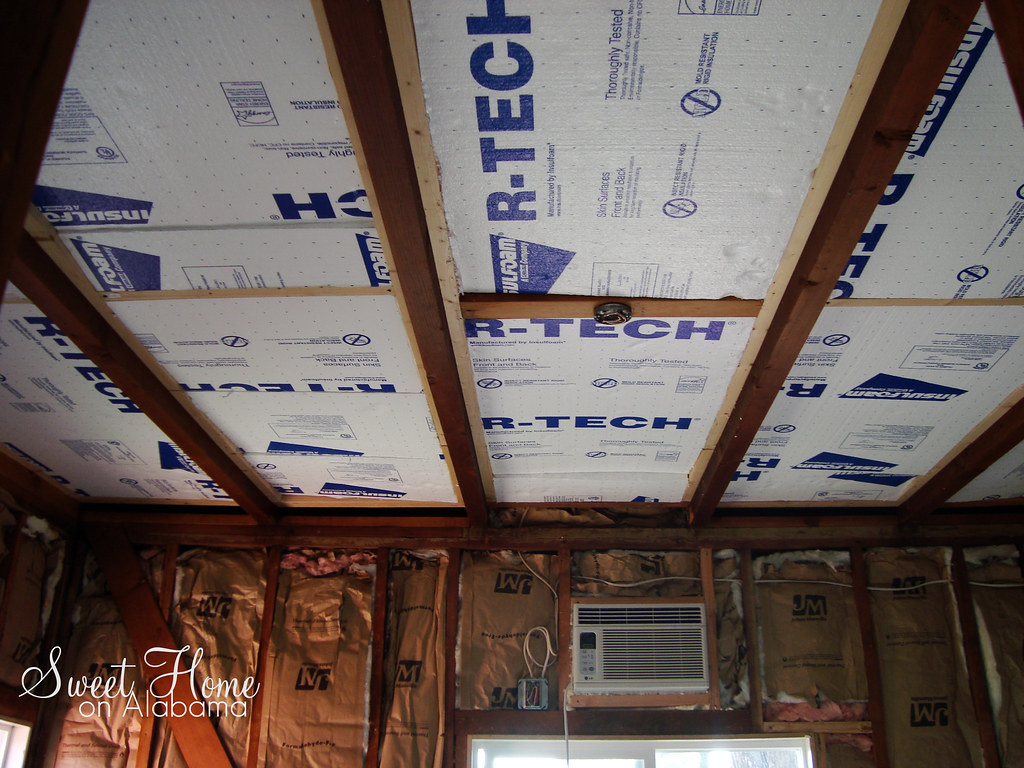
These are the spacers we used to make sure that the 2X2's were evenly spaced away from the ceiling. We attached them 1 inch from the ceiling. With the 1.5 inch foam insulation, this would leave a 1-inch air gap, which will help insualte as well.
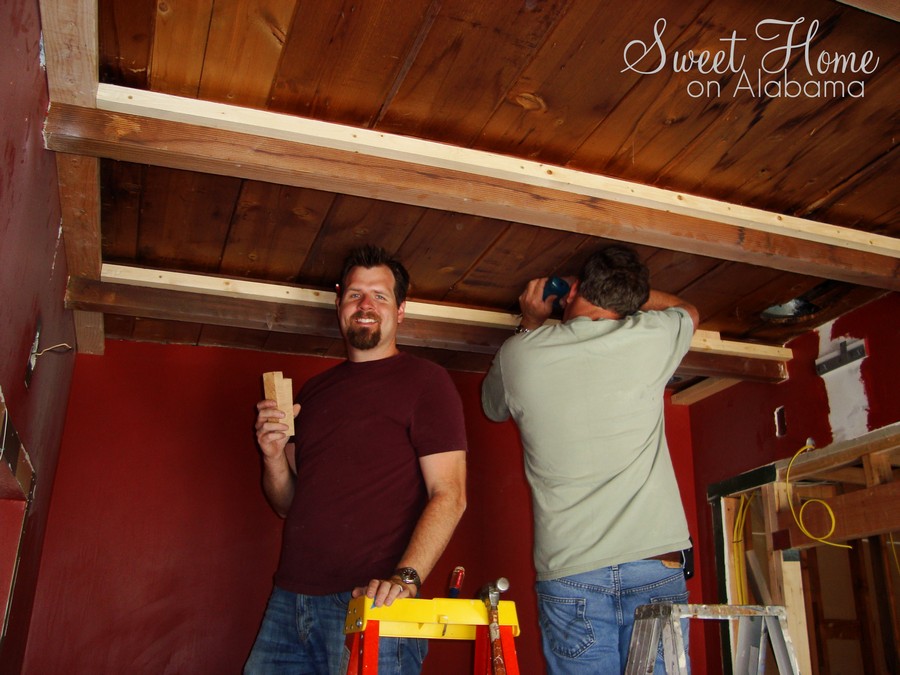 In the middle of some sections we added 2X4's so that light fixtures could be attached. The electrician installed receptacle boxes to these. In the other bays, we used 2X2's in the middle.
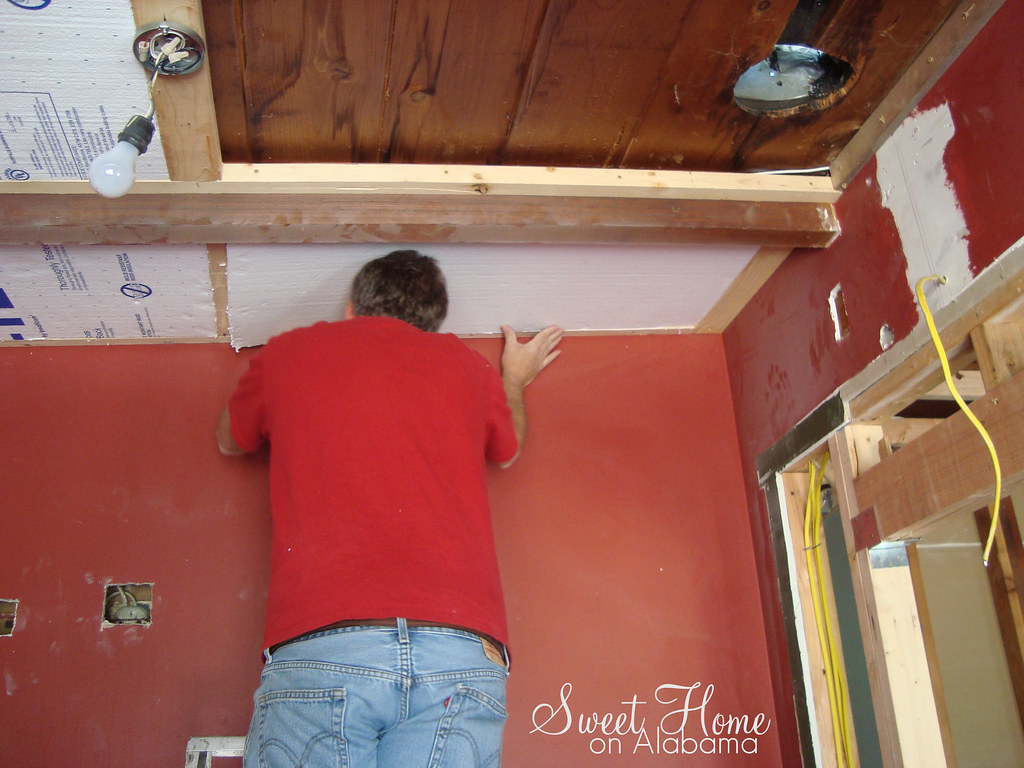
 Now you can see one of those boxes. This flat receptacle box is called a "pancake" box. It is the same thickness as the drywall that will be installed around it. The light fixture attaches directly to it. Laura's dad is installing the foam insualtion. (No, that is not the light fixture we are using)
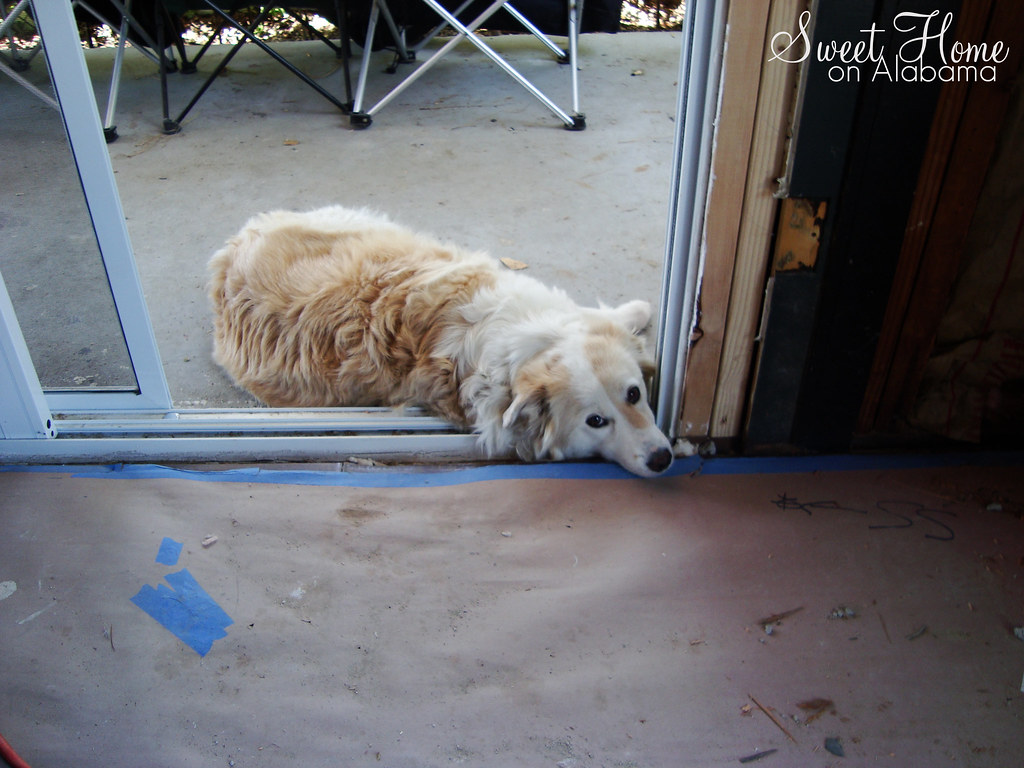
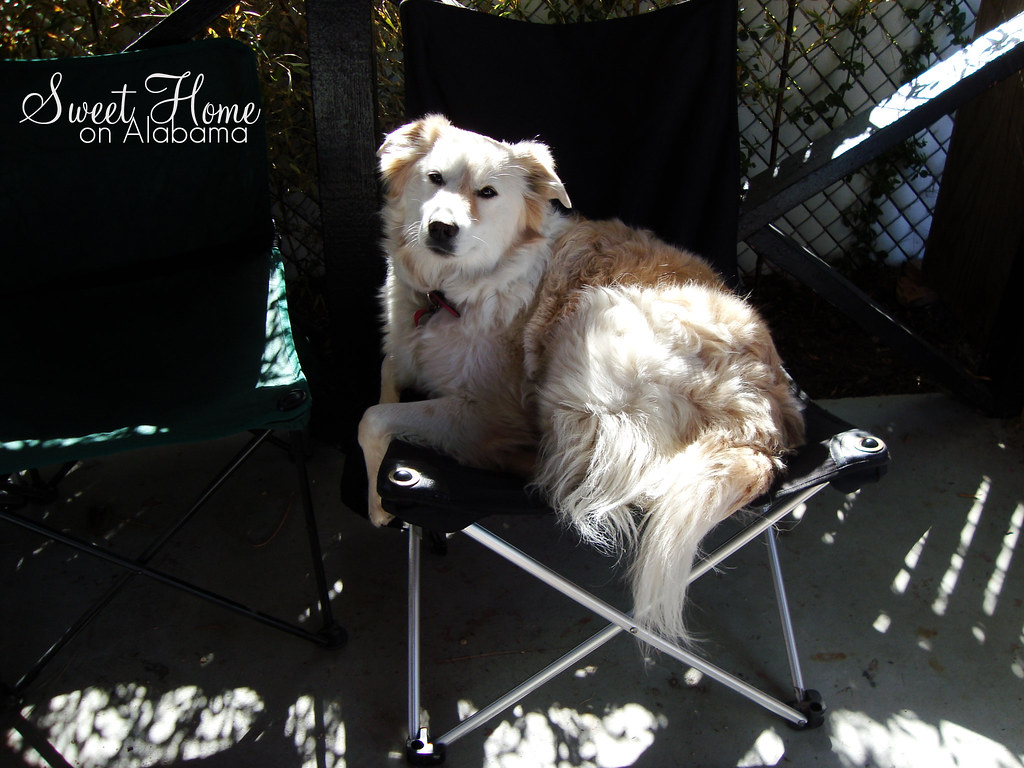
 Here is Laura's Parent's dog, Sandy, looking cute. She came that day just for fun.
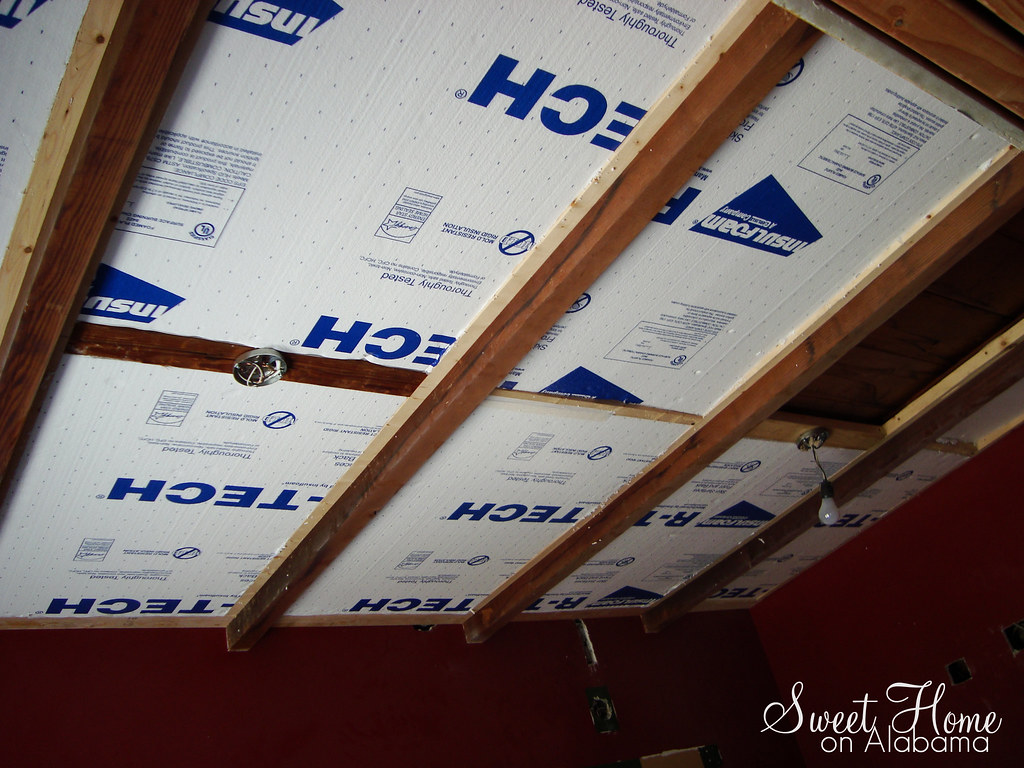
 This foam insulation is basically large sheets of styrofoam. If you cut it right, it squezes nicely between the beams. This is a good way to insulate a shallow space. It takes a lot of measuring and cutting but I think it was worth it. (If I had this stuff when I was a kid I could have built the coolest fort ever!)
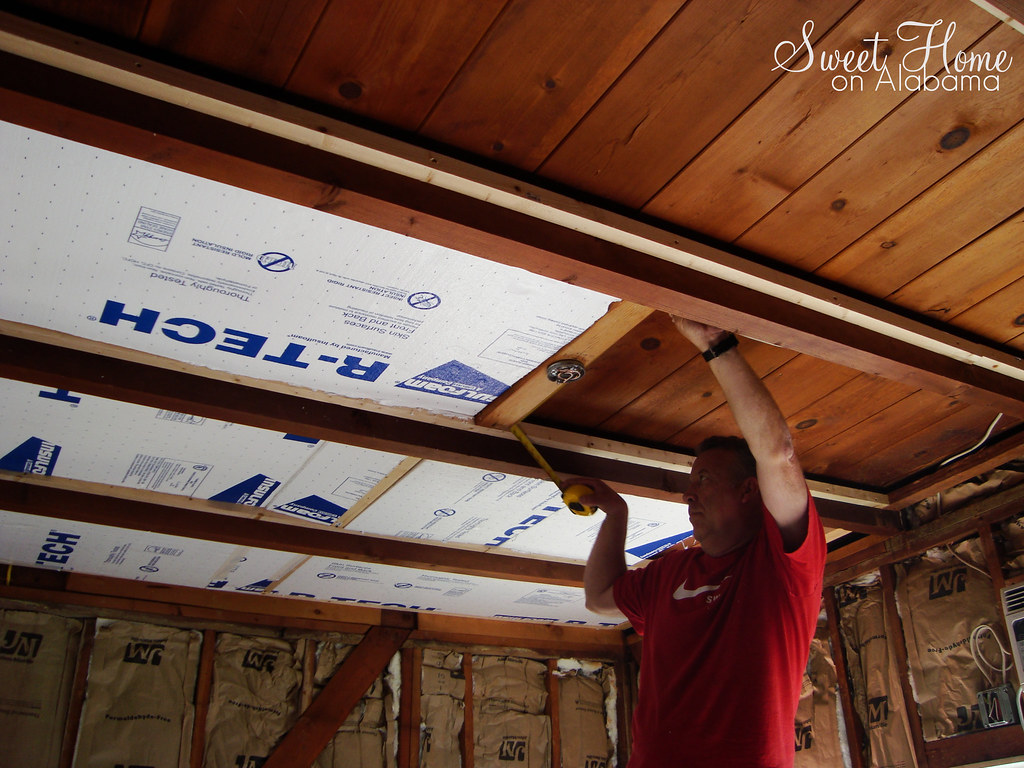
 More measuring...
 "Yes, I am still being cute"
Bedroom...done! (Notice the light receptacle, that's new too!)
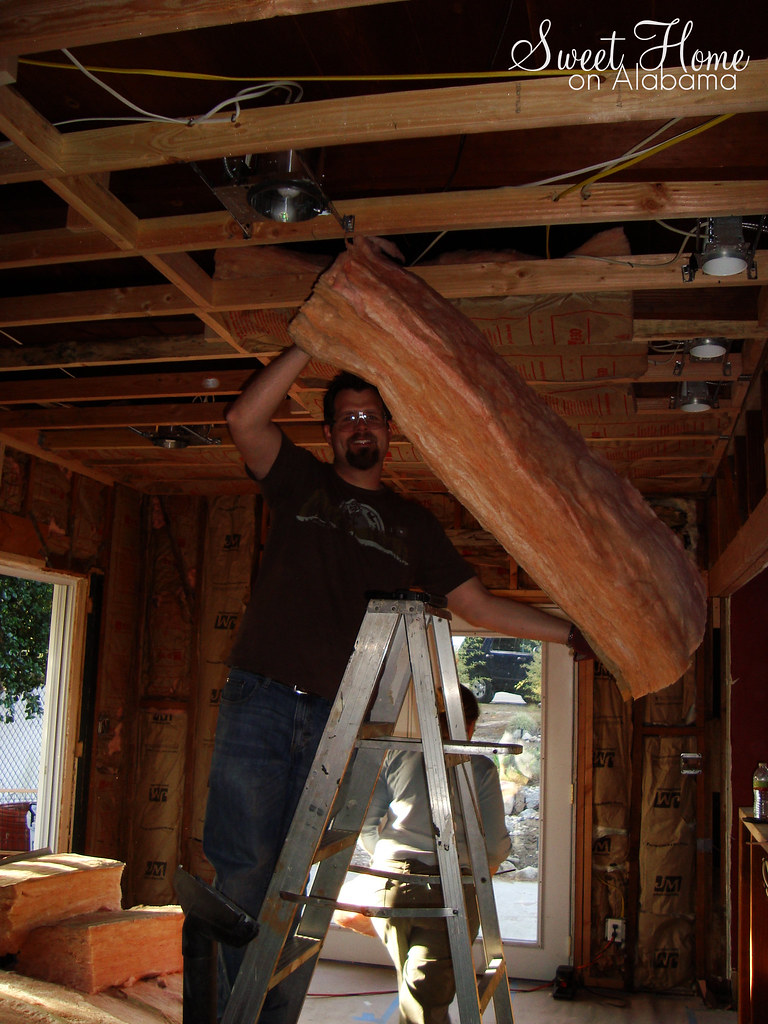
 Since we dropped in a ceiling in the living room, we used standard fiberglass insulation here. It has a great R-value but it is messy, ithcy stuff. I used this staple gun to hold it in place.
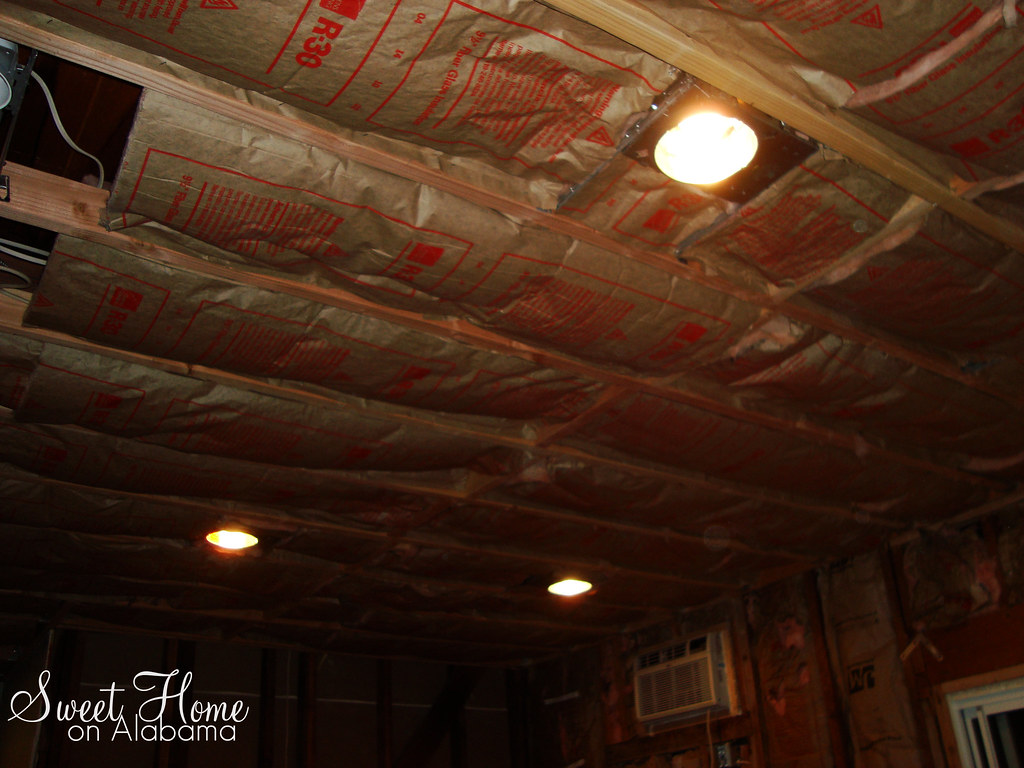
 This 9.5 inch this pink fluff has an R-Value of R-30. That is pretty high compared to the walls that have R-13. The styrofoam provides about R-10. Since we will spend much of our time in the living room, it was important to go as high as possible in here. We hope it really helps keep the hot roof from heating up our main living space.
Living room...done! (Notice the new recessed lights are on. It was geting dark by this time)
 Now we can move on to Drywall. Next week we will post on this process. This will be one of the only projects we are having professionals come in to do (other than electrical). My drywalling skills are Ok but not as good as I'd like to have our walls look. We can't wait to have walls again!