
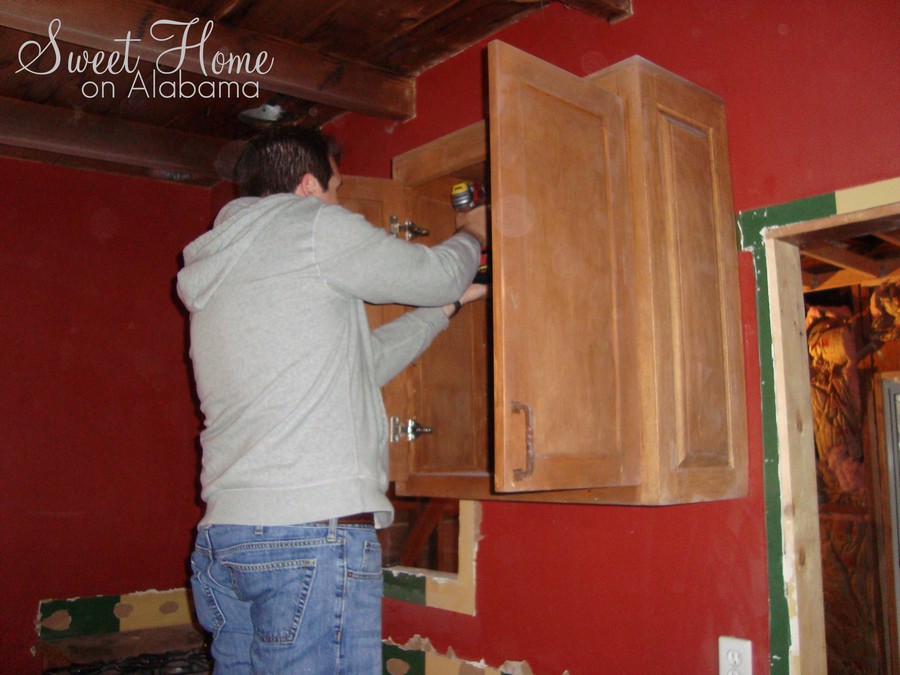
First, this cabinet had to go. We will use parts of that later when we fix some of the lower cabinets.
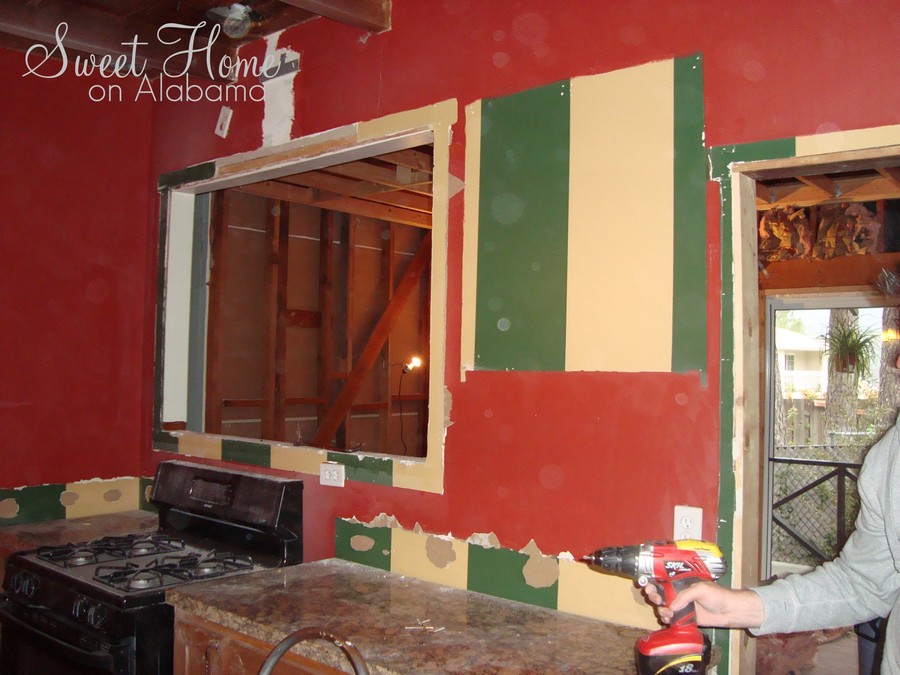
Nice striped wall. That needs to go...
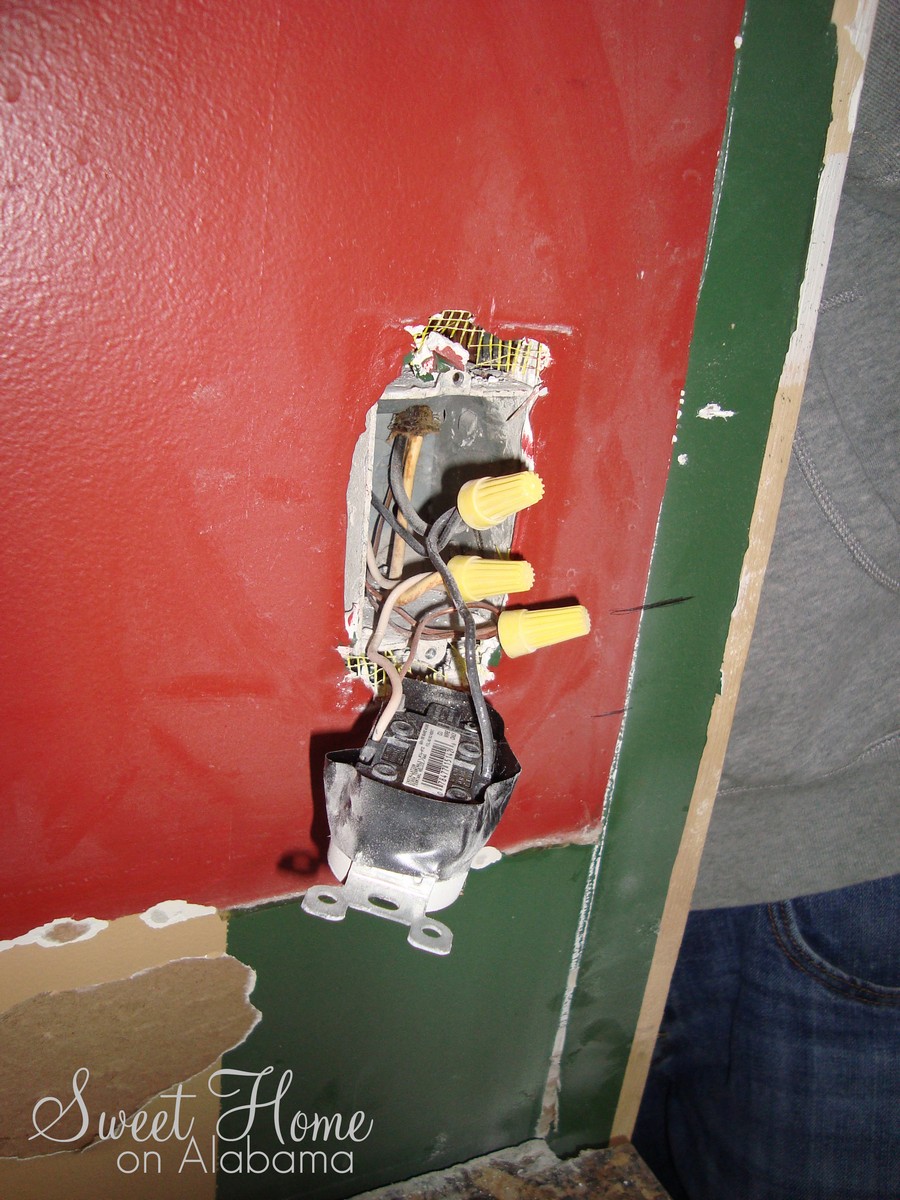
These will have to go too. We'll put brand new outlets in later.
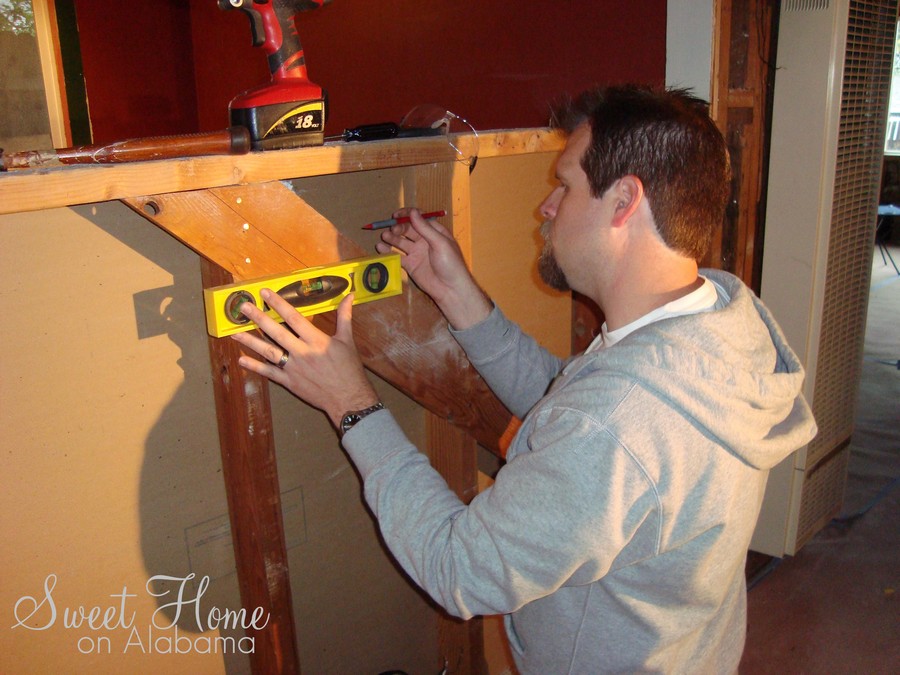
Always make sure your cuts are level. Nobody likes a crooked cut, or a crooked bar counter top.
Cutting the drywall with a keyhole saw.
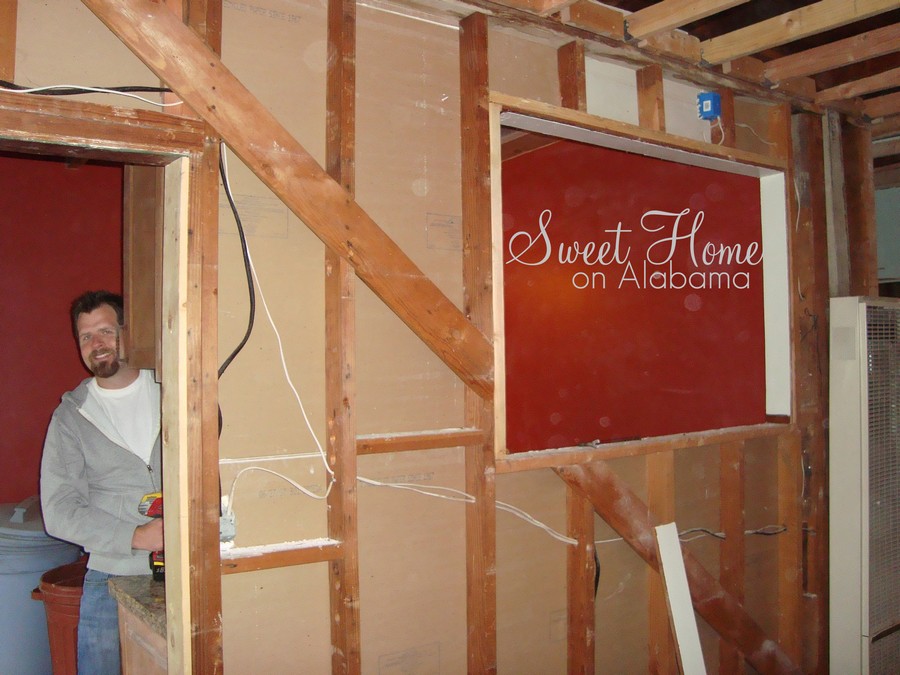
Goodbye view-blocking drywall.
Now just cut the studs and pull the whole thing out. If this wall was bearing a significant load, I would have supported the roof before taking out the studs. Since our house is so small and narrow, the rafters are able to support the 1-inch thick roof just fine.

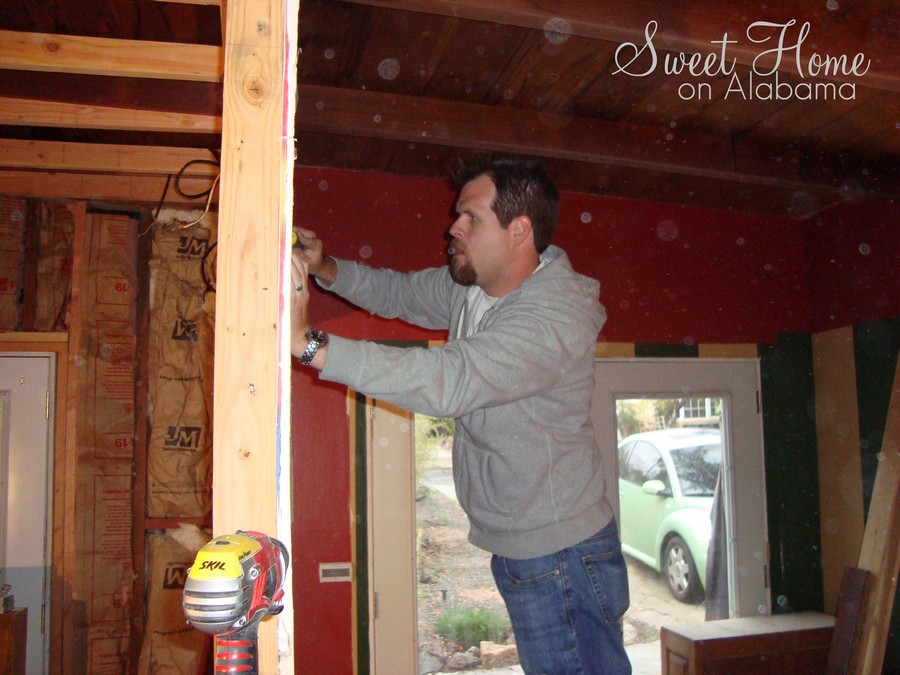
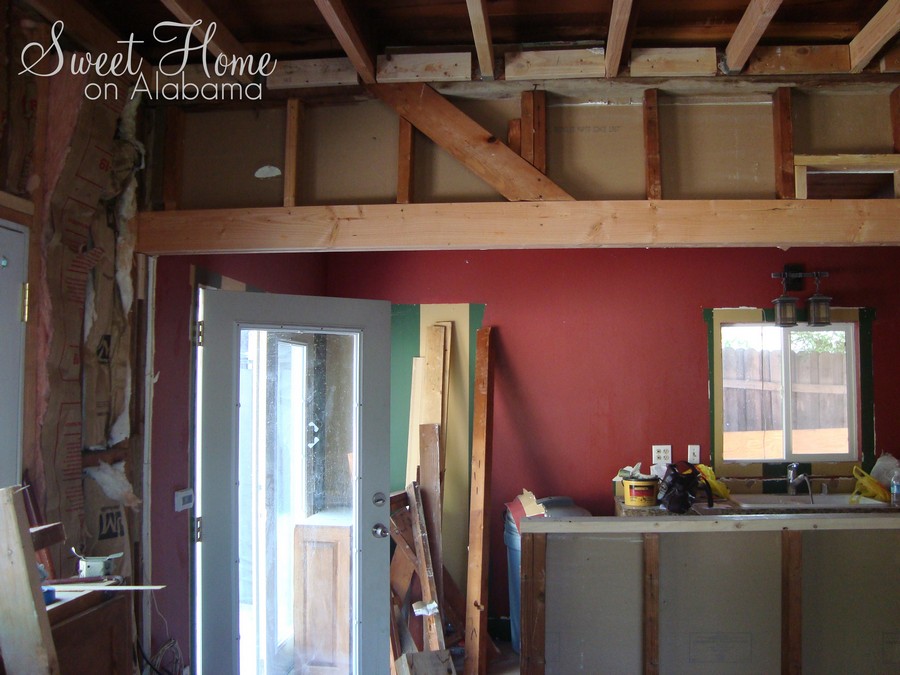
Insert header and you're ready for drywall. Well there is a bit more to it than that but you know what I mean...
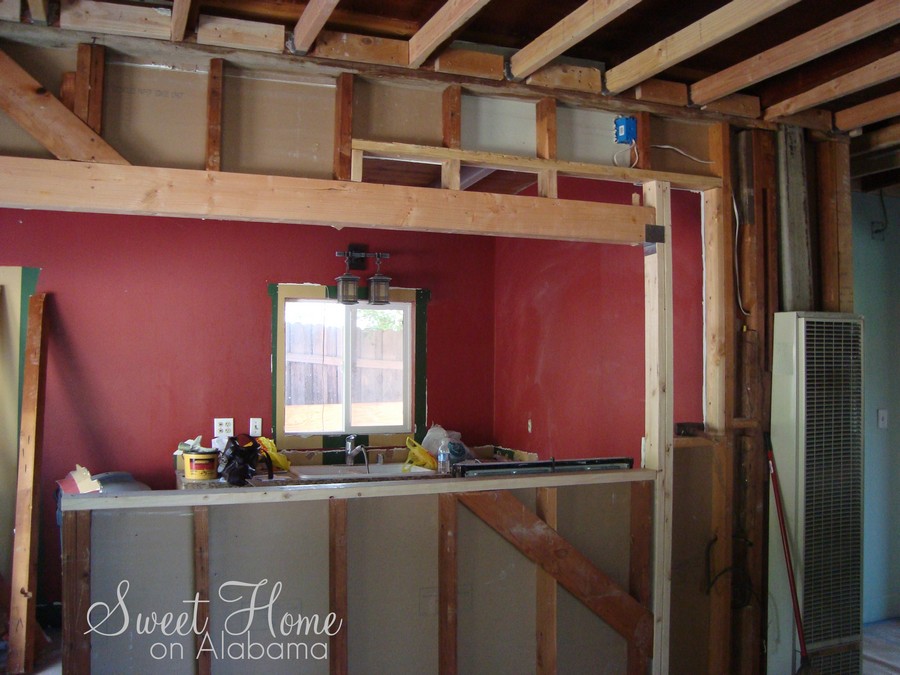
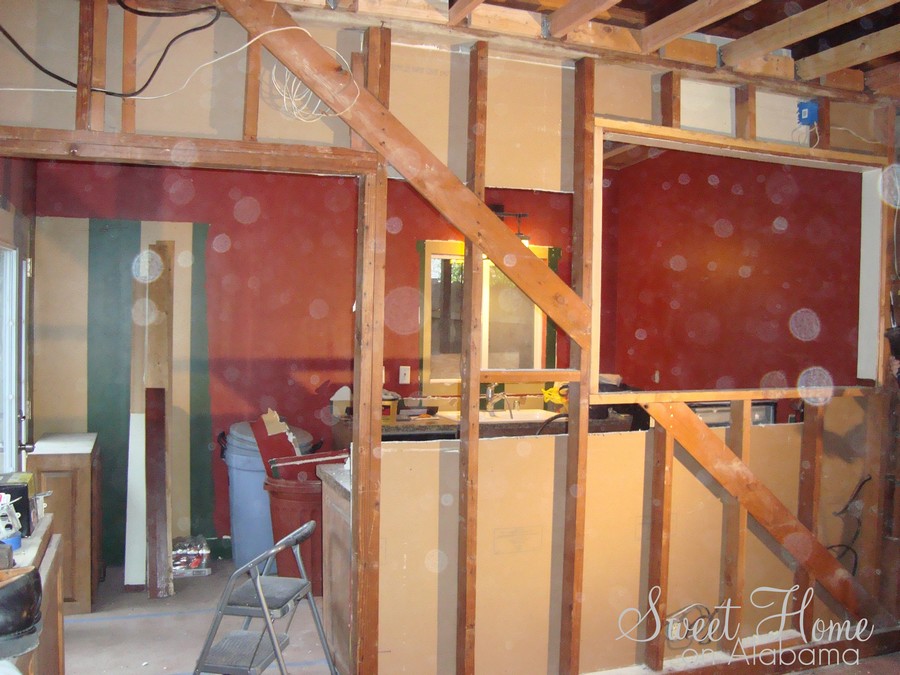
Ahhh...Nice and open...
No comments:
Post a Comment