We are very close to actually moving into this house that we have owned for over three months now. Before we do, there is some detail work to do. One major step in the finishing of the interior is molding. We put all new trim moldings around all of the doors, windows, and floors. We even installed crown molding in the living room.
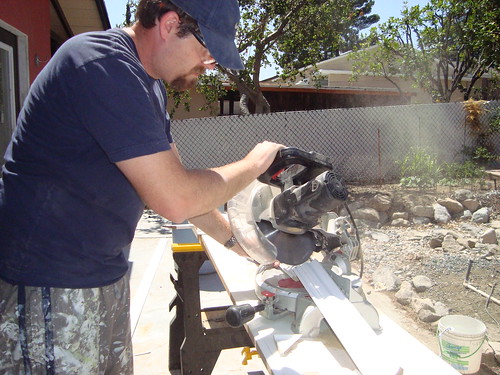
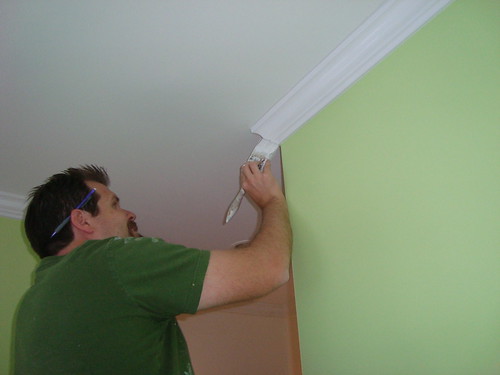
To save time and effort, we painted the molding before installing it. This way we only needed to touch it up after it was installed and caulked. Here I am cutting a piece of crown moulding. It is crucial to have a compound miter saw when doing this. Installing crown molding is a geometric nightmare. Every cut requirs 10 minutes of pure concentration. It is very easy make the cut in the wrong direction. Don't I look serious about this?
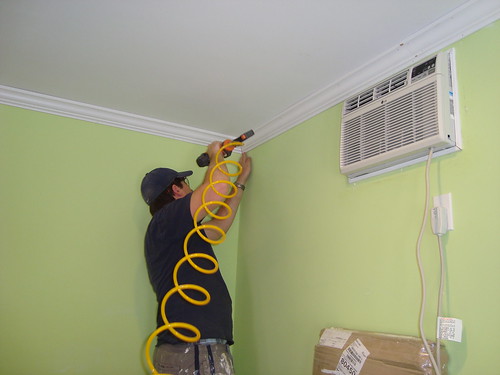
To make the work easier, I purchased a pnuematic brad nailer. I already had a small air compressor so it was all I needed. A little glue and a couple of brads and the molding will stay right where you want it.
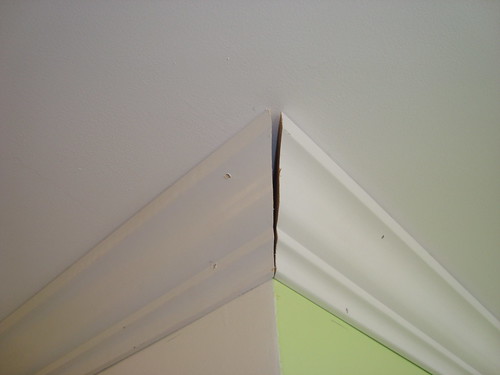
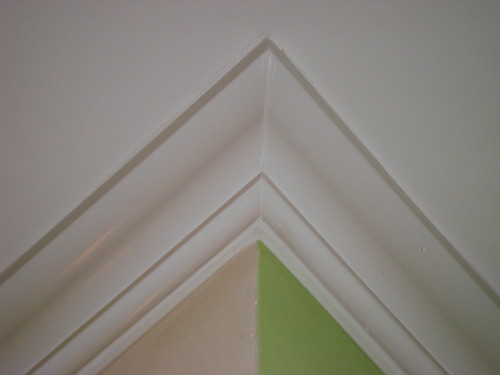
The trick with crown molding is getting the corners right. Without perfectly square walls you can easily get a connection like this. One option is to use a scrap piece and keep trying different angles until it is right and then do the cut on the actual piece. I did not have any extra pieces so I went with the "fill it in" option.
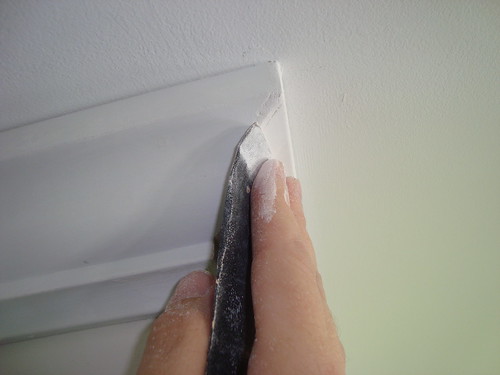
All it took was a little "Fix-all" patch comound and some sanding...
Add some caulk on all of the edges and seams and little touch up paint...
and now you have a beautiful corner. Nobody will know your walls are not pefect (who's are?).
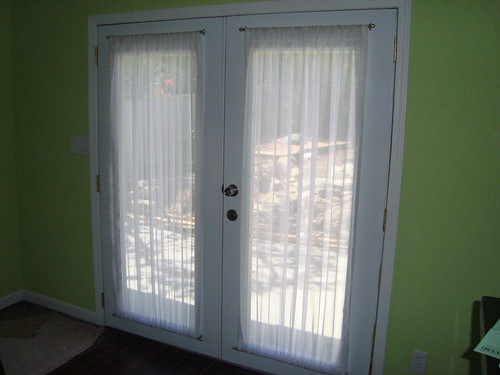
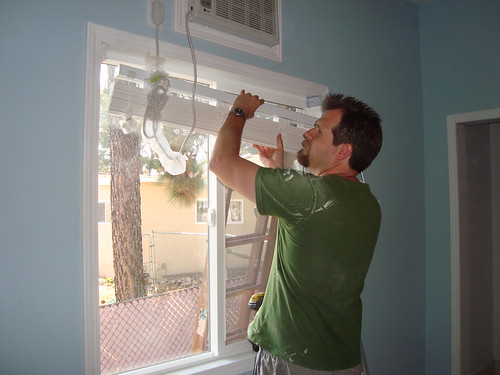
We also installed all of the window treatments (minus the sliding door). For the two sets of French doors in the front we used shear curtains which will add privacy but still allow a good amount of light to come in.
For the bathroom and bedrooms we used composite 2 inch blinds. They install very easy. Just attach these brackets in the corners of the window frames...
...lift the blinds into place, and now you have a nice finshed look.
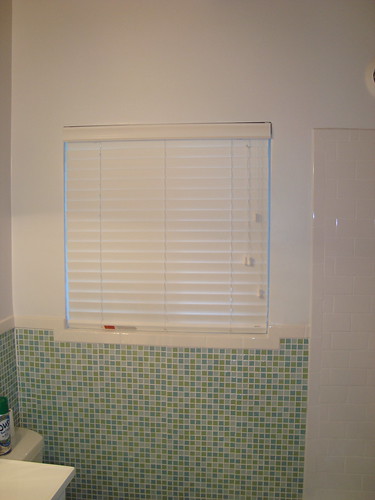
Here are the bathroom blinds (nice to have some privacy).
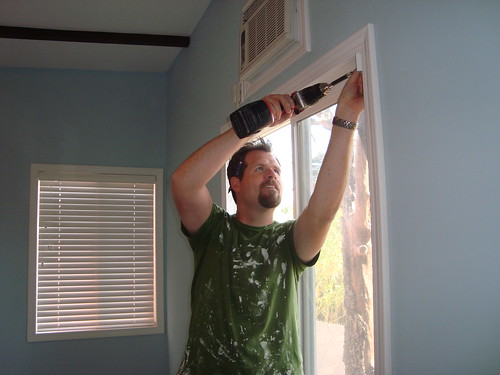
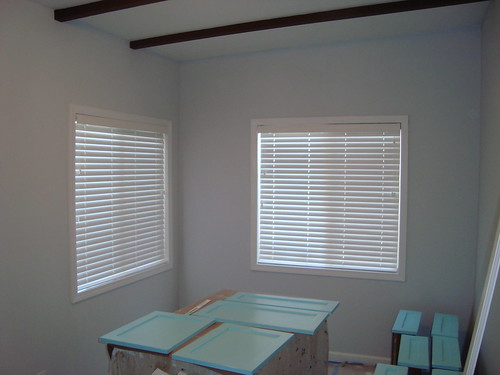
Here are the blinds looking good in our second bedroom. Notice the moldings around the windows and the floors. Just wait until you see it with the floors all exposed and polished. What are those blue things you ask? You'll just have to wait for our "Kitchen Finishing Touches" post (coming soon...we hope...).

No comments:
Post a Comment