
In the midst of painting, I decided to install the vent for our kitchen hood. There was rain in the forecast and I still had a hole in the roof where I took out the old vent. You will notice in these photos that we are well into the painting process. Don't worry, we will post on that when we finish the rest of the house.
The hood is going to go right above the range where that wire is hanging out of the wall. The wire will power the hood obviously.
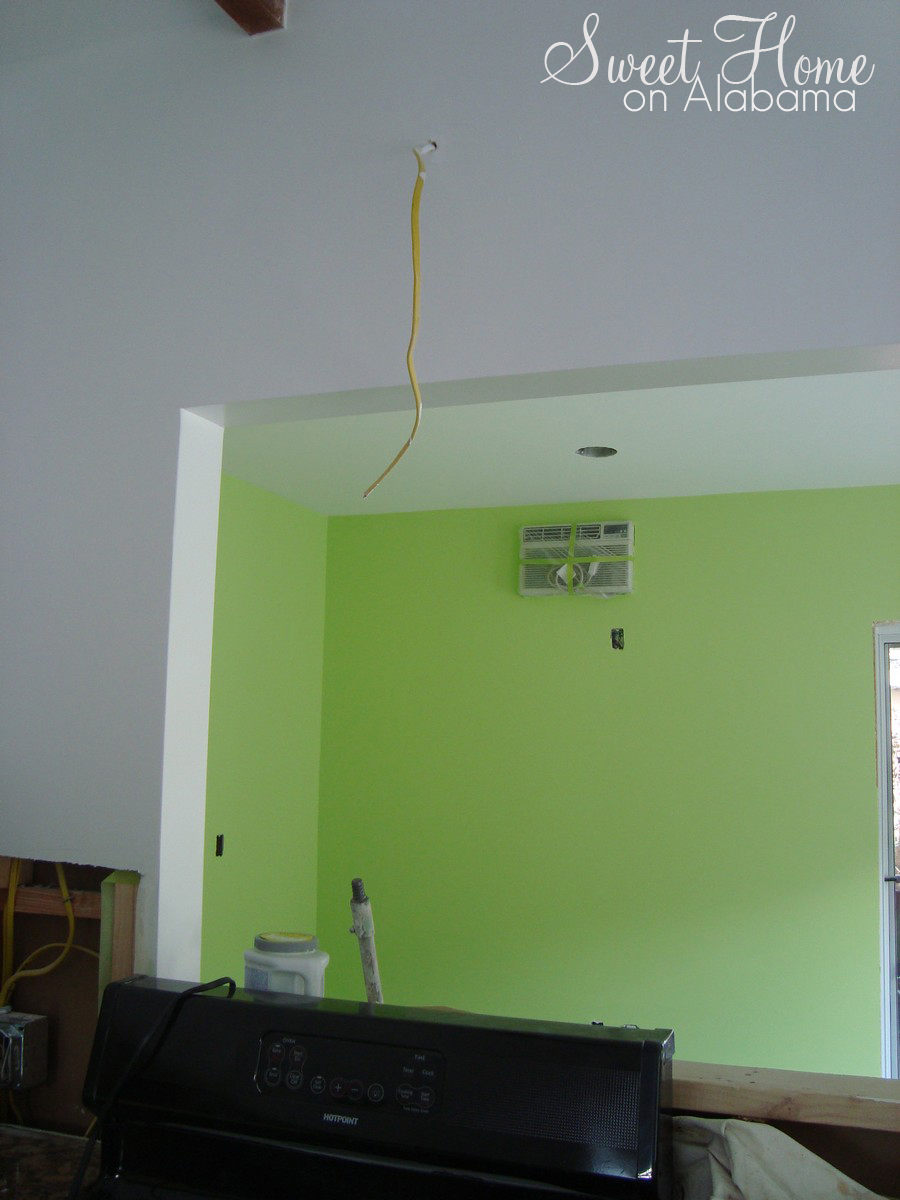
First, I removed the old range so that I could get closer to the wall. I had to disconnect the gas line and then I was able to pull it out easily.

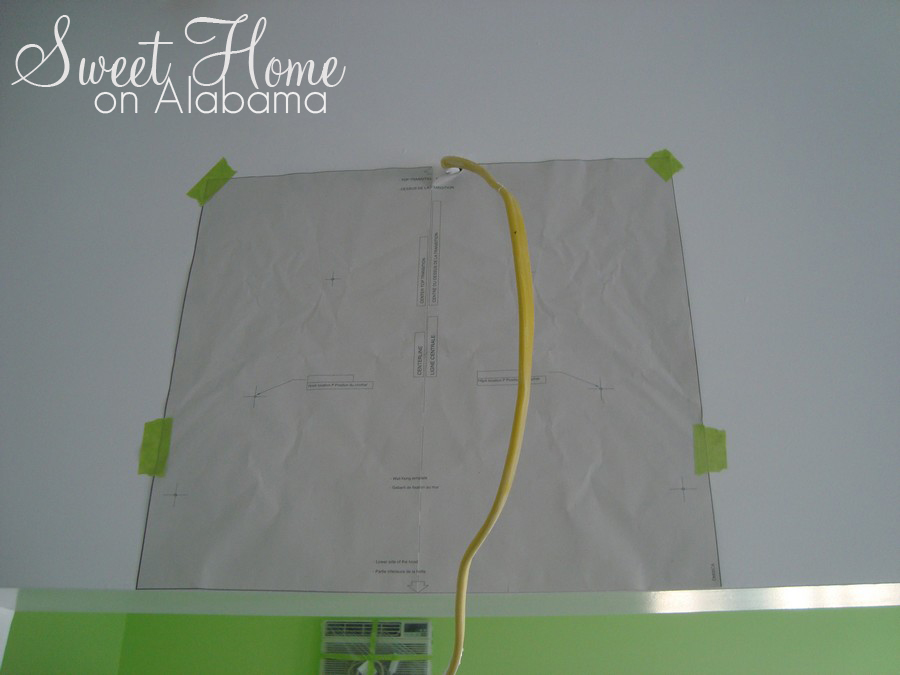
IKEA provides this easy template so that you can install the hanging brackets in the perfect locations.
Here are those brackets in the exact spots they need to be in.

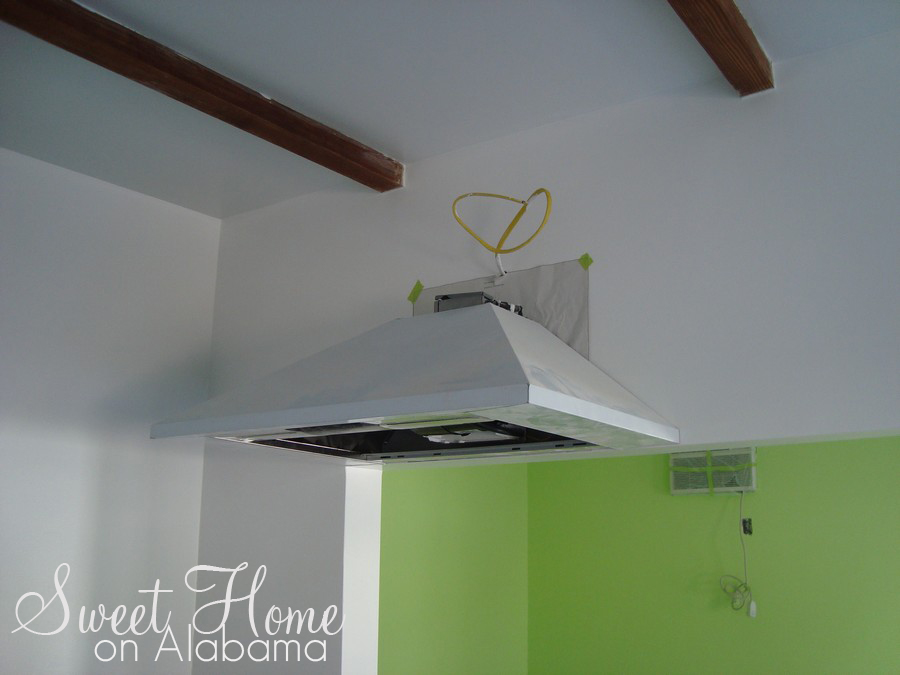
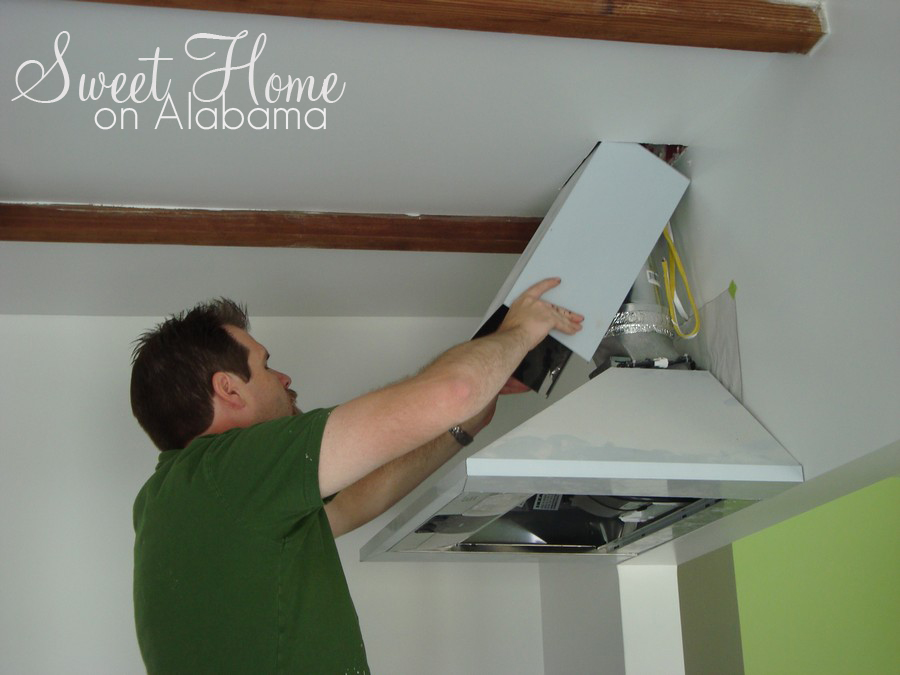
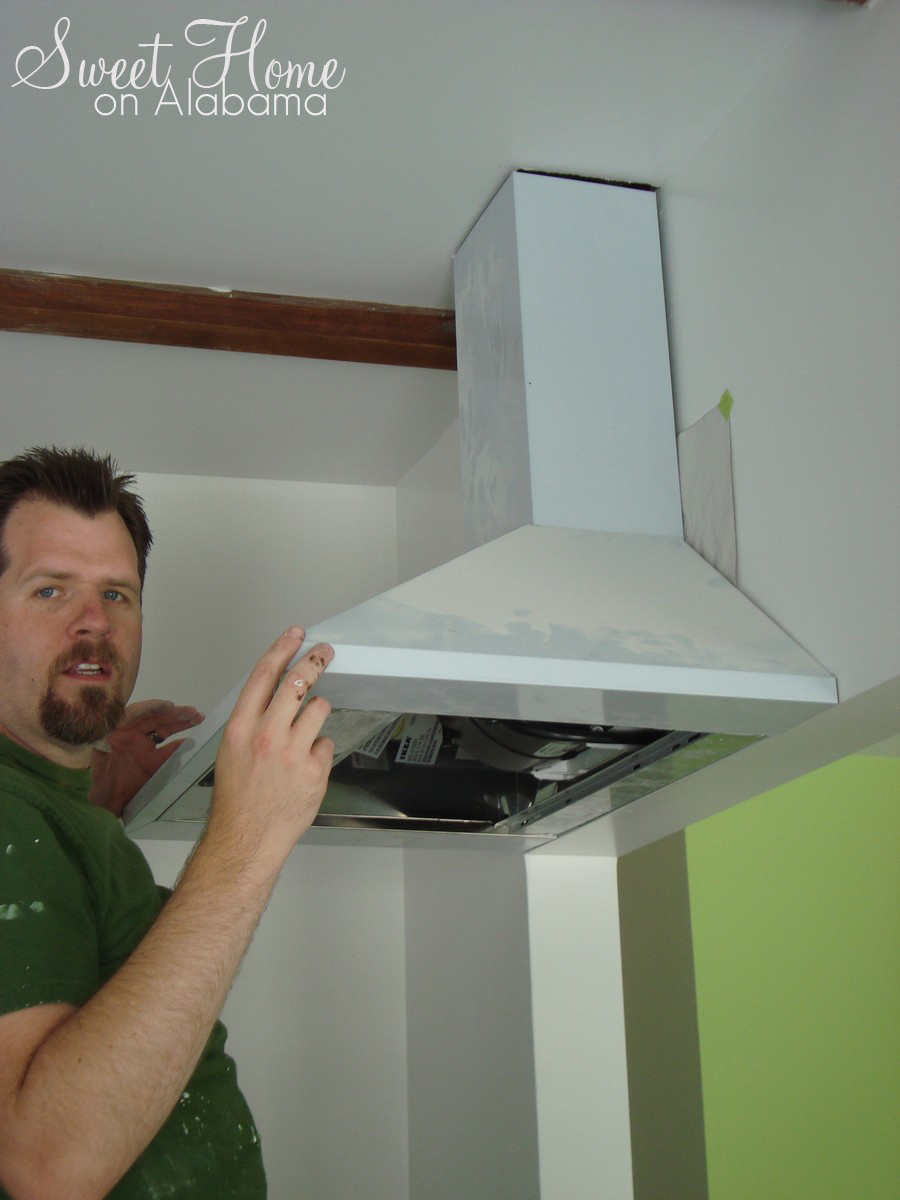
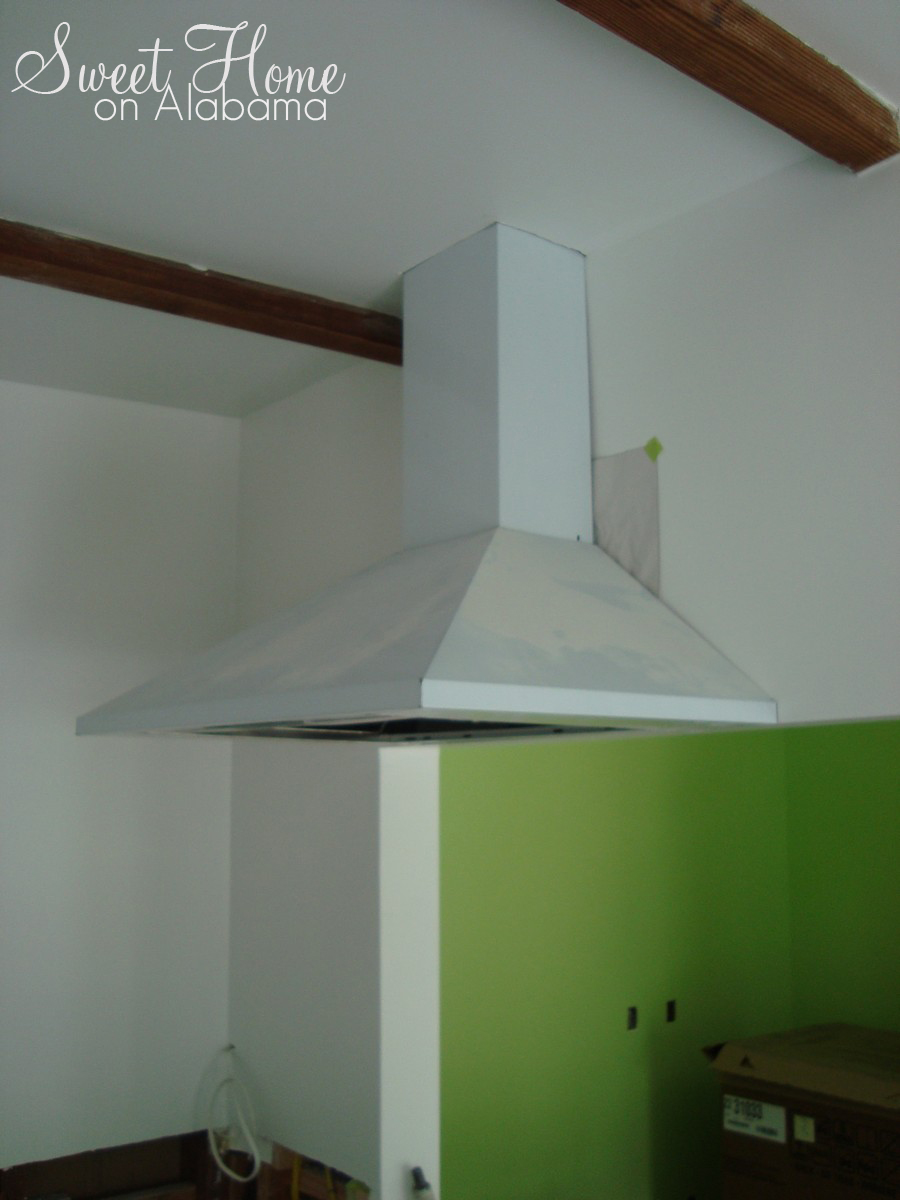
After that, you can just hang the hood on the brackets and make adjustments to get it perfectly level and even with the wall. (Disclaimer: the hood looks white but it is really stainless steel. The white color is a plastic covering that protects it from scratches while you get it all figured out.)
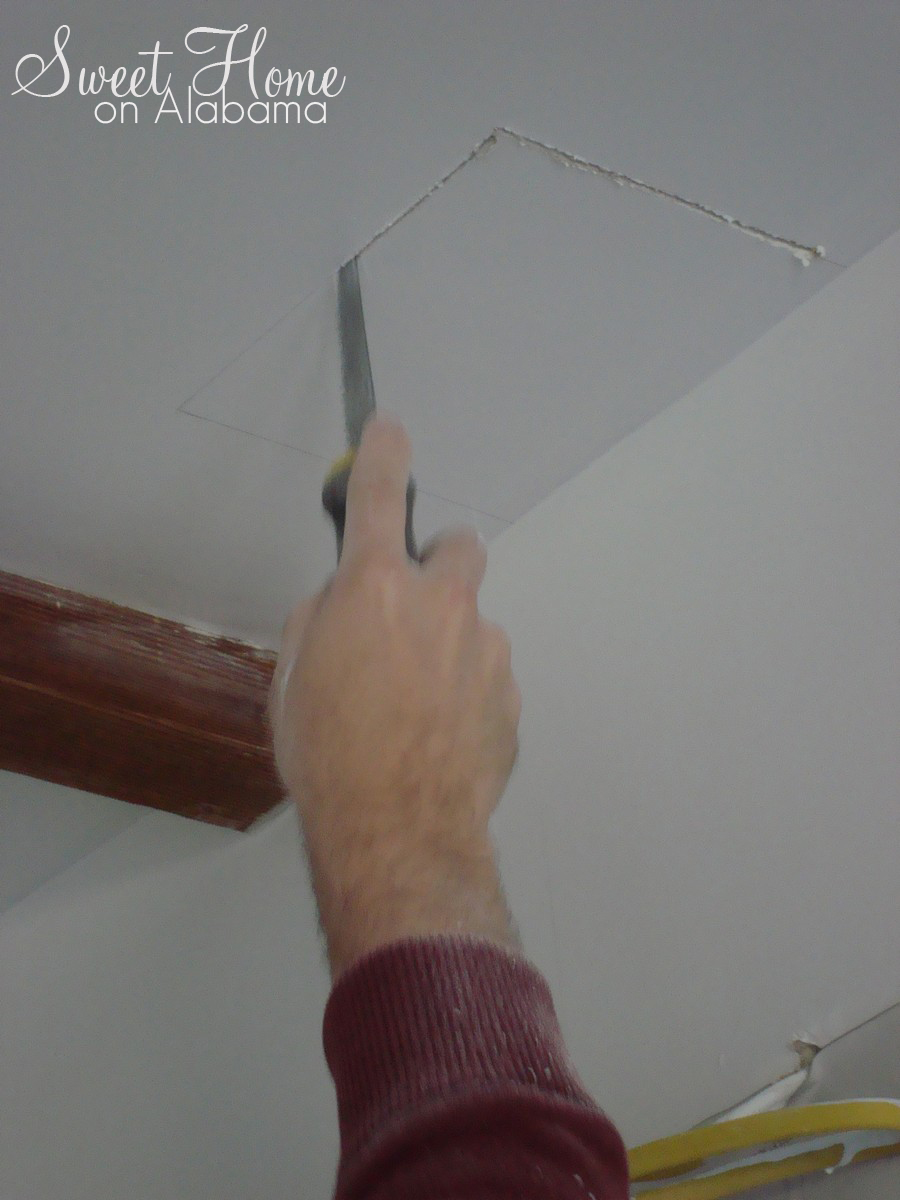
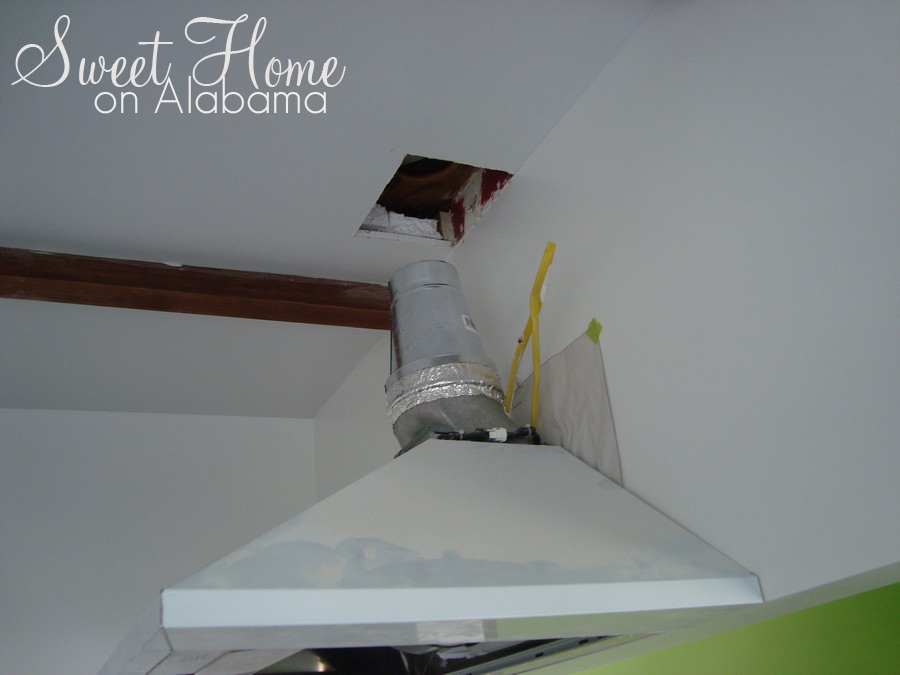
With the bottom of the hood in place, I could mark where the vent cover would be. Then I simply marked the ceiling where I needed to cut the opening.
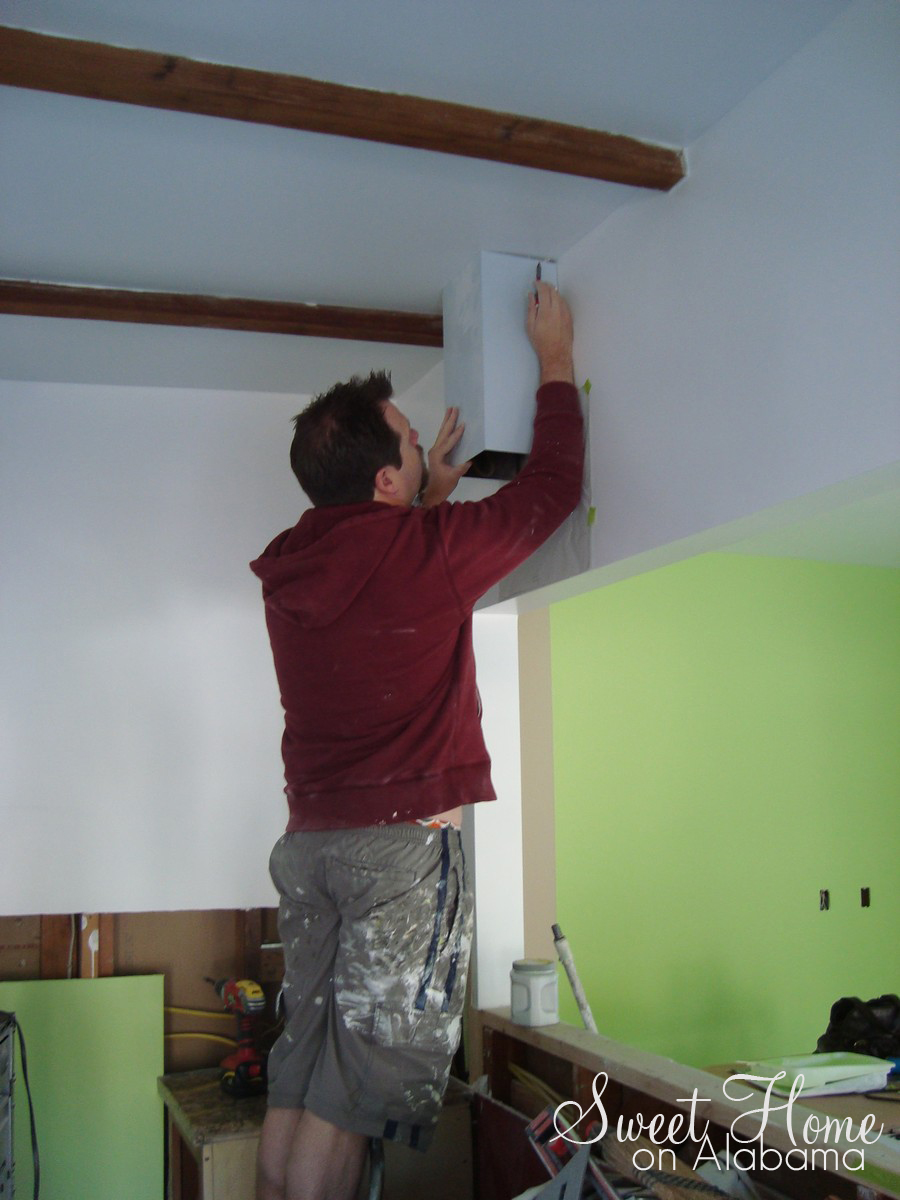
I used my handy keyhole saw to make the cuts. It cuts through the drywall easily.
Then I broke out the power tools to cut the firring strip that I installed before the drywall was put up.

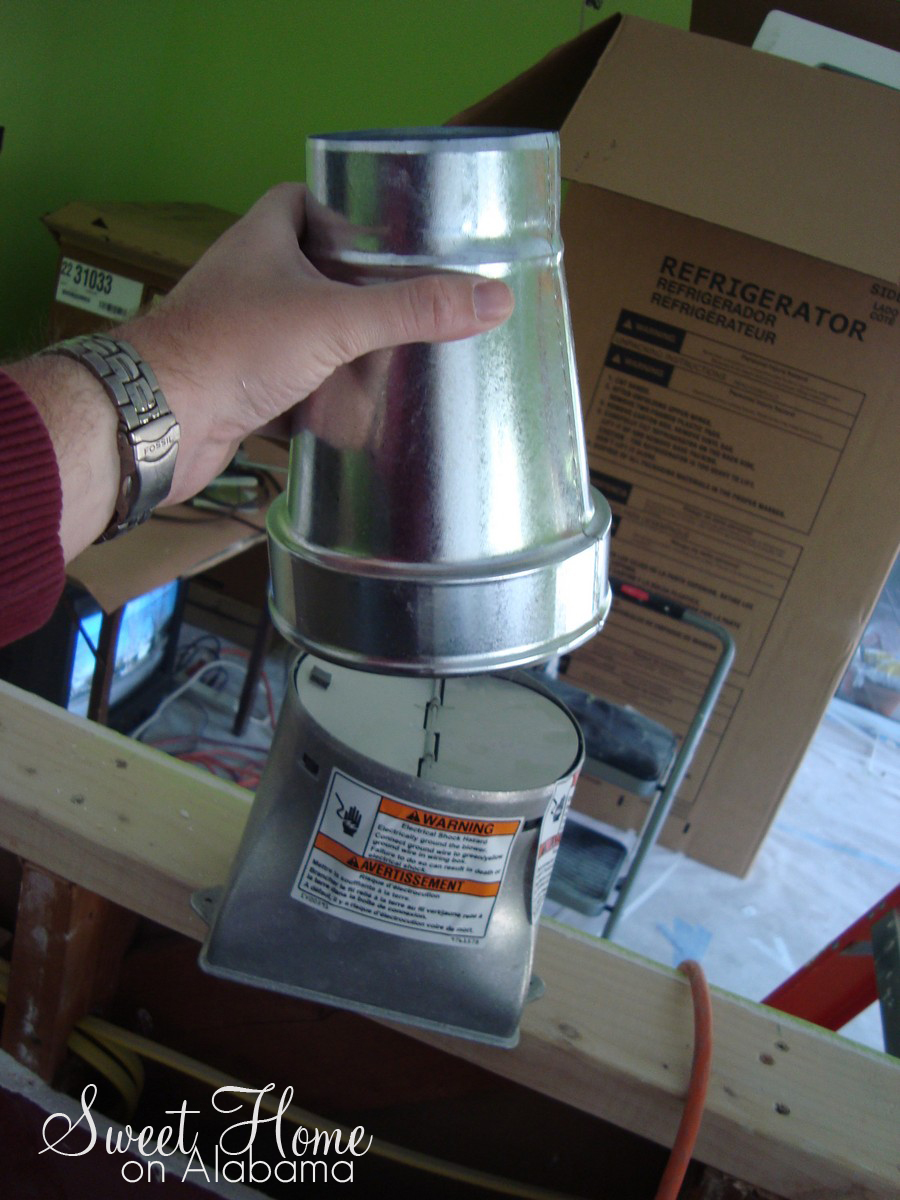
After that, it was time to get the duct work figured out so that the hot kitchen air and exhaust could be taken outside through the roof. I used a 6-inch to 4-inch reducer to make the job a little easier.
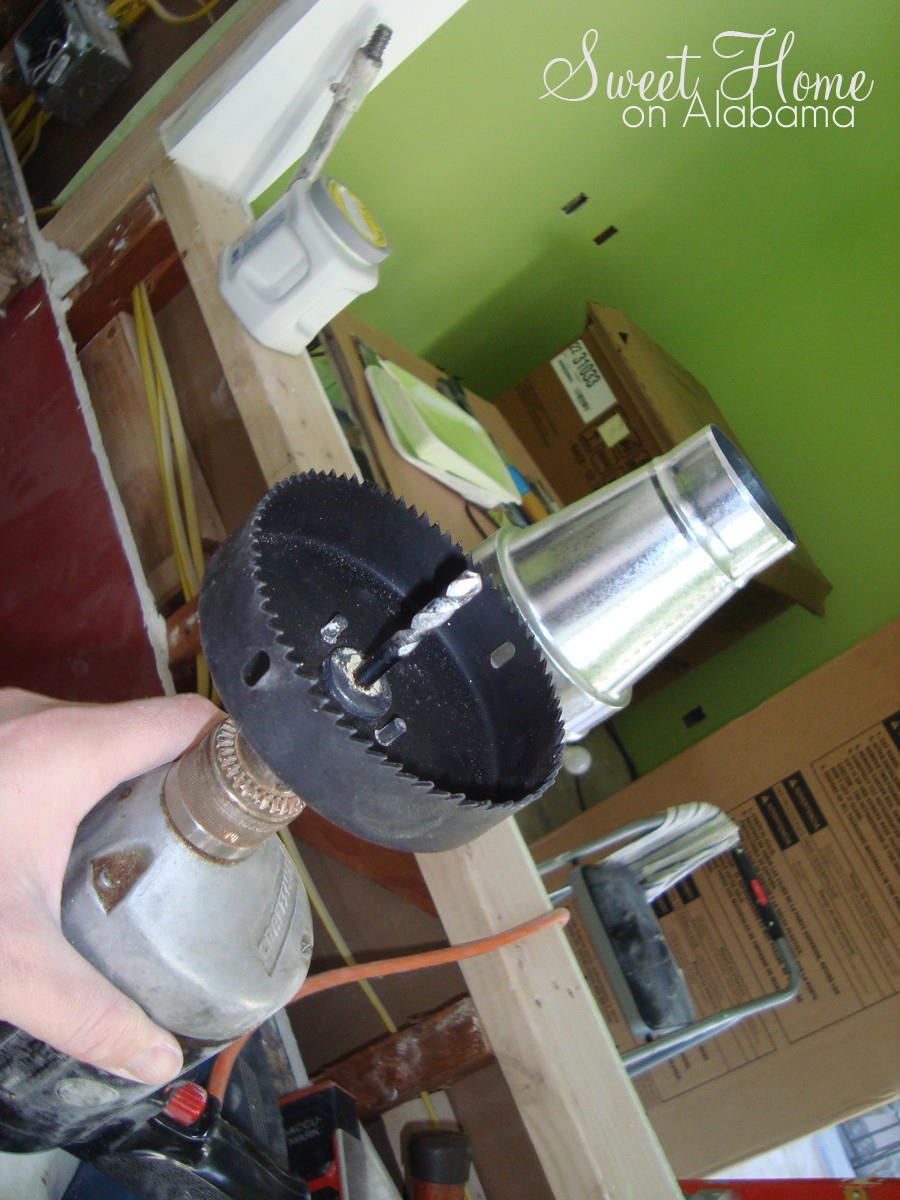
This way I could use my 4-inch hole cutting drill bit to cut a nice hole through the roof.
And here it is, nice and clean. The big hole next to my new hole is where the old vent used to be. This will all be covered up later by the new roof vent.
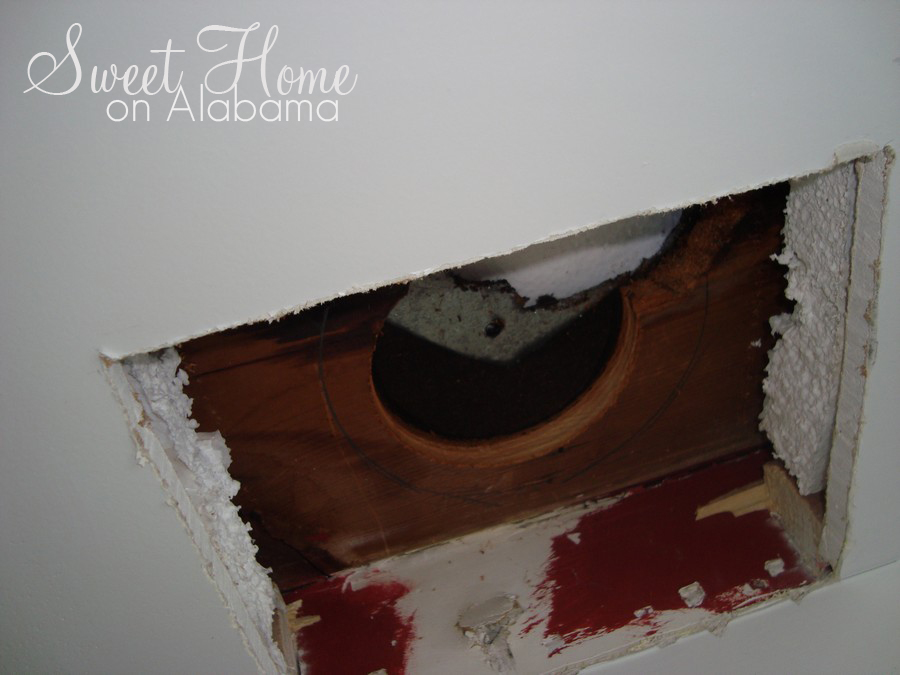
Now I just need to get the vent tube to go from here through the roof.
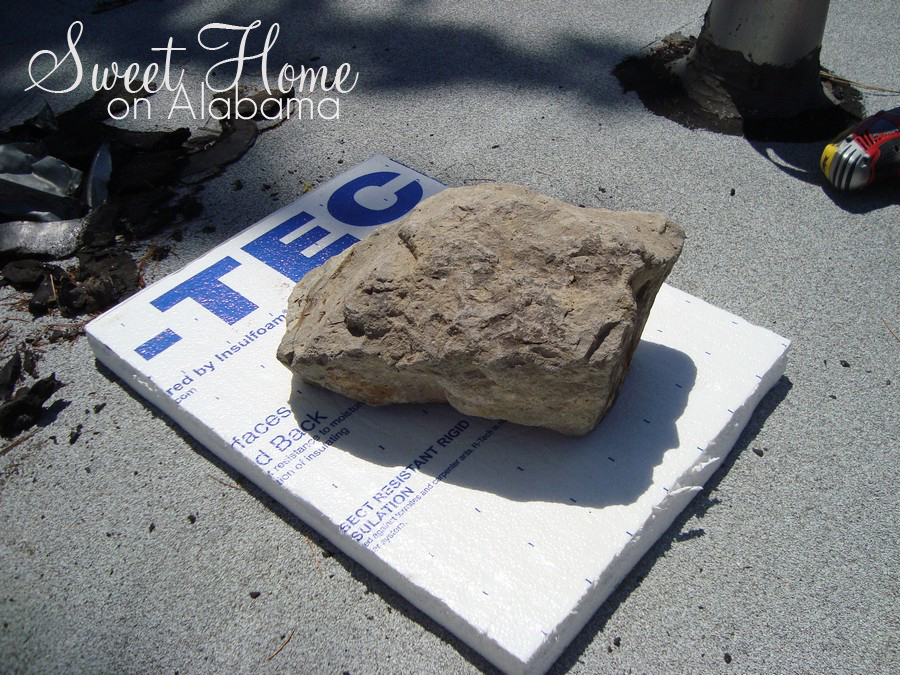
Here is my ingenious method for keeping the drizzle we had earlier in the week from getting into our roof and ruining our new drywall. It held up OK. I am just glad it didn't rain too hard during the week.
Once I cut a hole in the old flashing to match the hole I cut through the wooden roof, I was able to slide the vent tube in and connect it to the hood.
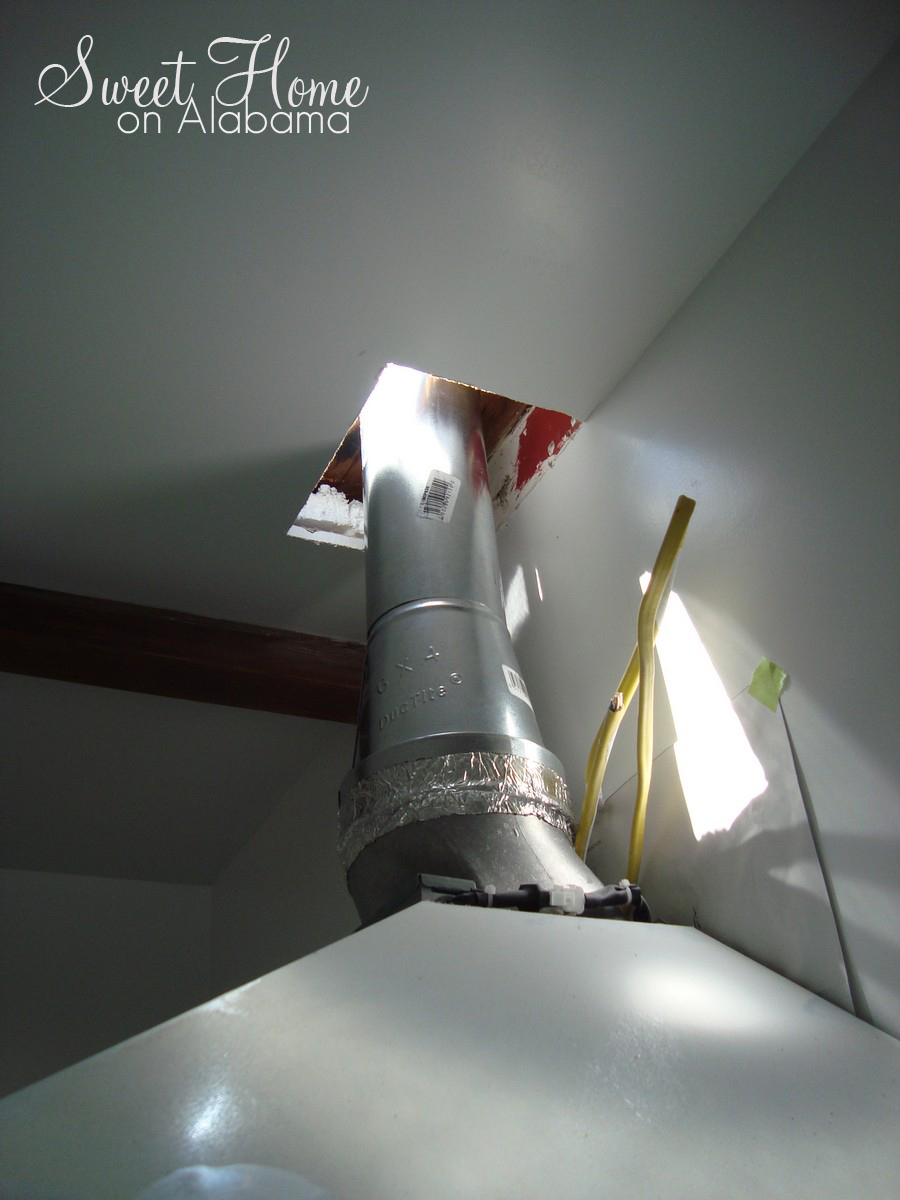
Here is the tube from the outside. It is a little long here. Luckily it cuts easily.

That is if you have a handy pair of tin snips lying around.
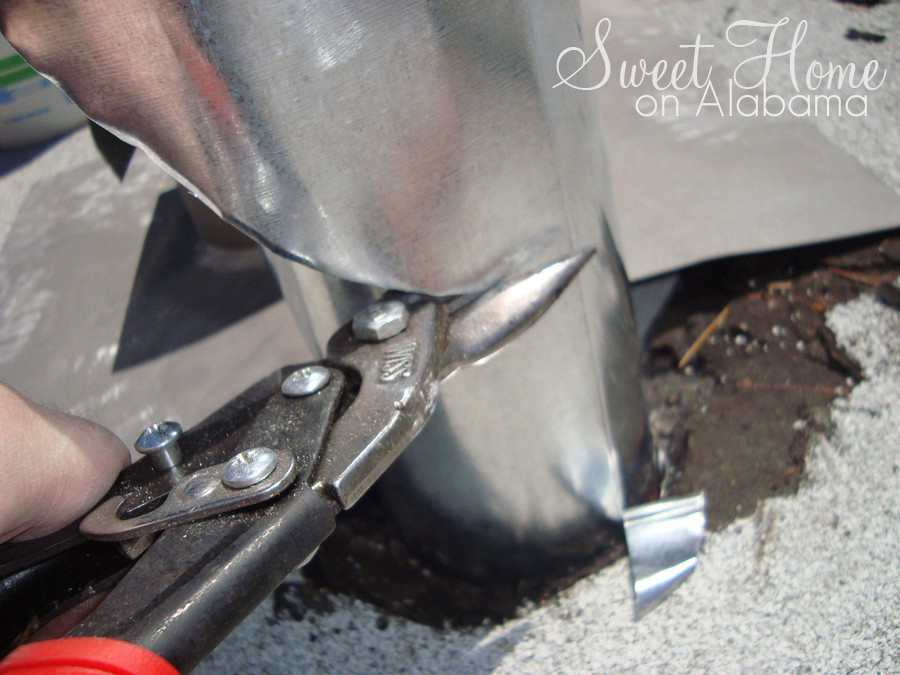
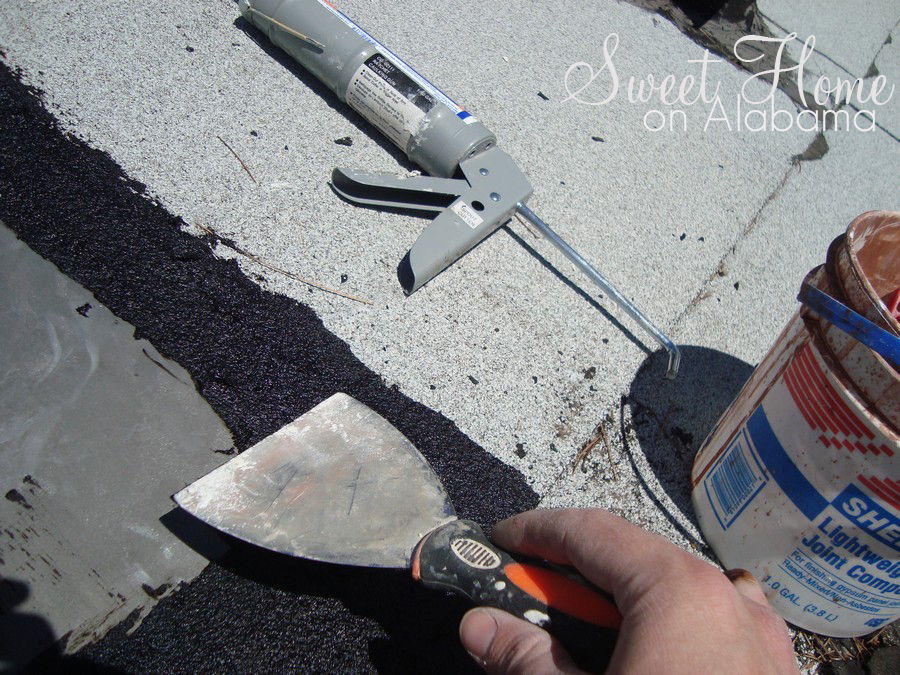
After getting the tube cut to the right length, I attached the roof vent using this special roofing sealant under the flashing and this goopy pastic cement on top to keep the water out.
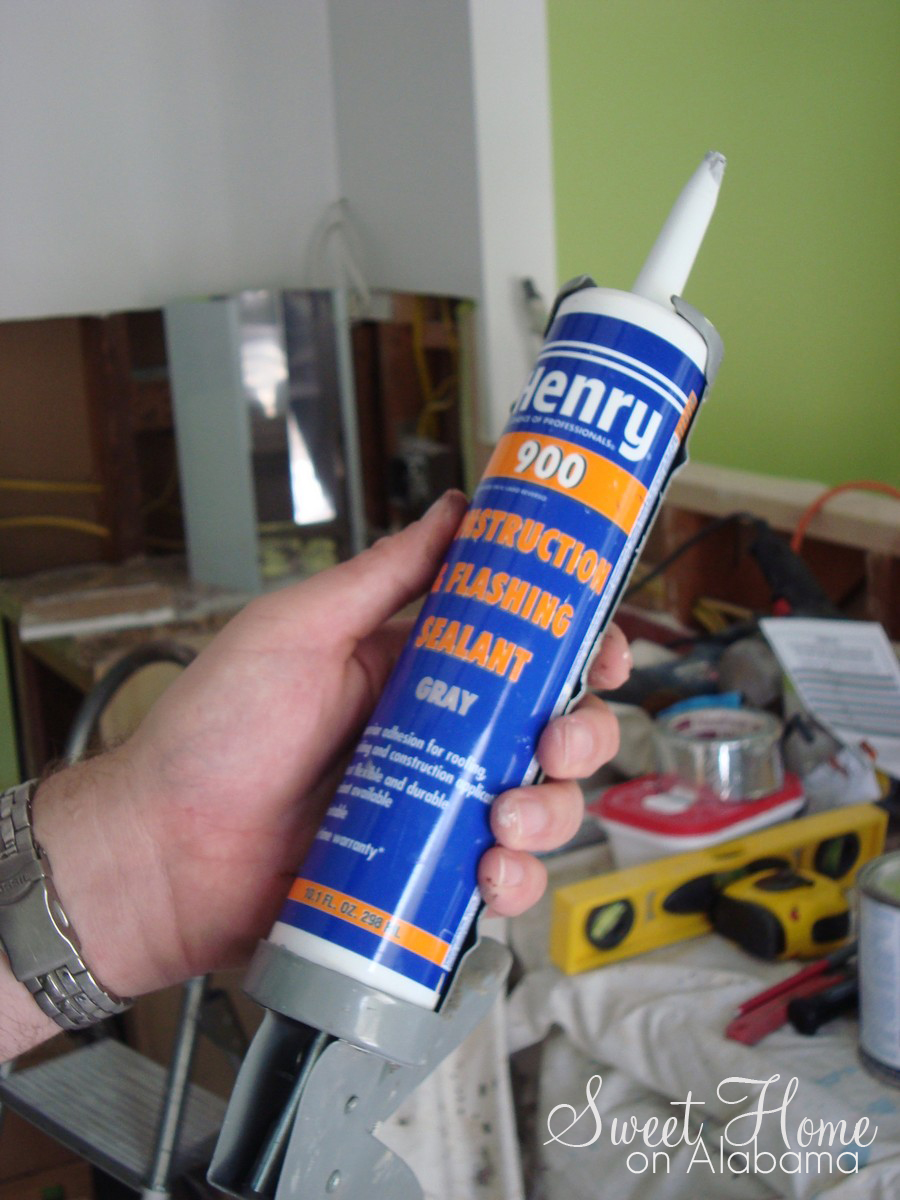
Here it is all sealed up (It's very important to cover all of the screws so water can't sneak in). Please don't leak...

And now all I have to do it insert the vent cover and...
"All done honey!"
Luckily I had those tin snips still lying around...
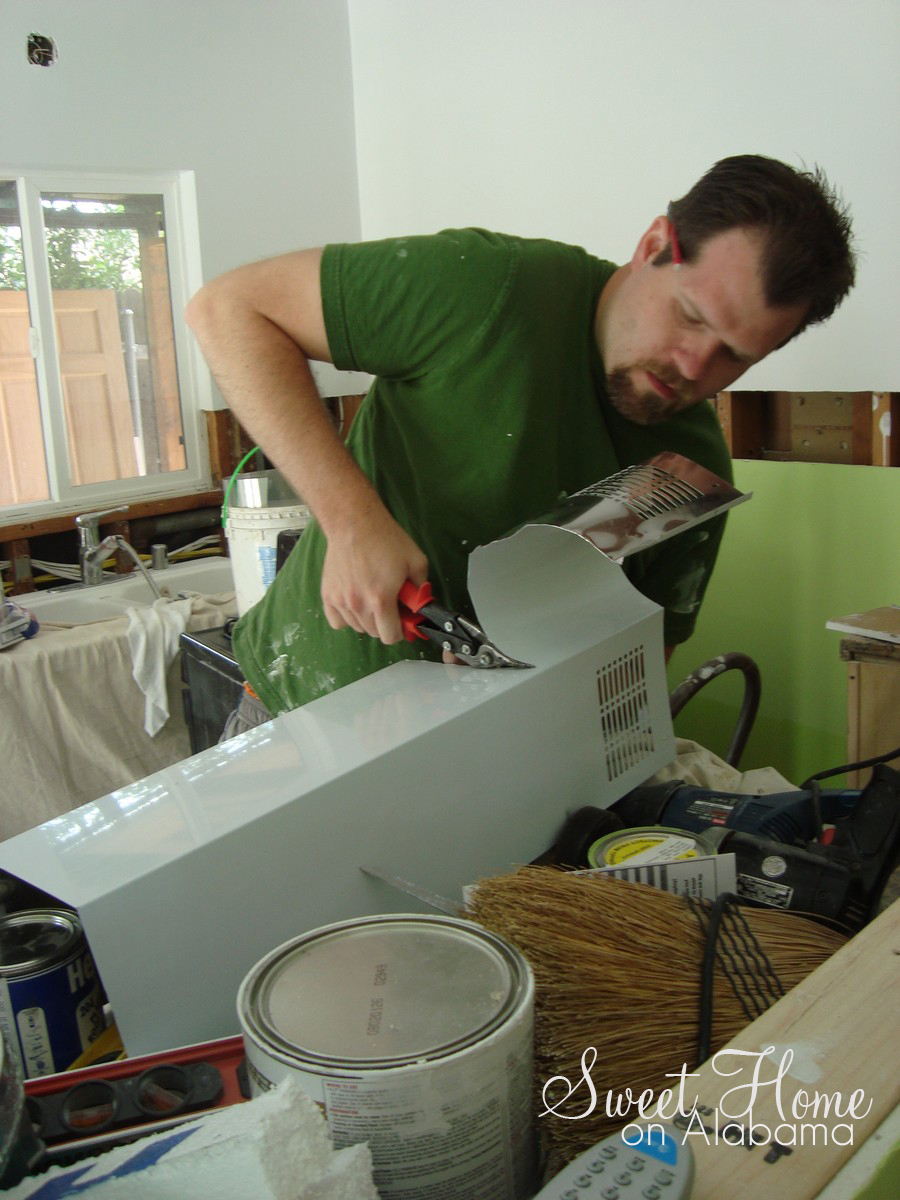
Cuttin' stainless, now that was awesome!
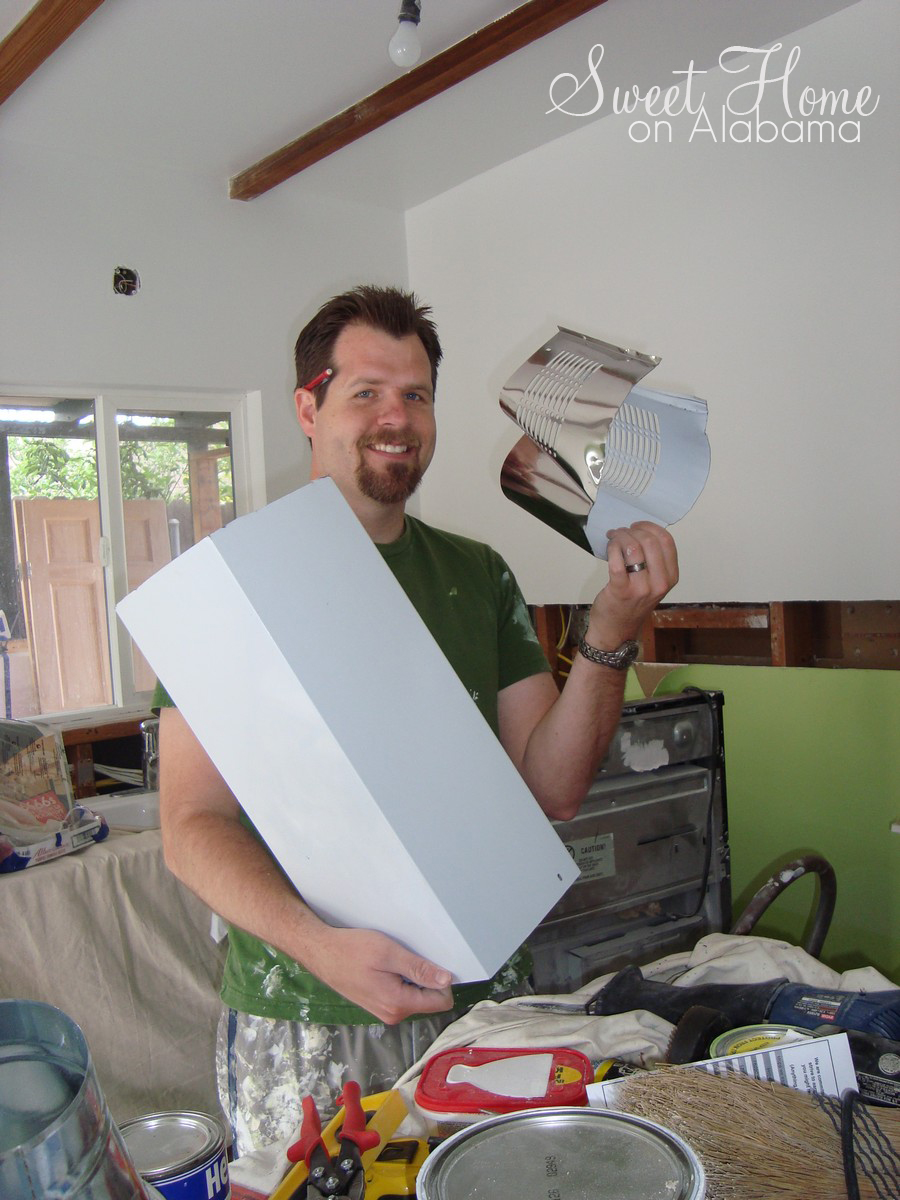
Much better! Now the vent is nicely covered and everything will look sleek and clean.
Now all we need to do is install the new range that this hood will be working with. That's it hiding in the box in the background. It will have to wait until I am done tiling the kitchen backsplash... (To be posted on in the near future)
No comments:
Post a Comment