Monday, May 24, 2010

Installing the Kitchen Hood

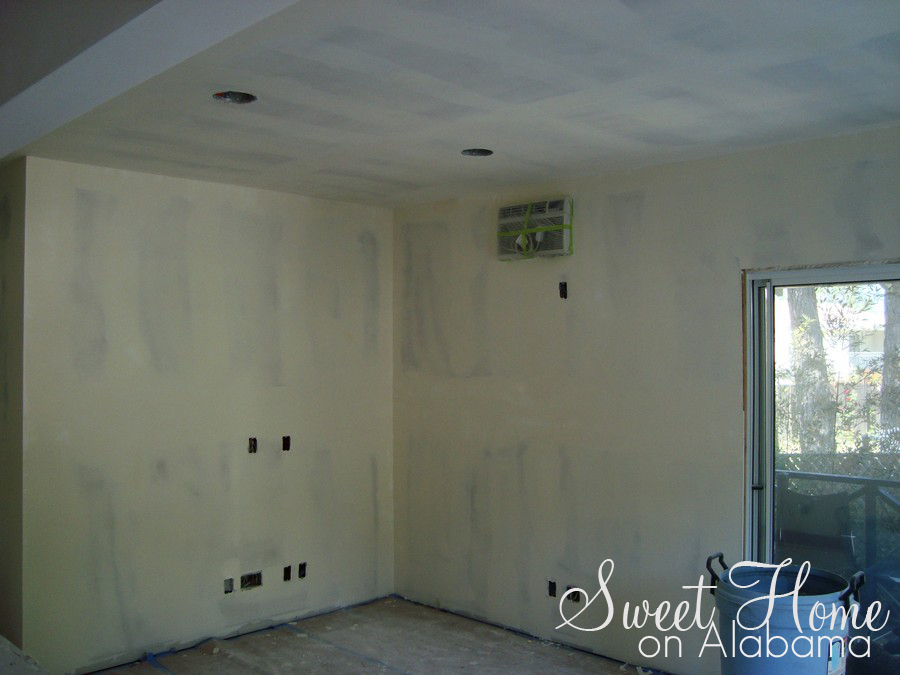
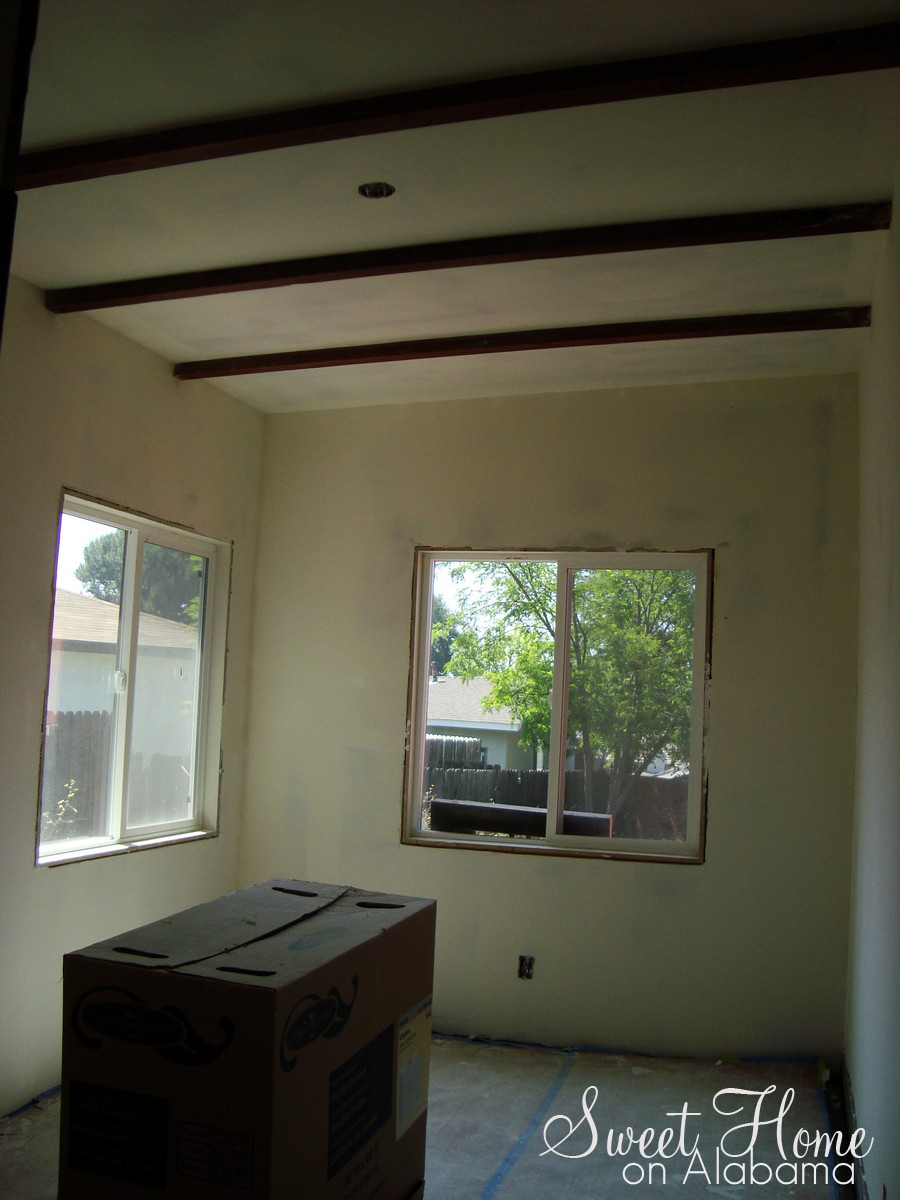
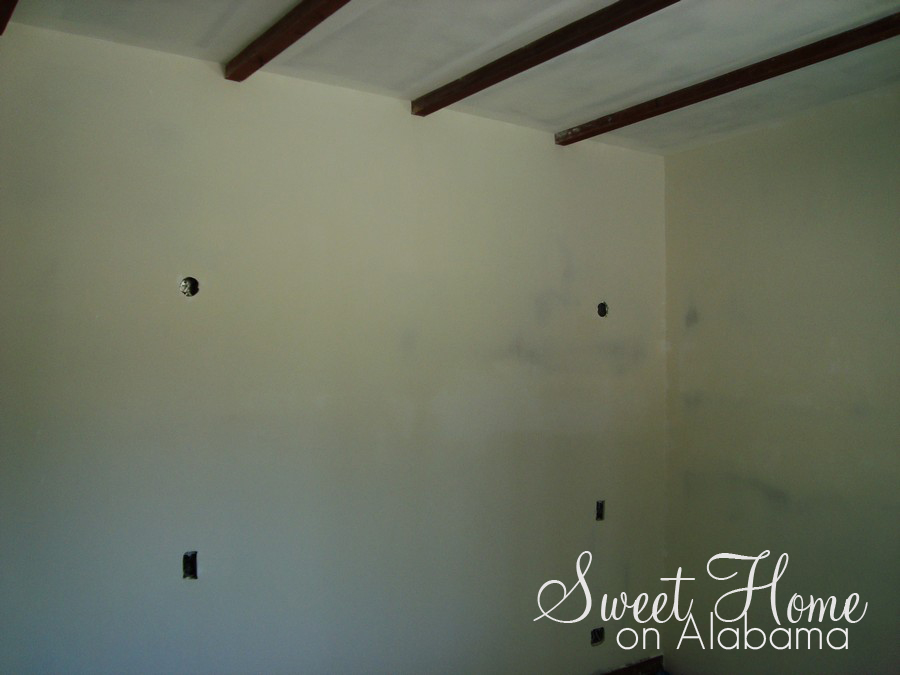
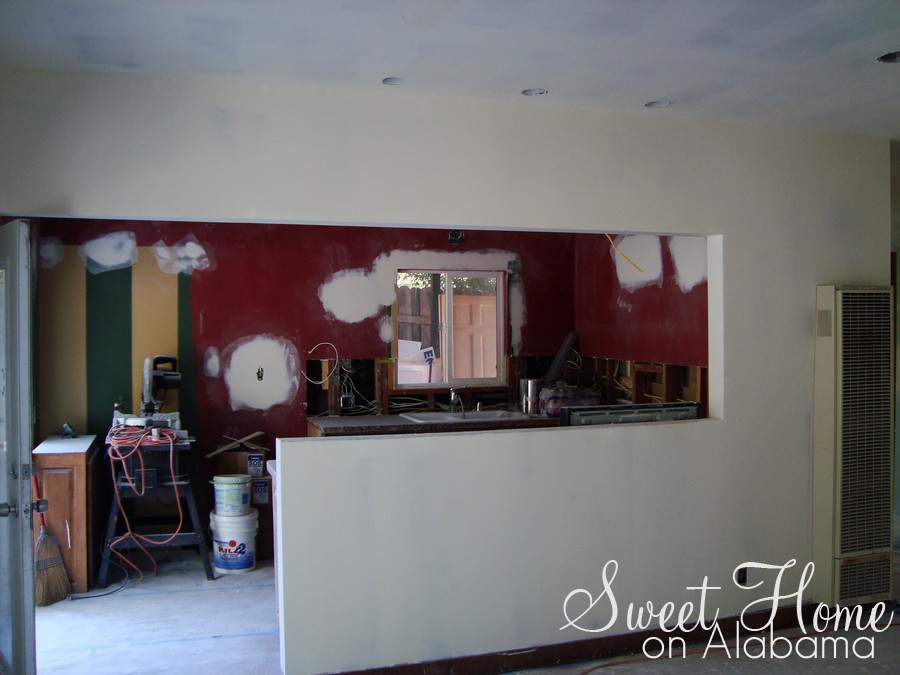
In the midst of painting, I decided to install the vent for our kitchen hood. There was rain in the forecast and I still had a hole in the roof where I took out the old vent. You will notice in these photos that we are well into the painting process. Don't worry, we will post on that when we finish the rest of the house.
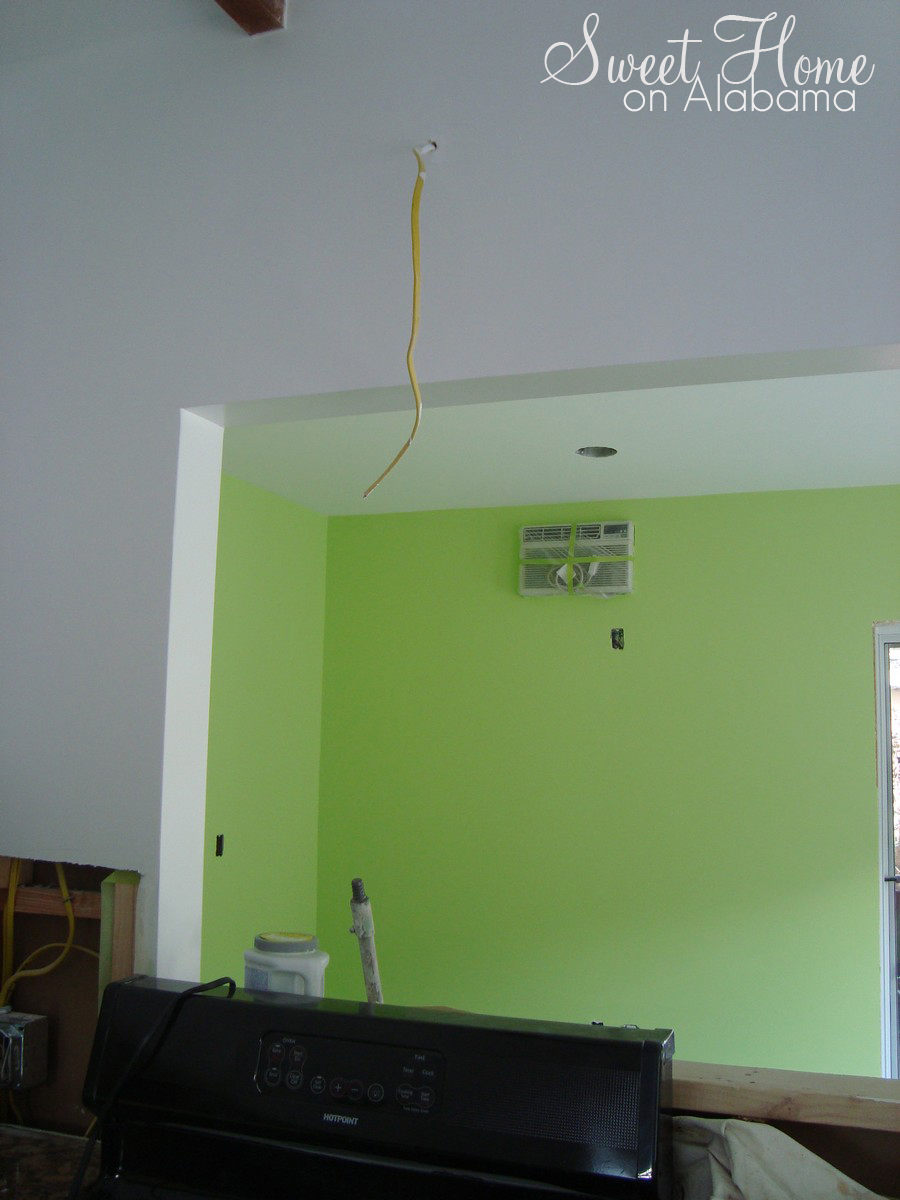
The hood is going to go right above the range where that wire is hanging out of the wall. The wire will power the hood obviously.
House004

First, I removed the old range so that I could get closer to the wall. I had to disconnect the gas line and then I was able to pull it out easily.
House005

IKEA provides this easy template so that you can install the hanging brackets in the perfect locations.
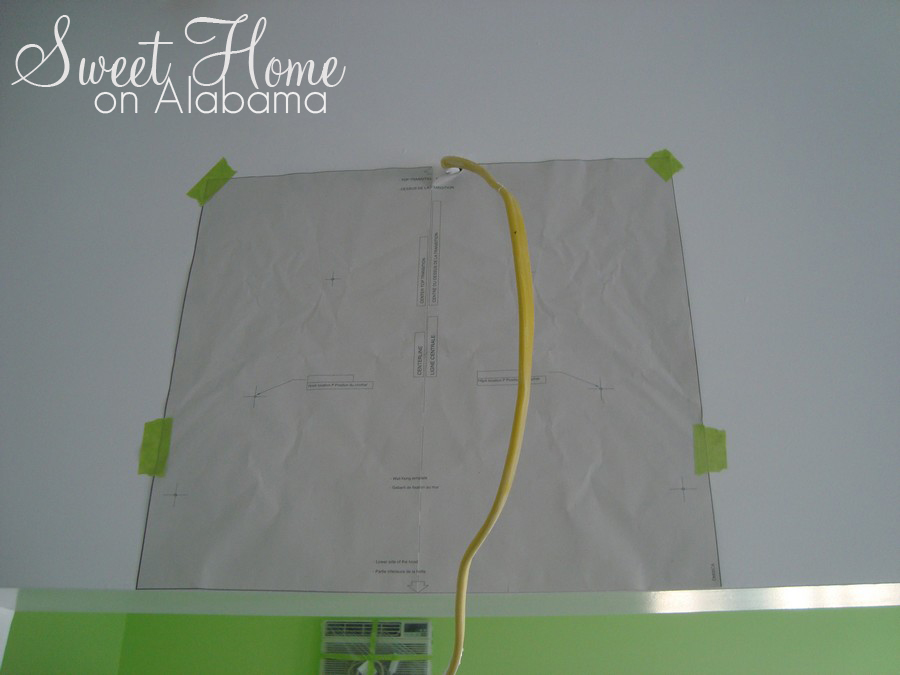
House006

Here are those brackets in the exact spots they need to be in.
House007

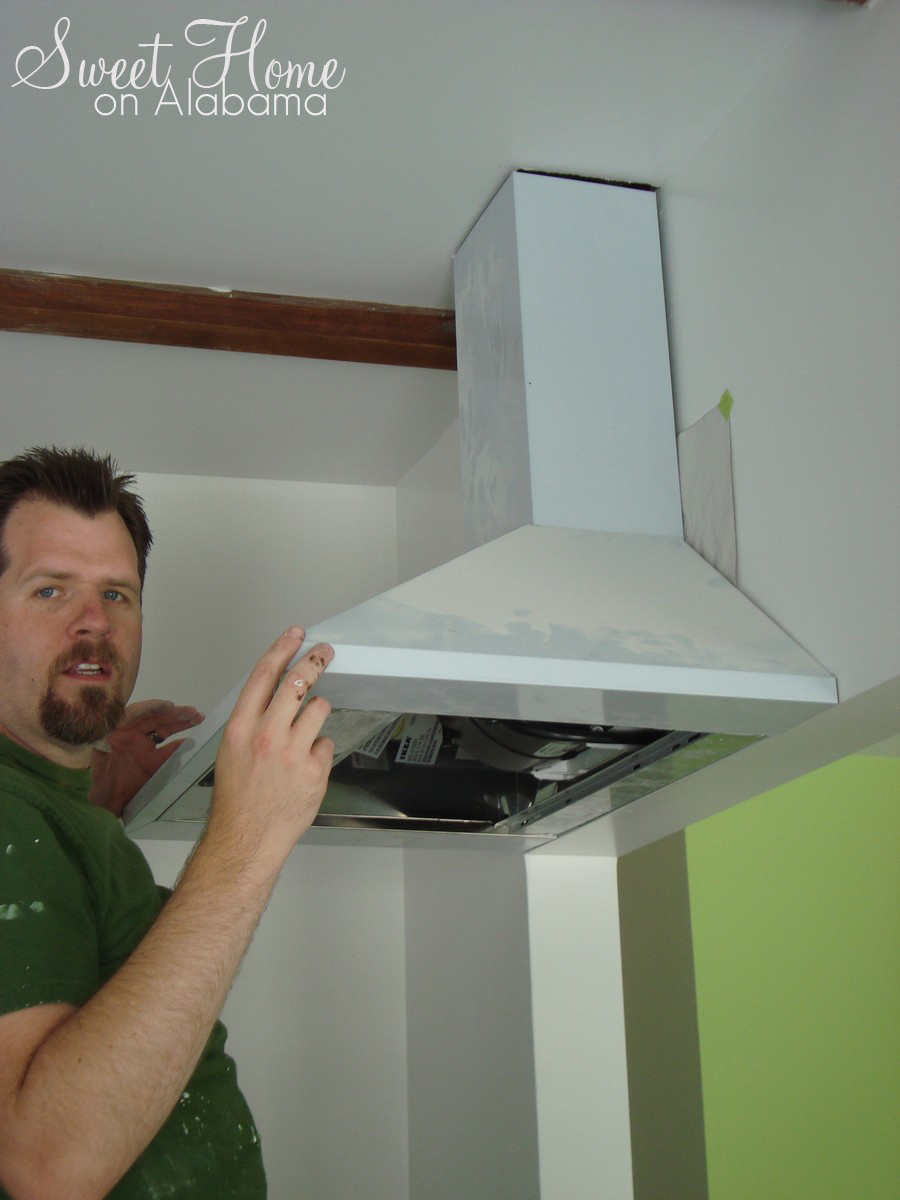
After that, you can just hang the hood on the brackets and make adjustments to get it perfectly level and even with the wall. (Disclaimer: the hood looks white but it is really stainless steel. The white color is a plastic covering that protects it from scratches while you get it all figured out.)
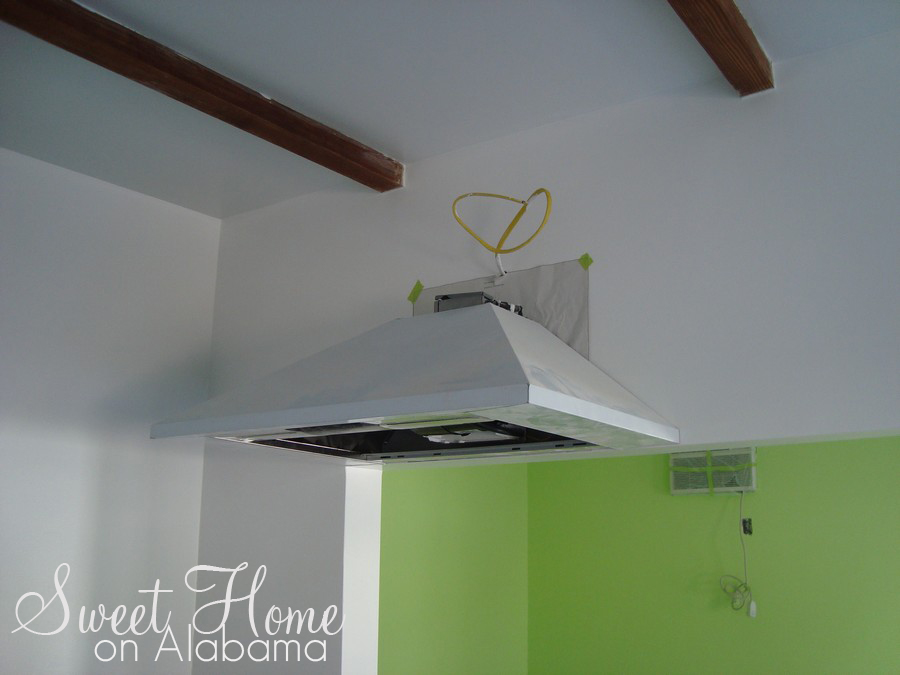
House008

With the bottom of the hood in place, I could mark where the vent cover would be. Then I simply marked the ceiling where I needed to cut the opening.
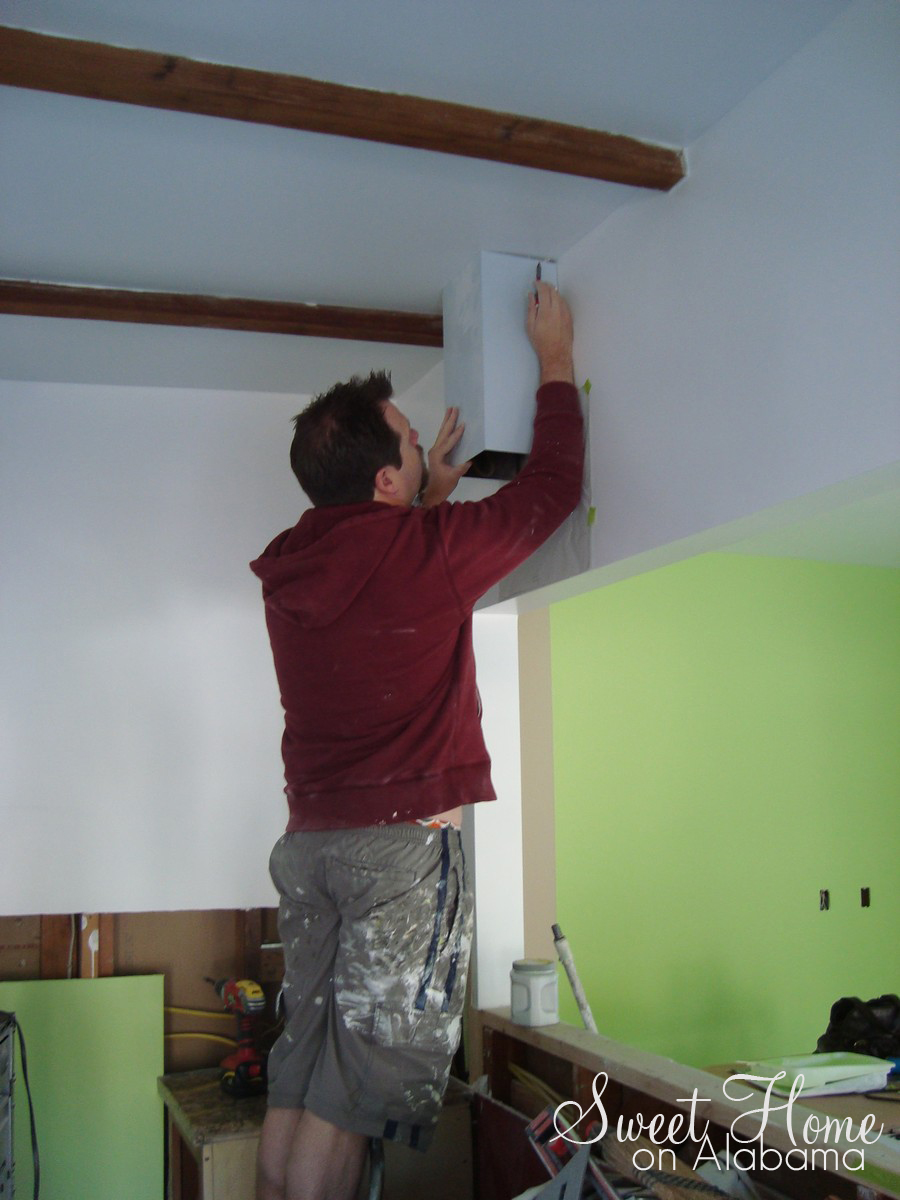
House009

I used my handy keyhole saw to make the cuts. It cuts through the drywall easily.
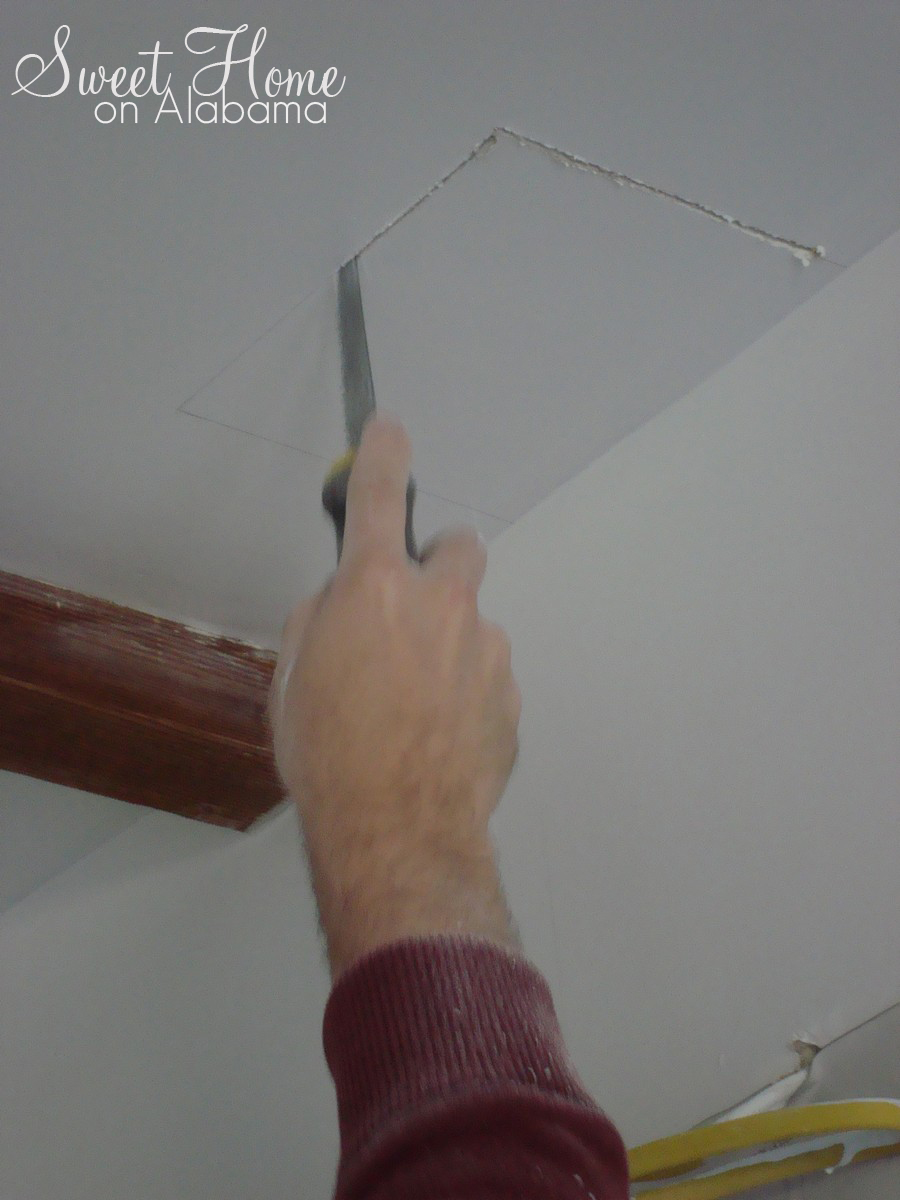
House014

Then I broke out the power tools to cut the firring strip that I installed before the drywall was put up.
House017

After that, it was time to get the duct work figured out so that the hot kitchen air and exhaust could be taken outside through the roof. I used a 6-inch to 4-inch reducer to make the job a little easier.
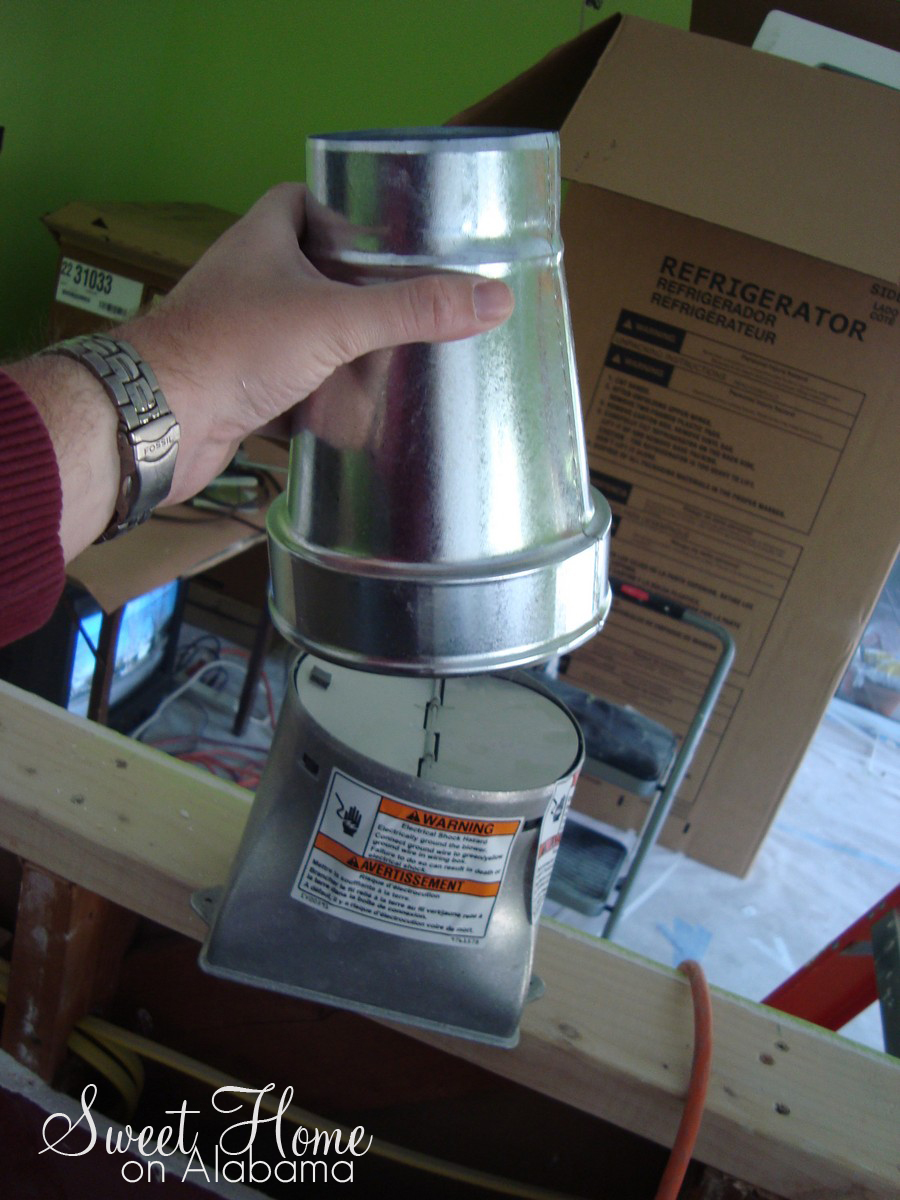
House022

This way I could use my 4-inch hole cutting drill bit to cut a nice hole through the roof.
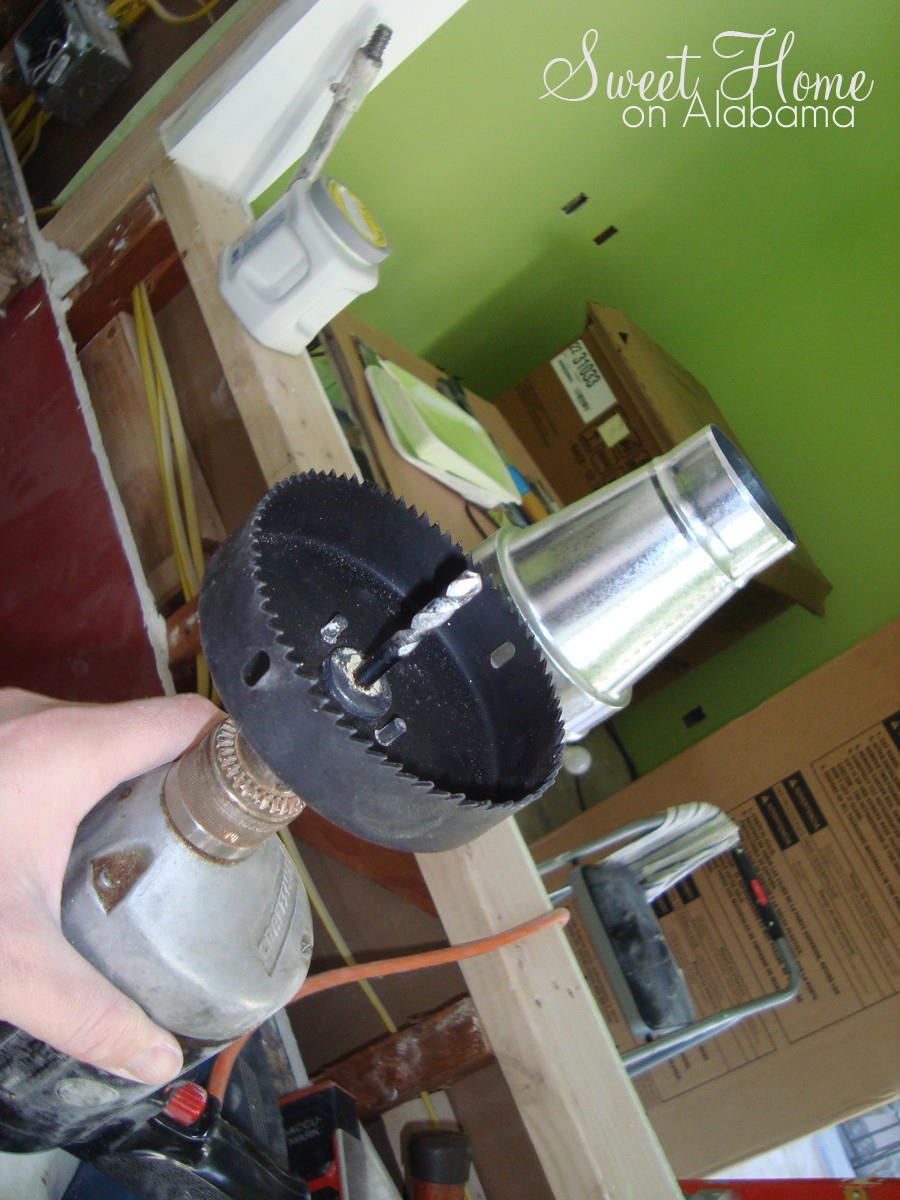
House023

And here it is, nice and clean. The big hole next to my new hole is where the old vent used to be. This will all be covered up later by the new roof vent.
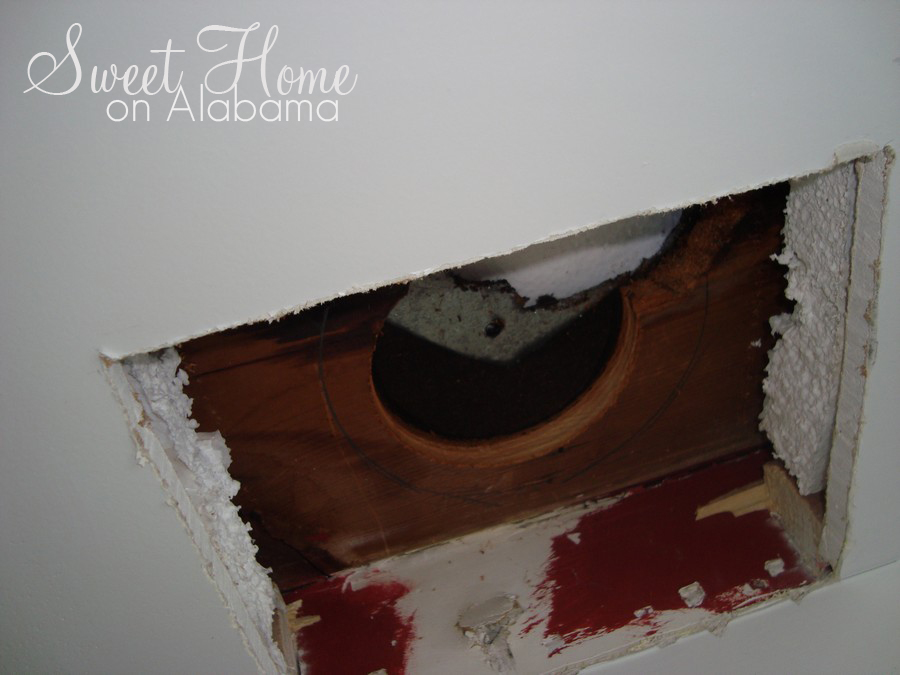
House025

Now I just need to get the vent tube to go from here through the roof.
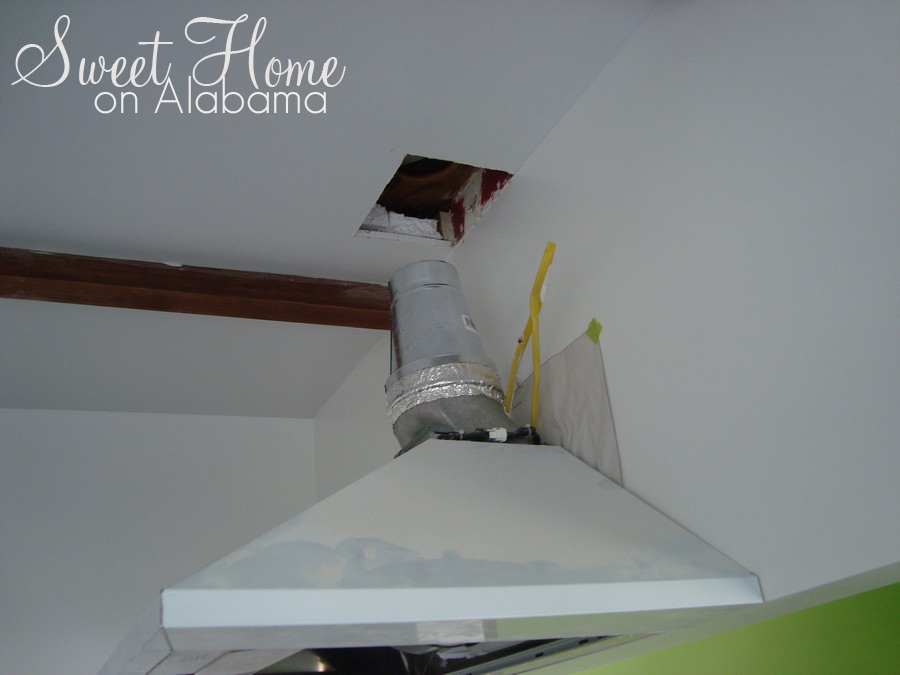
House026

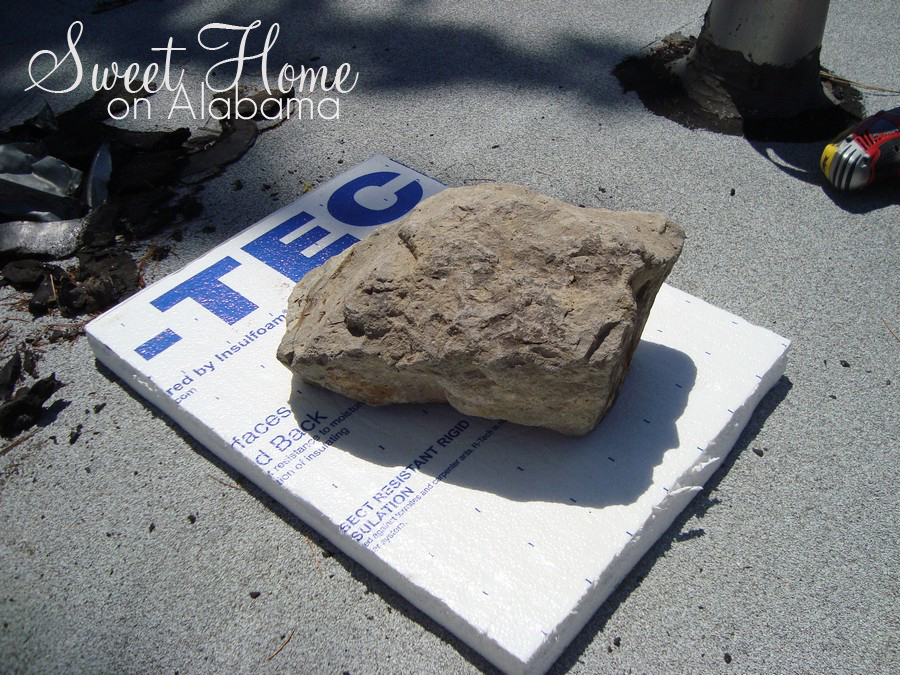
Here is my ingenious method for keeping the drizzle we had earlier in the week from getting into our roof and ruining our new drywall. It held up OK. I am just glad it didn't rain too hard during the week.
House027

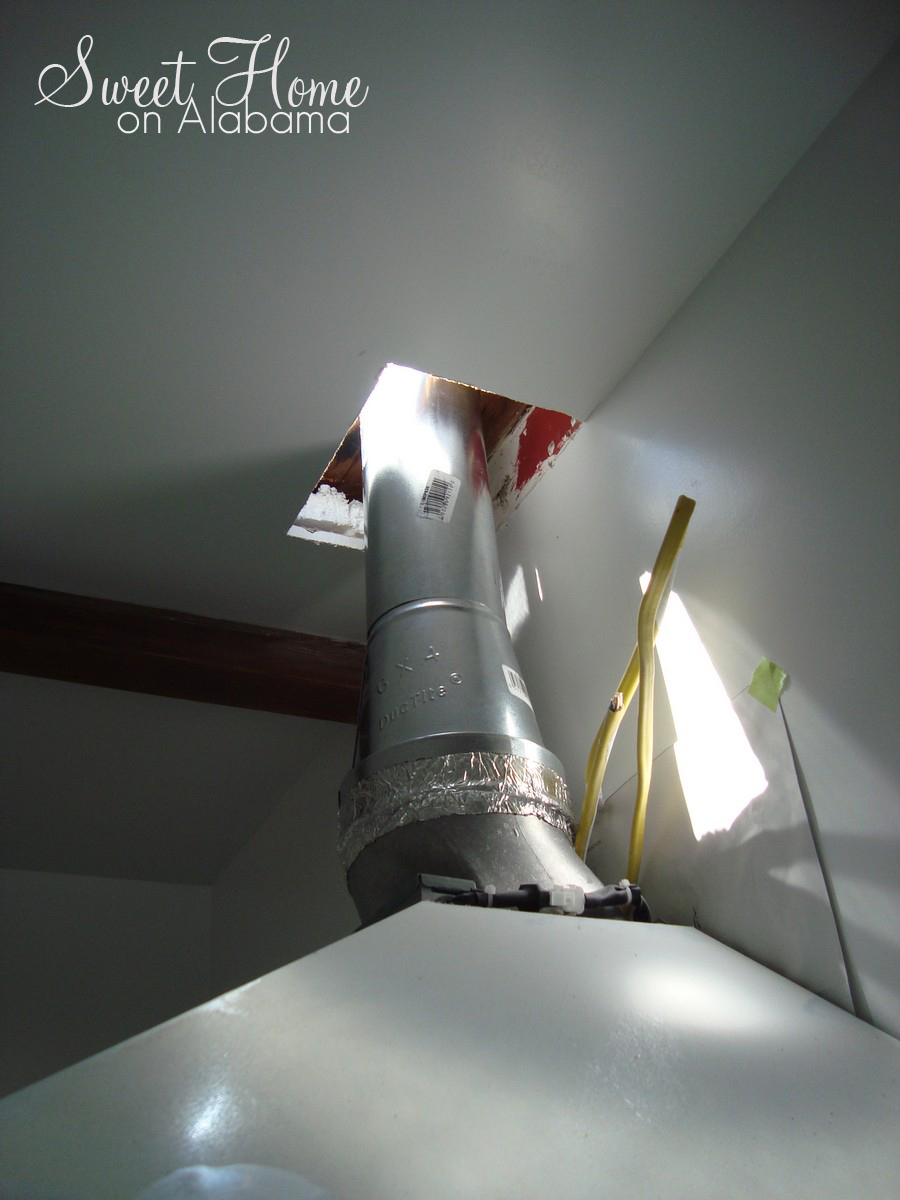
Once I cut a hole in the old flashing to match the hole I cut through the wooden roof, I was able to slide the vent tube in and connect it to the hood.
House029

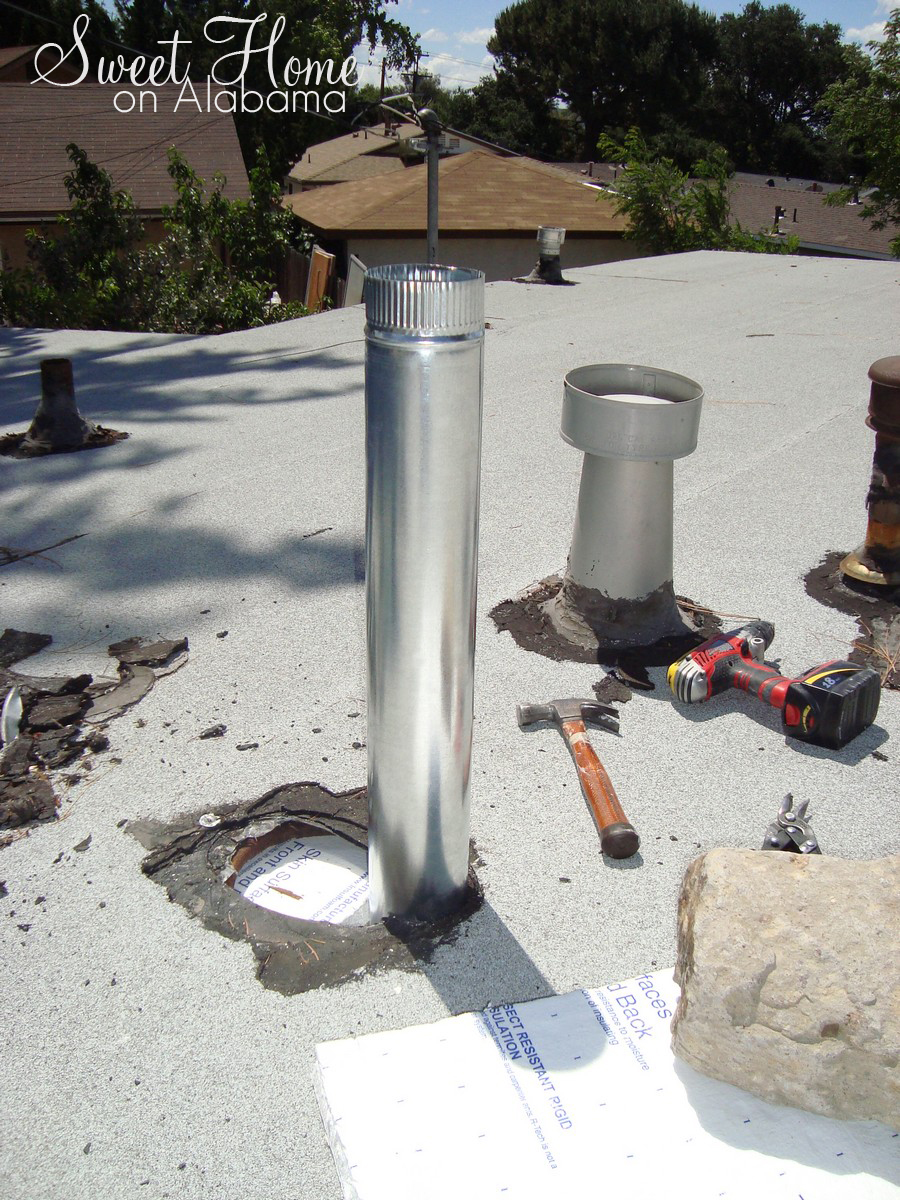
Here is the tube from the outside. It is a little long here. Luckily it cuts easily.
House030

That is if you have a handy pair of tin snips lying around.

House031

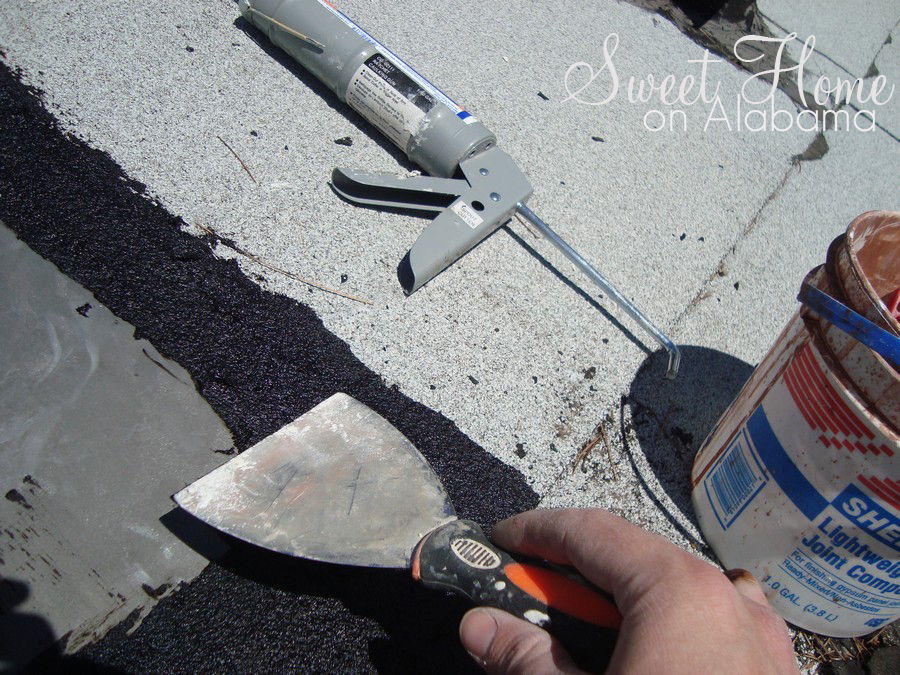
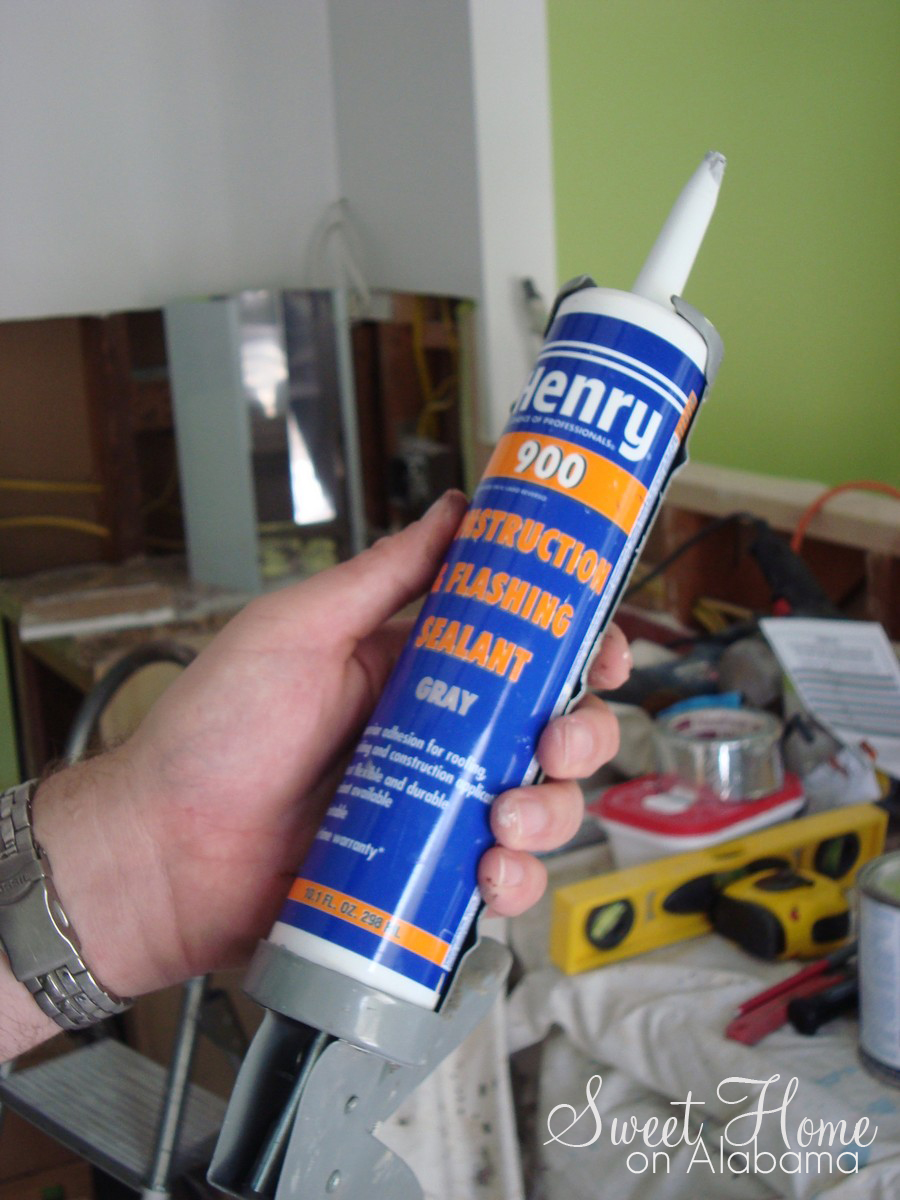
After getting the tube cut to the right length, I attached the roof vent using this special roofing sealant under the flashing and this goopy pastic cement on top to keep the water out.
House036House032

Here it is all sealed up (It's very important to cover all of the screws so water can't sneak in). Please don't leak...
House034

And now all I have to do it insert the vent cover and...
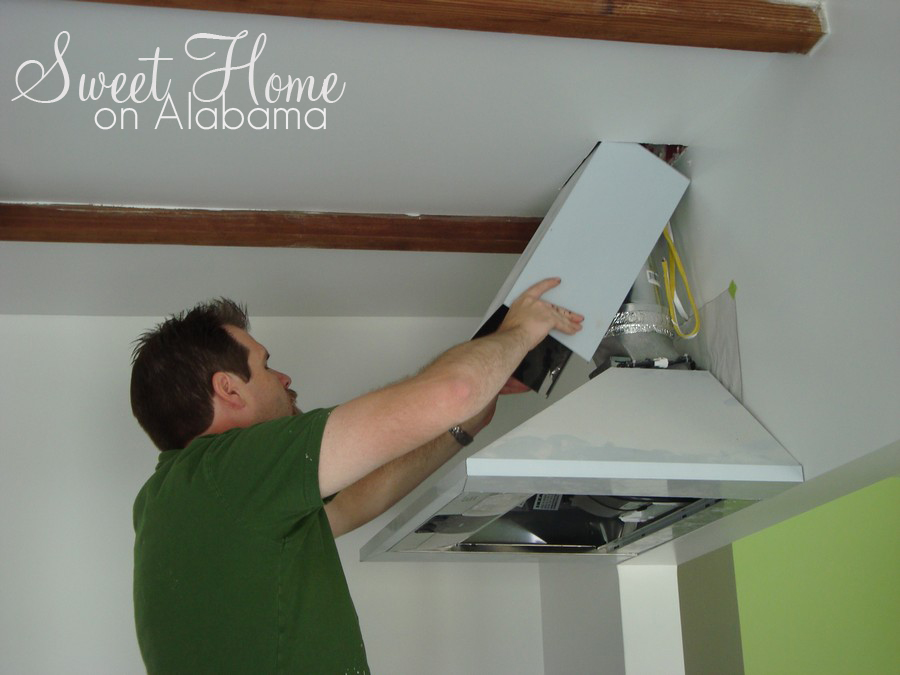
House038

"All done honey!"
House041
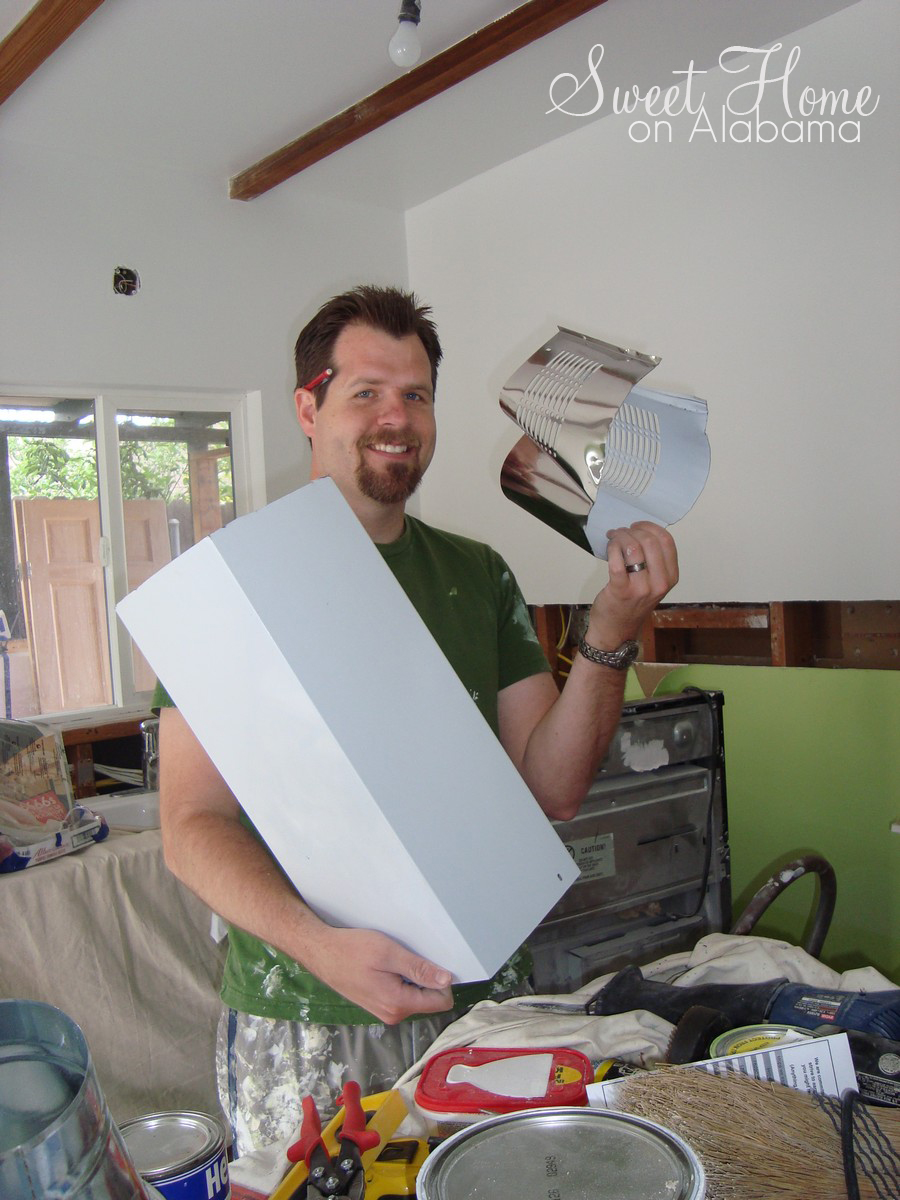
"What's that? You don't like that there is a tiny gap at the top? Don't worry, I'll wrap some molding around it or something...You don't want molding? You want me to use the longer piece? But I'd have to cut it..."

Luckily I had those tin snips still lying around...
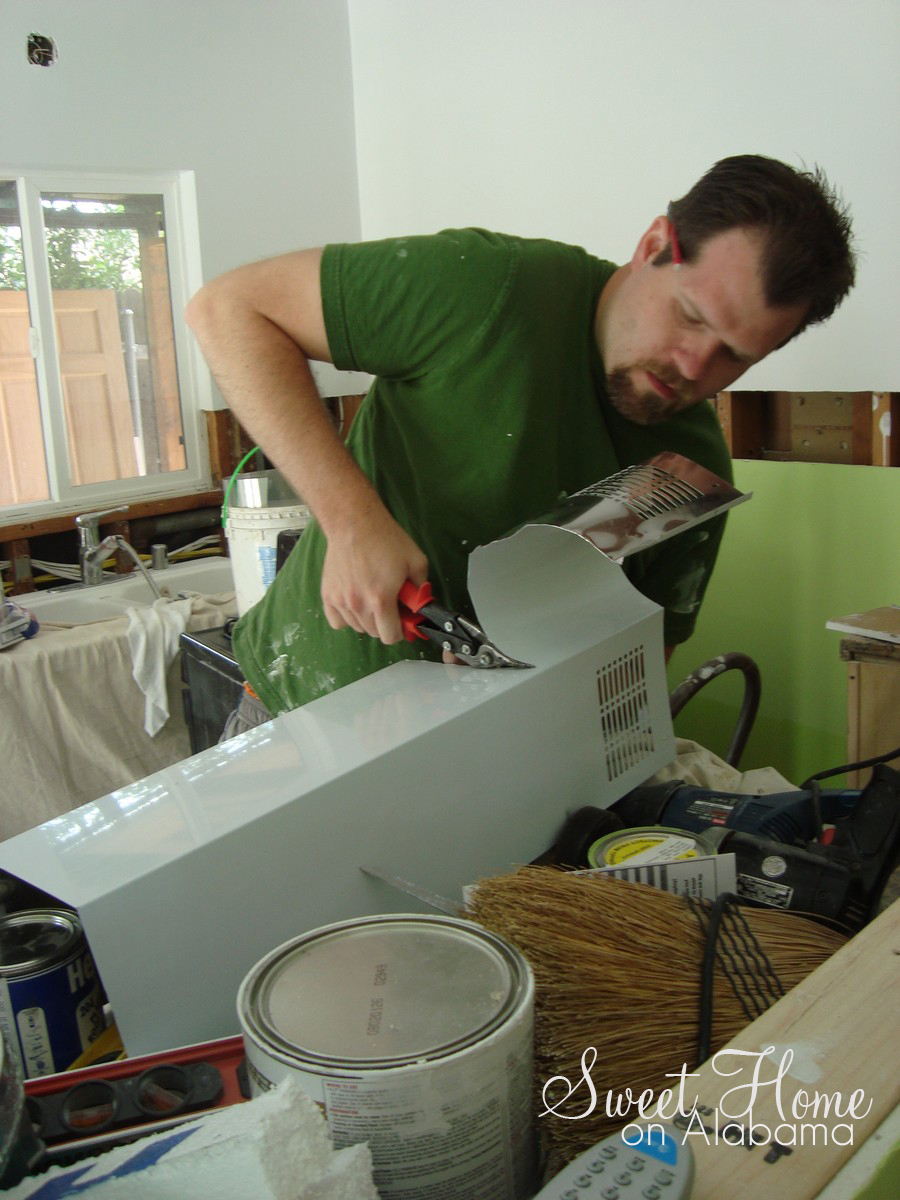
House043

Cuttin' stainless, now that was awesome!House049

Much better! Now the vent is nicely covered and everything will look sleek and clean.
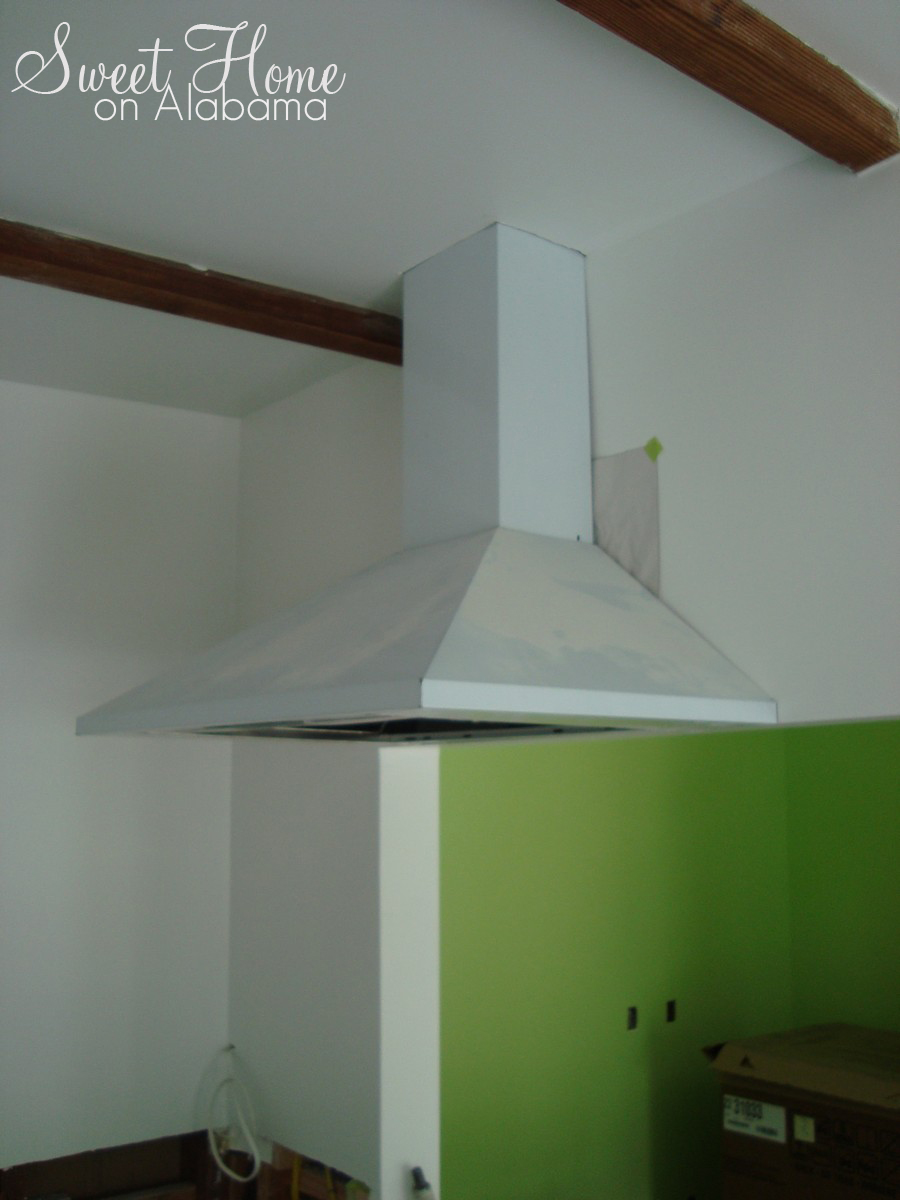
House053
Now all we need to do is install the new range that this hood will be working with. That's it hiding in the box in the background. It will have to wait until I am done tiling the kitchen backsplash... (To be posted on in the near future)

Tuesday, May 18, 2010

Drywall Time!


We finally had everything ready to go for drywall last week. This was a big project and hard to get right. For this reason, we hired Seth Spangle, owner of 180 Design and Build. He is the dad of one of my (Doug's) students. He is the one on the left in the picture below. On the right is oddly our realtor Dan Abboud (another dad from my class). He dropped by to see how the house he helped us get was turning out.
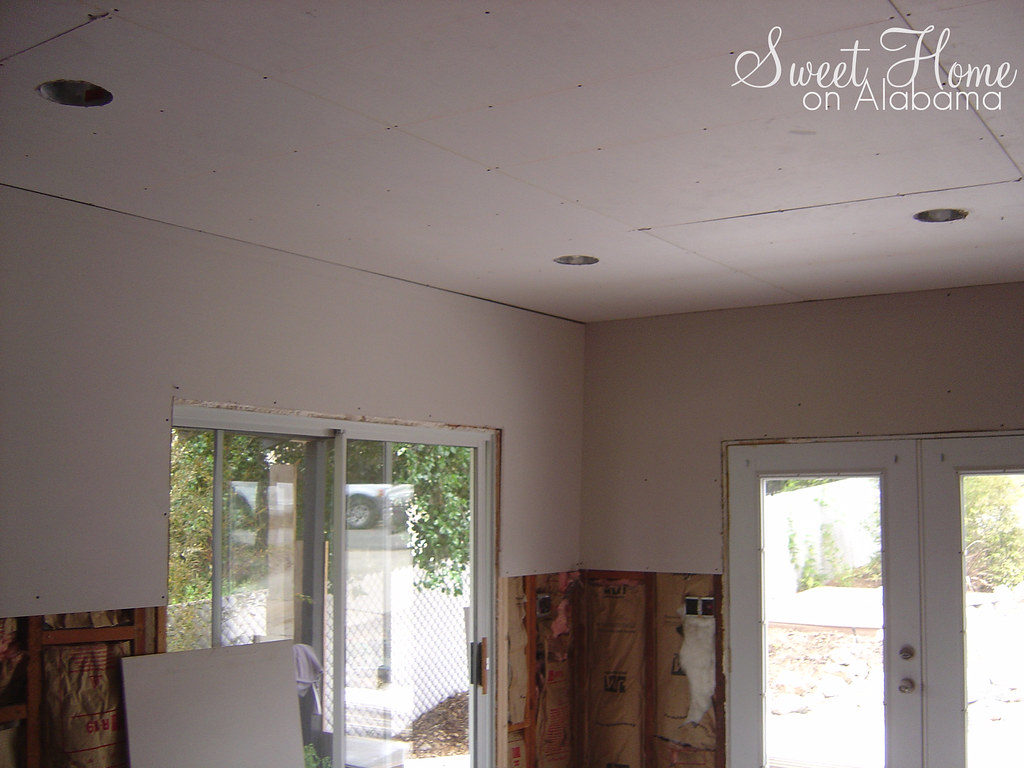
It took about two days to get it all cut just right and on the walls and ceilings.

One of the trickier parts to drywall was the ceilings in the kithcen and both bedrooms. We wanted to keep the beams exposed, so each piece had to be cut just right to fit in there perfectly. You can see the bays done on the right verses the ones on the left that have the insulation exposed.


It was another two days to tape and mud it. Here is the tape going in.
House106

More tape and the mud going up.
House115

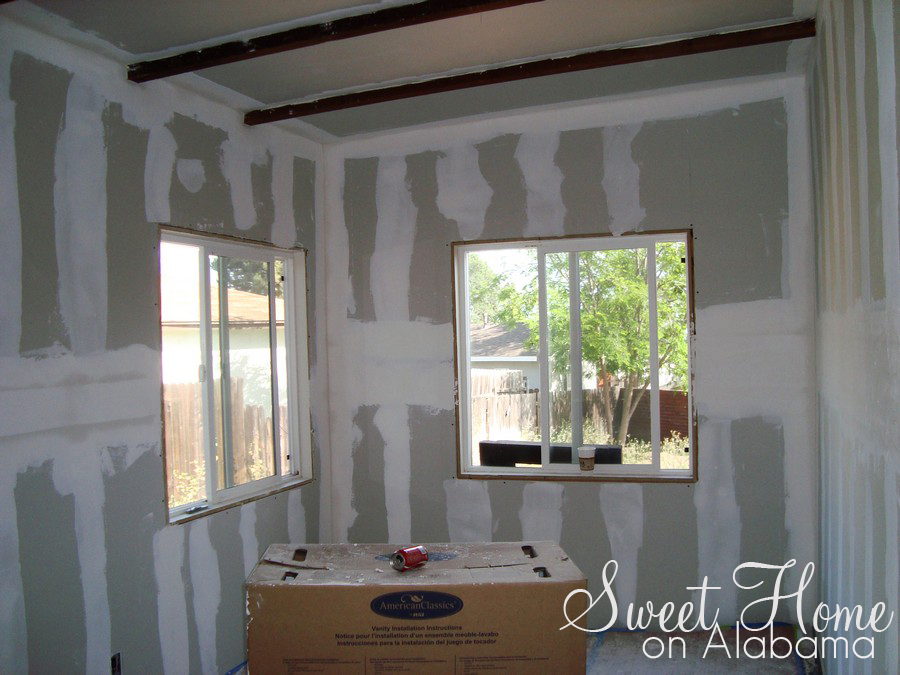
It took a lot of mud. This is the first coat. When this dries, they sand it and then do the skin coat.
House126
This beige tone is the skin coat. We asked Seth for a smooth finish. We are not big fans of texture. Most new homes these days are built with a thick texture known as "orange peal." We decided we like smooth walls. This is very hard to do with drywall (another reason for hiring Seth). He had his crew apply this skin coat so that we would have a perfectly smooth finish (once it was sanded smooth of course).
House127

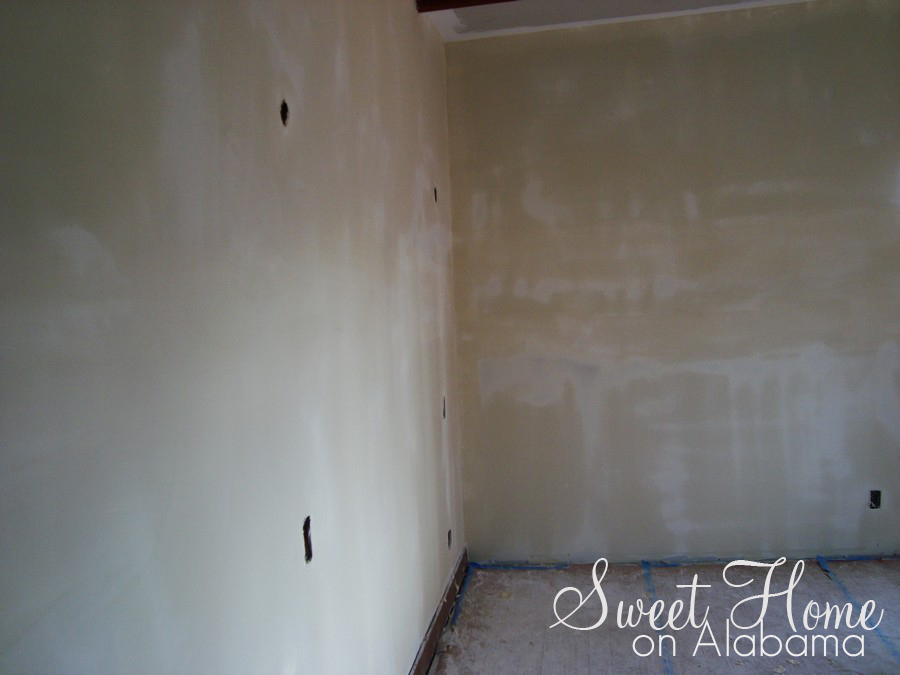
Here is the living room before the skin coat...
House131

...and here it is after. Big difference, and very smooth!
House137

Even the ceilings got the skin coat. This is our second bedroom.
House139

Master bedroom: Notice the holes for the wall sconces and switches... (yes I am excited about the wall sconces...)
House141
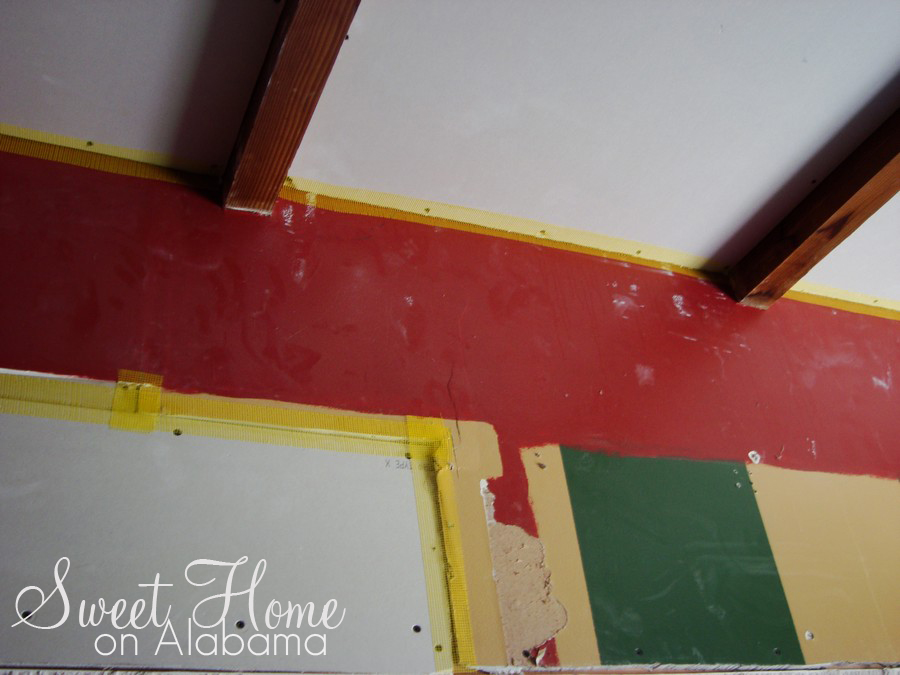
Remember that wall that we opened up in the kitchen? Here it is all drywalled up. Looks good doesn't it? I just can't wait to get that kitchen painted so the walls will be one color as opposed to maroon with yellow and green (fumigation tent) stripes. Stay tuned for our post on painting coming soon.
House142
We are so happy with how the drywall turned out. It was worth hiring a professional to get this part of the remodel done. We would like to thank Seth Spangle and his crew from 180 Design and Build for giving us beautiful smooth walls.


Friday, May 14, 2010

Insulating the Ceiling

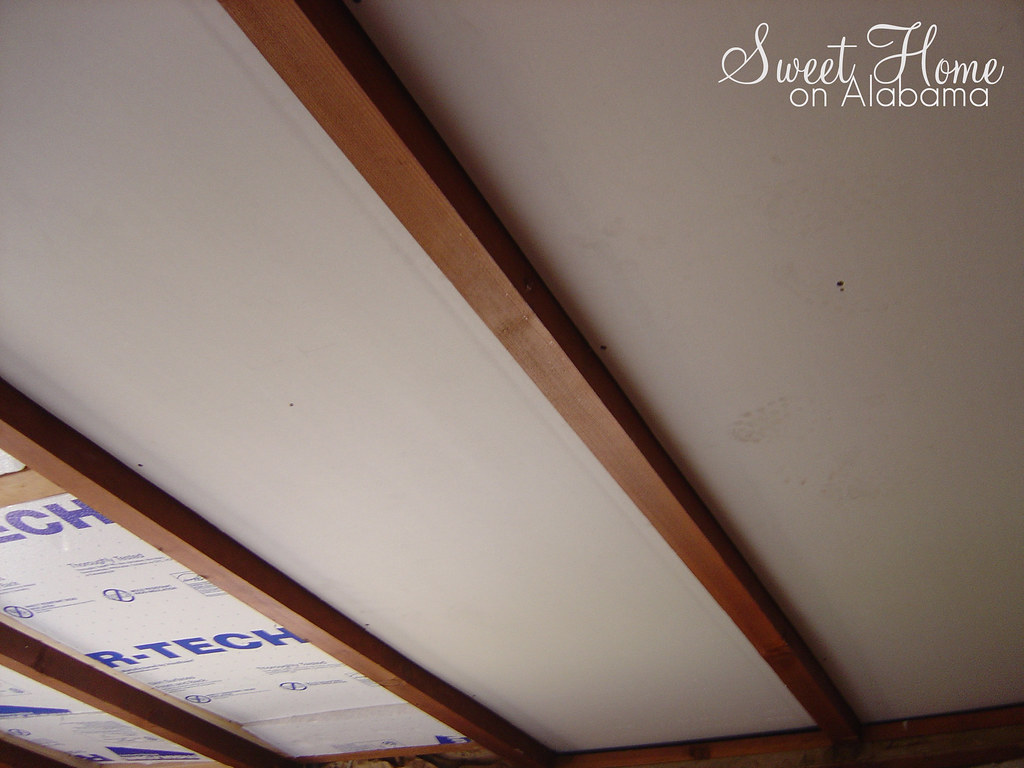
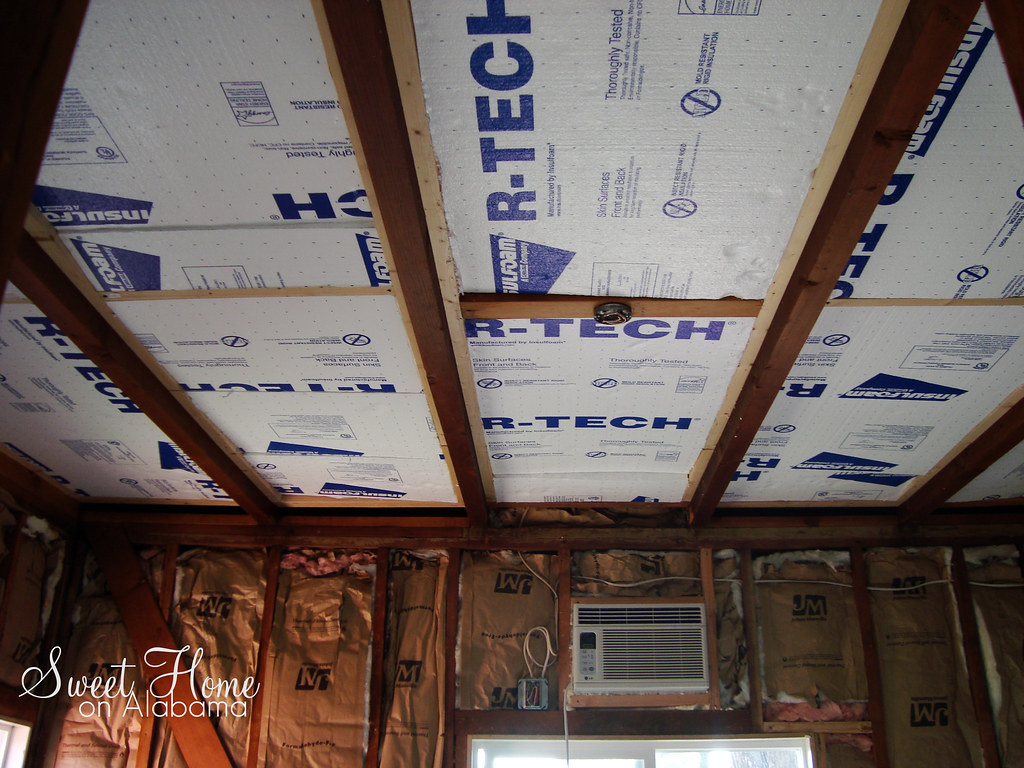
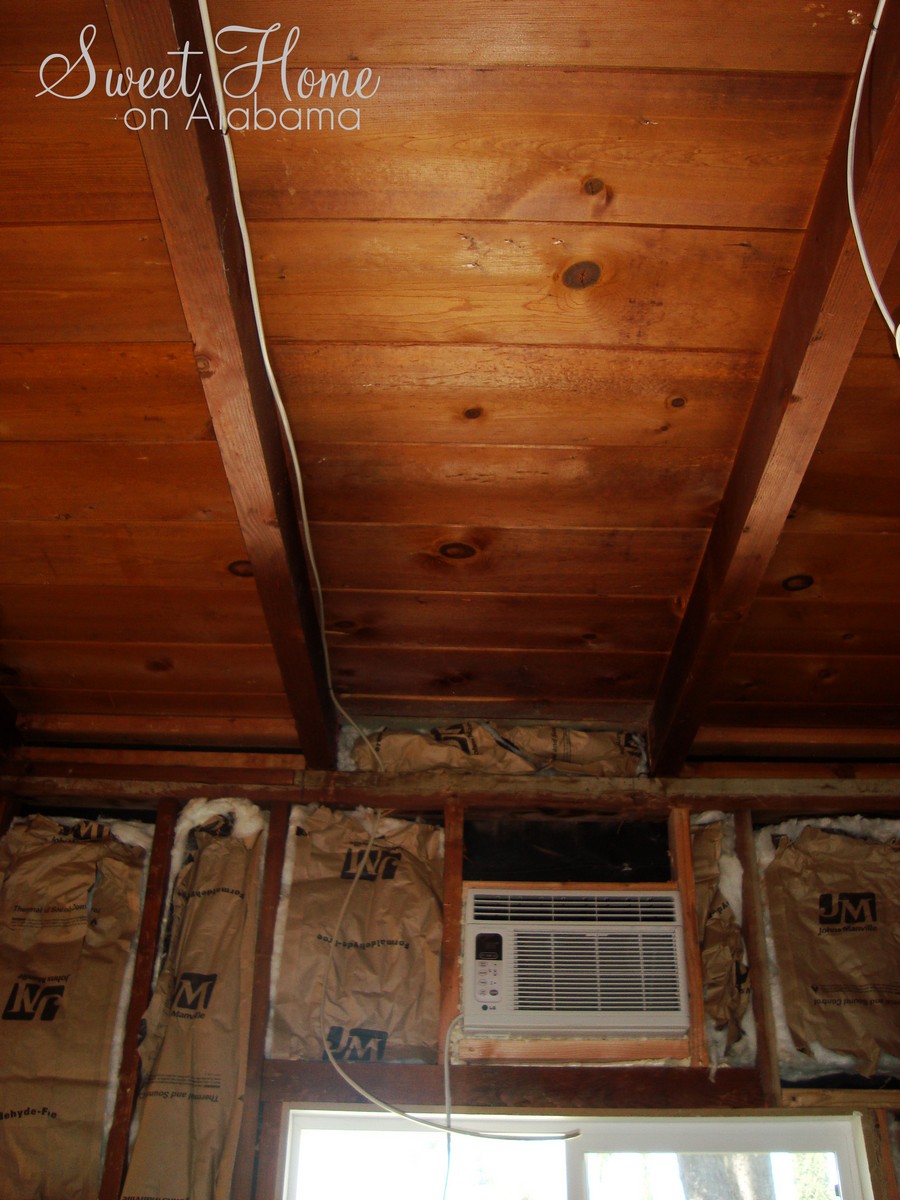
Currently our house has no attic. The ceiling you are looking at in this picture is also the roof. That's right. If you moved one inch through that wood, you would be outside. This means when the sun is beating down on the roof, you feel the heat on the inside. We decided that we would insulate the ceiling to help keep it cool in the summer and warm in the winter. In many of the rooms, like the kitchen here, we wanted to keep the exposed-beam look. In order to maintain this look, we had to frame out each section, or bay, and insert insulation.

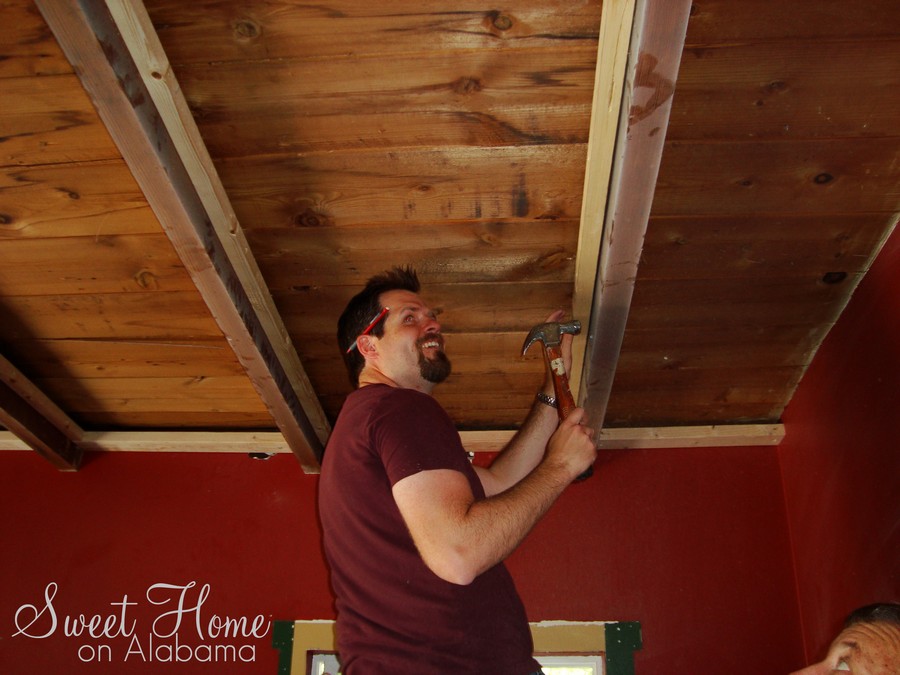
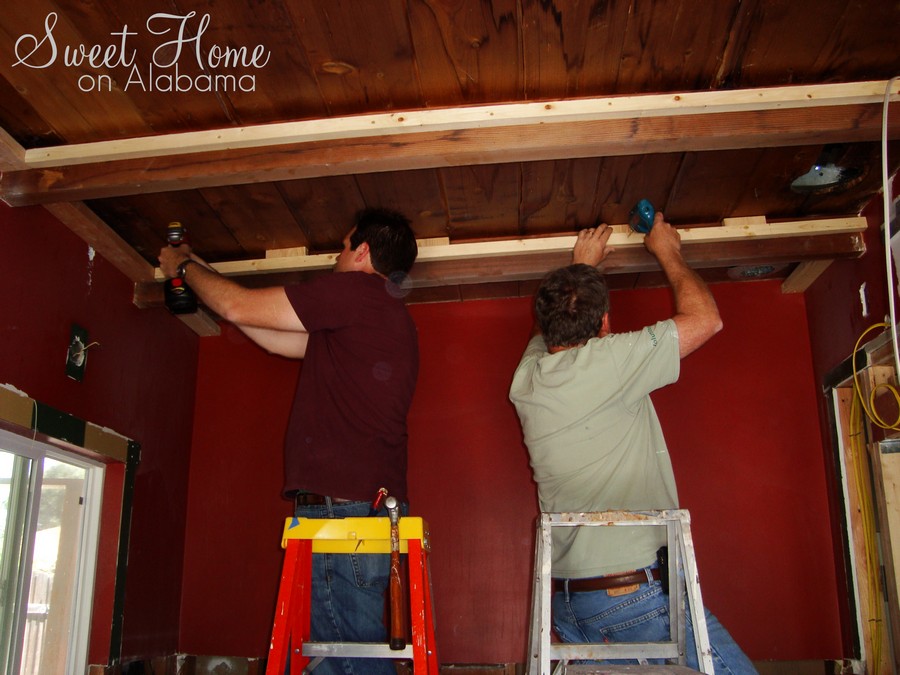
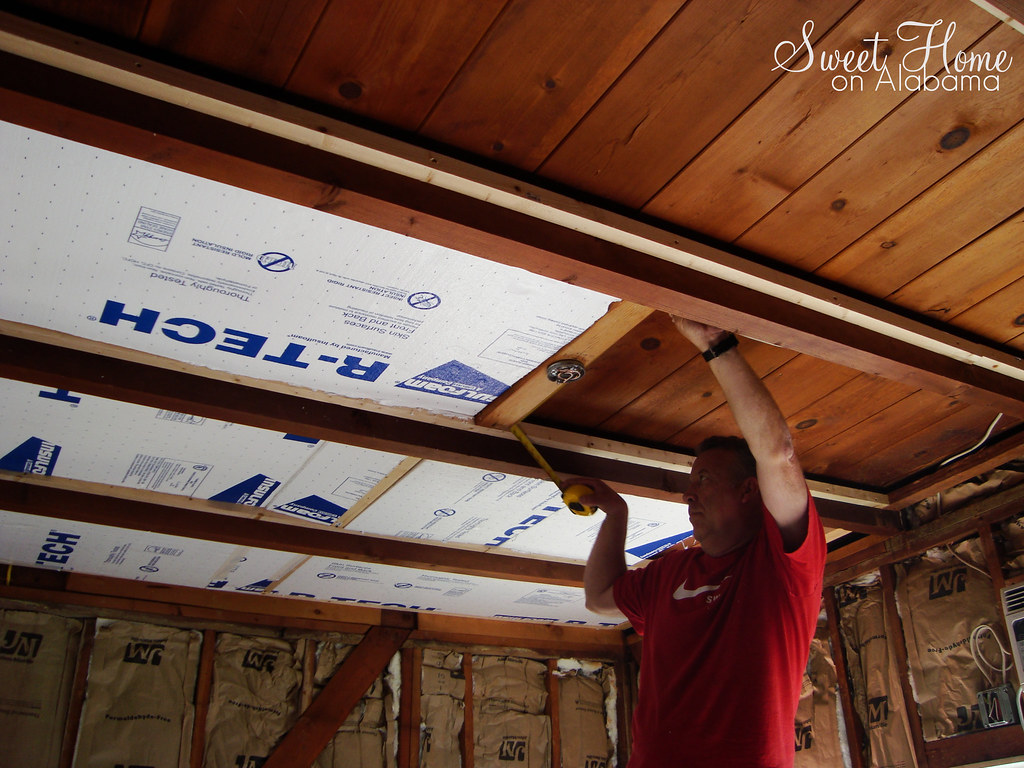
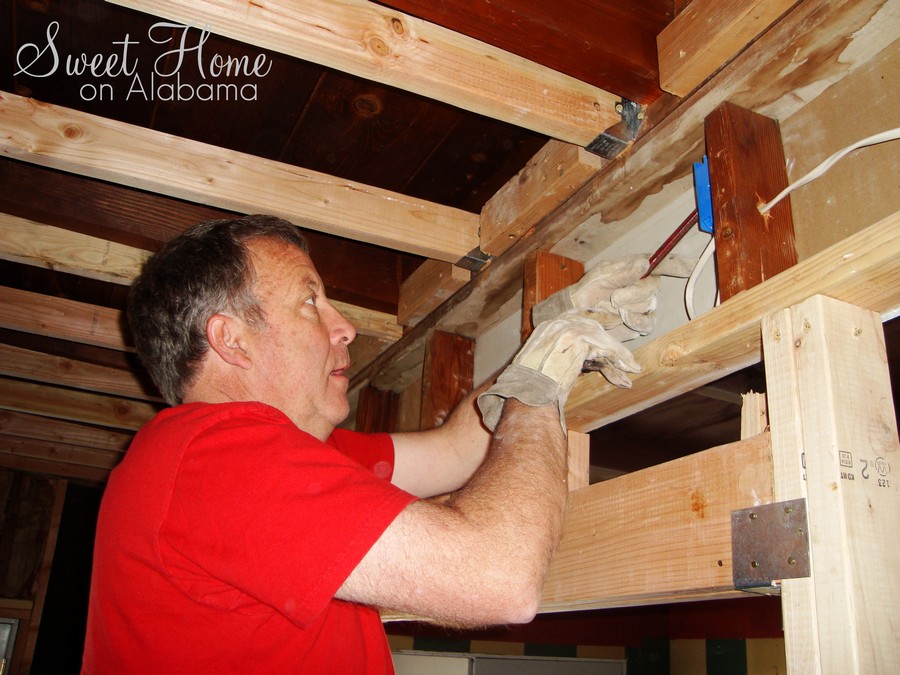
Here I am with Laura's Dad working on framing out the ceiling bays. We are attaching 2X2's on the sides of all of the beams. On the ends we attached 2X4's. This is what the drywall will be screwed into eventually.

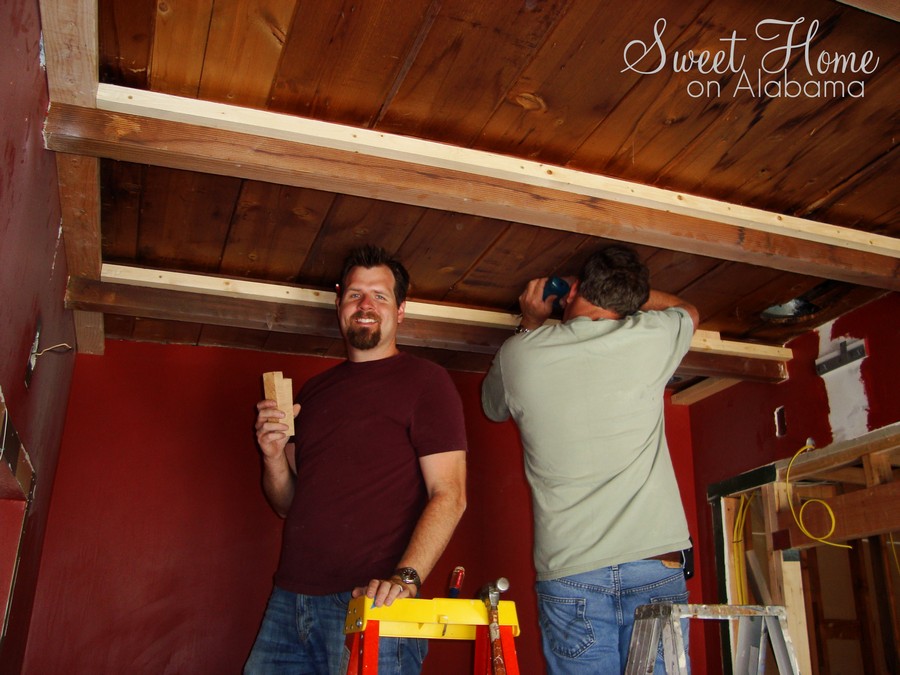
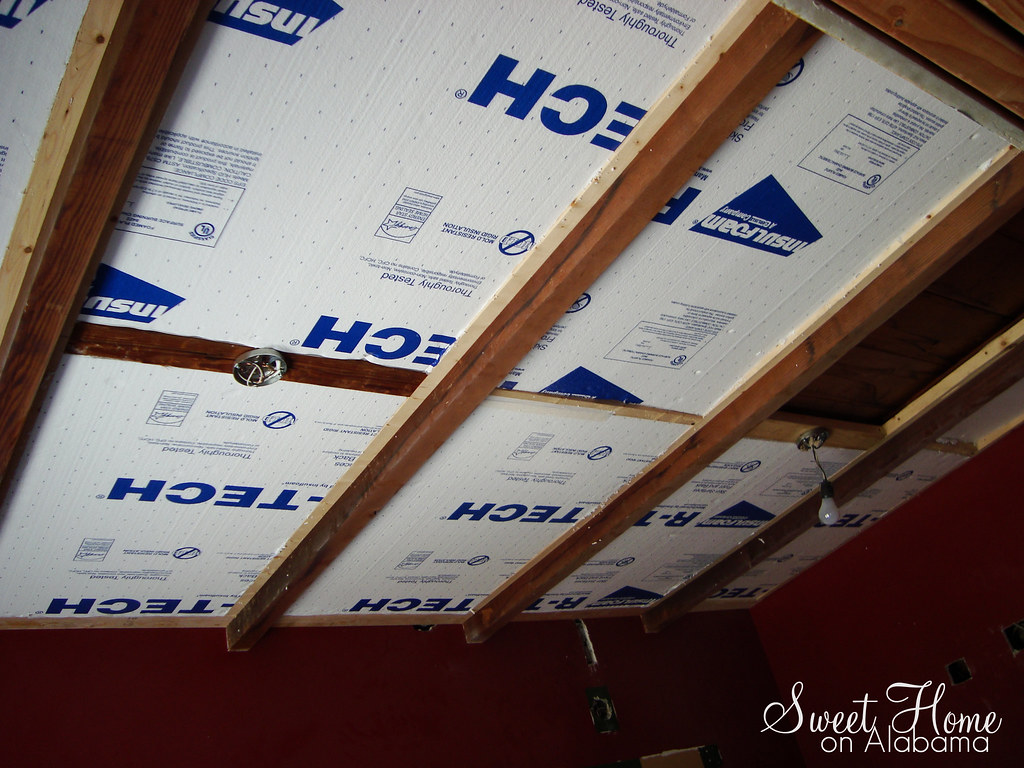
These are the spacers we used to make sure that the 2X2's were evenly spaced away from the ceiling. We attached them 1 inch from the ceiling. With the 1.5 inch foam insulation, this would leave a 1-inch air gap, which will help insualte as well.
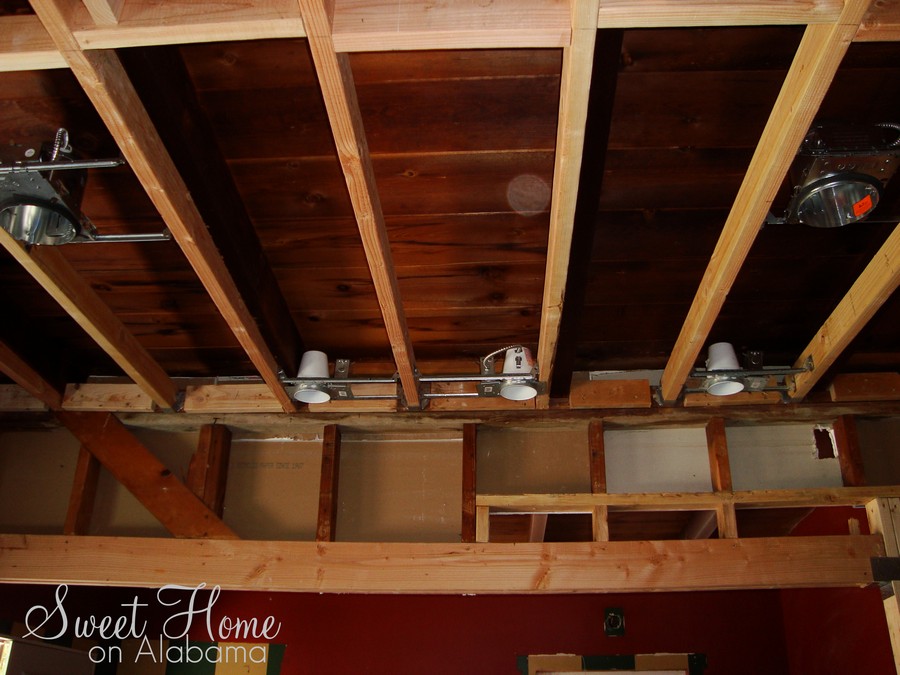
In the middle of some sections we added 2X4's so that light fixtures could be attached. The electrician installed receptacle boxes to these. In the other bays, we used 2X2's in the middle.
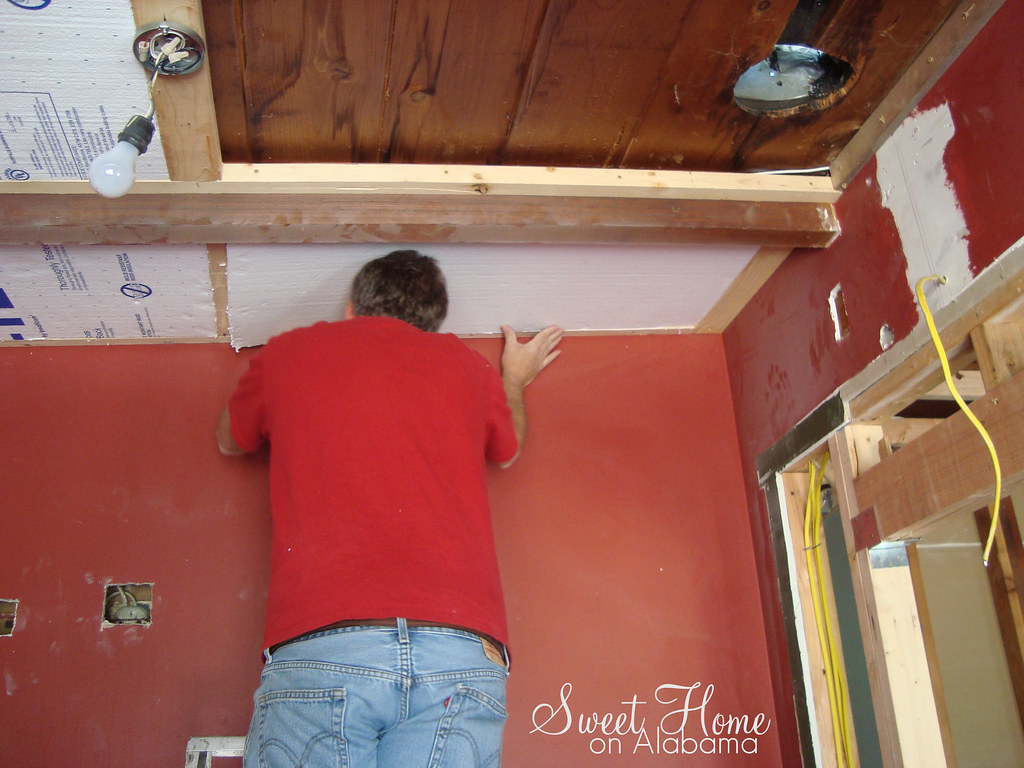
Now you can see one of those boxes. This flat receptacle box is called a "pancake" box. It is the same thickness as the drywall that will be installed around it. The light fixture attaches directly to it. Laura's dad is installing the foam insualtion. (No, that is not the light fixture we are using)
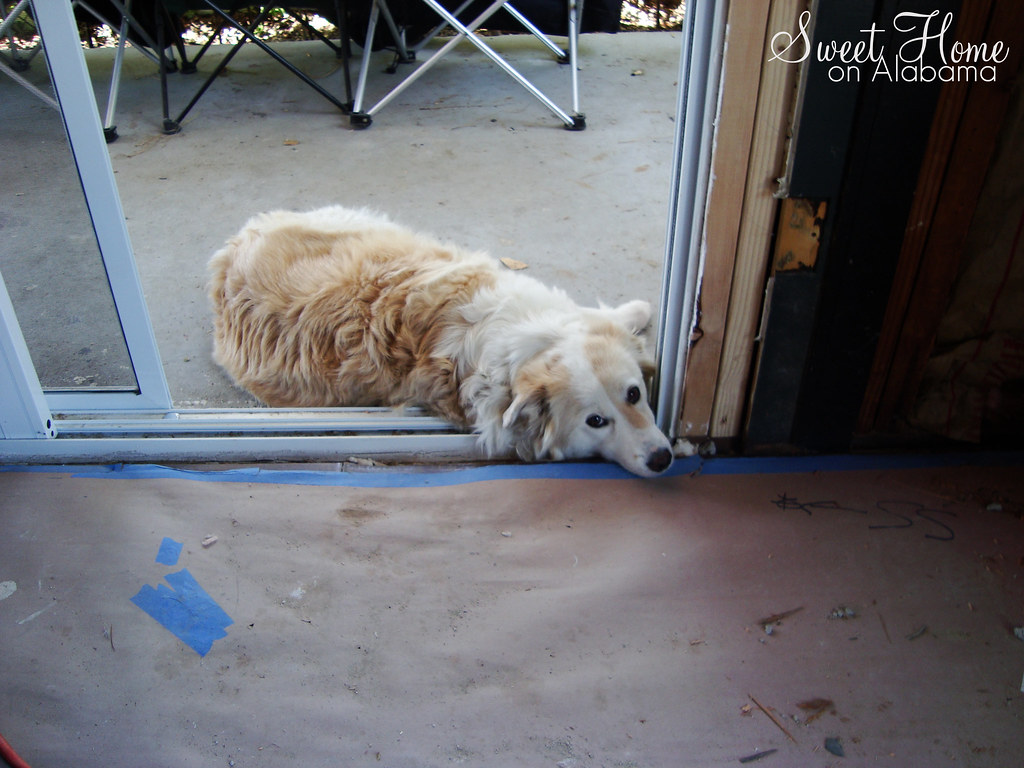
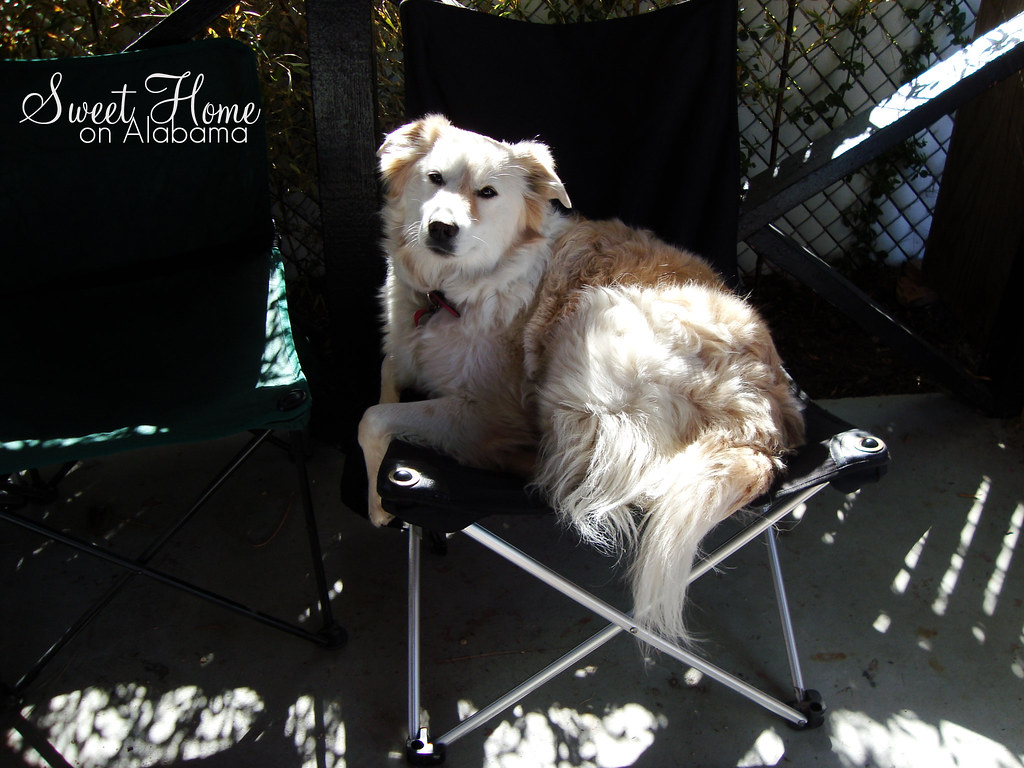
Here is Laura's Parent's dog, Sandy, looking cute. She came that day just for fun.
This foam insulation is basically large sheets of styrofoam. If you cut it right, it squezes nicely between the beams. This is a good way to insulate a shallow space. It takes a lot of measuring and cutting but I think it was worth it. (If I had this stuff when I was a kid I could have built the coolest fort ever!)
More measuring...
"Yes, I am still being cute"

Bedroom...done! (Notice the light receptacle, that's new too!)
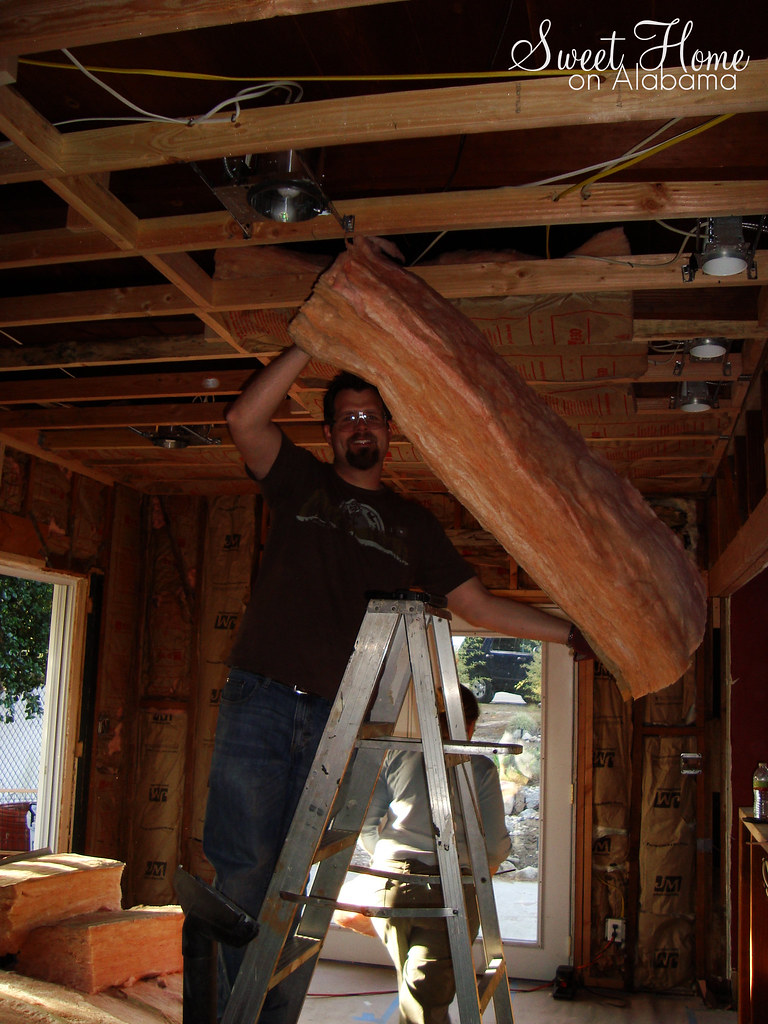
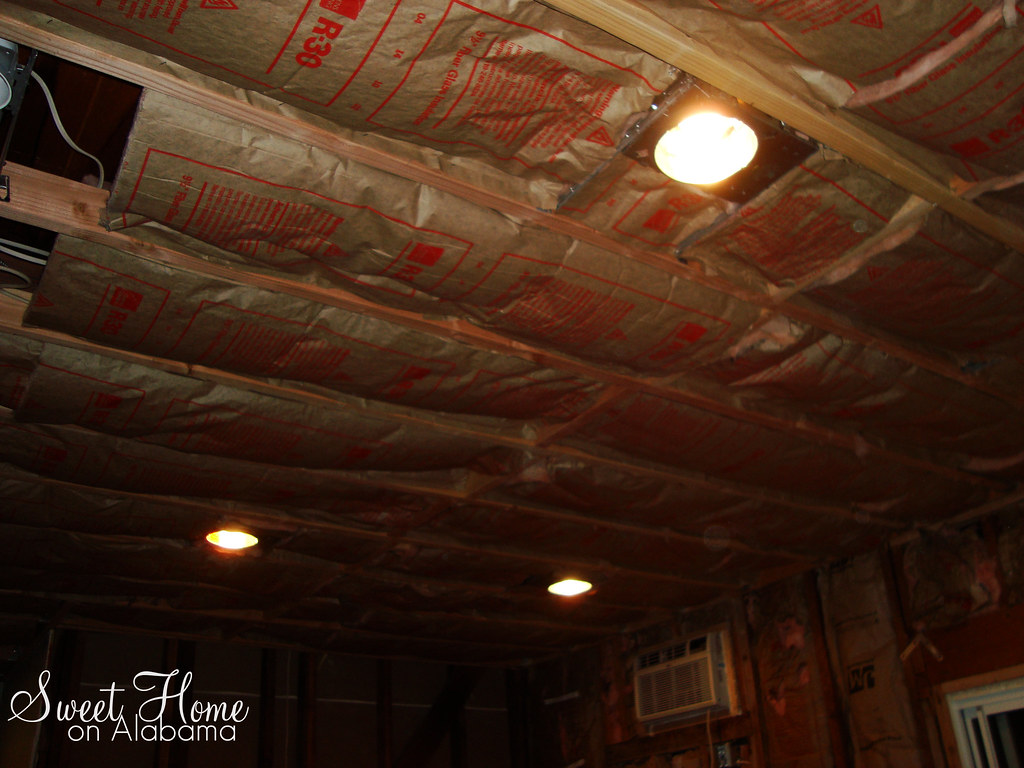
Since we dropped in a ceiling in the living room, we used standard fiberglass insulation here. It has a great R-value but it is messy, ithcy stuff. I used this staple gun to hold it in place.
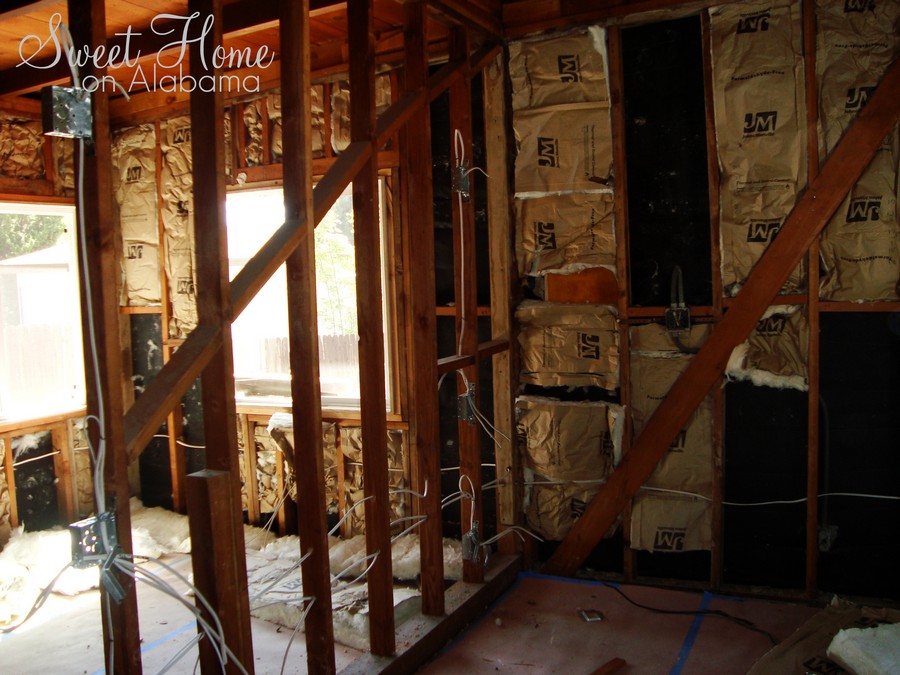
This 9.5 inch this pink fluff has an R-Value of R-30. That is pretty high compared to the walls that have R-13. The styrofoam provides about R-10. Since we will spend much of our time in the living room, it was important to go as high as possible in here. We hope it really helps keep the hot roof from heating up our main living space.

Living room...done! (Notice the new recessed lights are on. It was geting dark by this time)
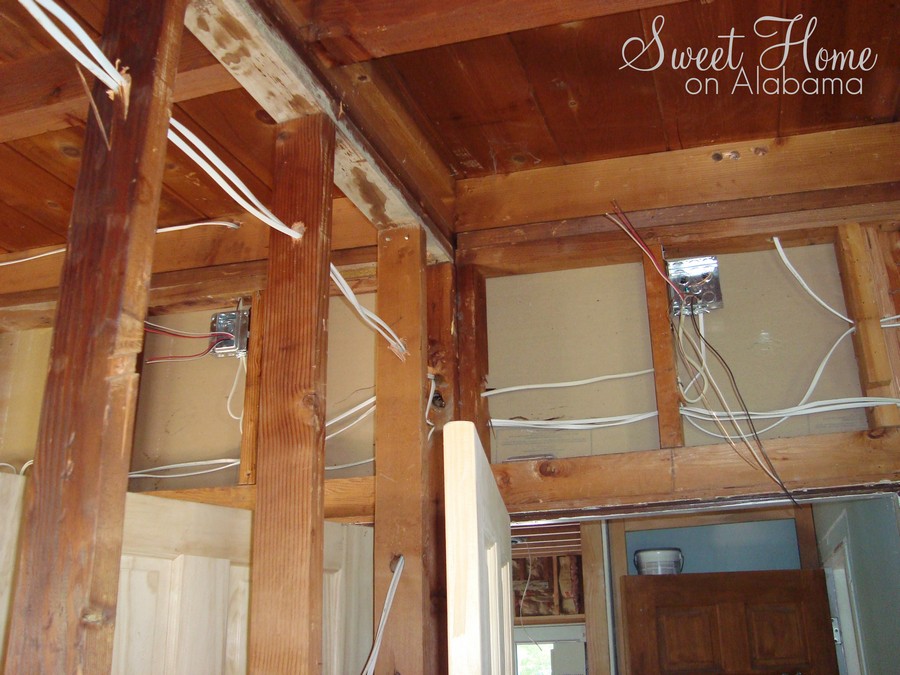
Now we can move on to Drywall. Next week we will post on this process. This will be one of the only projects we are having professionals come in to do (other than electrical). My drywalling skills are Ok but not as good as I'd like to have our walls look. We can't wait to have walls again!


Monday, May 10, 2010

All New Electical!!

So we invited our electrician friend, Dave Goldsworthy, over to give us an assessment on our electrical situation. First thing he said was, "All of this has to go." Here is one of the reasons why. This wire connection is a huge fire hazard. Plus, the house was not grounded.
house40
All of the old stuff went bye bye...
house41
Here is Dad helping remove anything that was already in the house. It was like starting with a clean slate.
house44

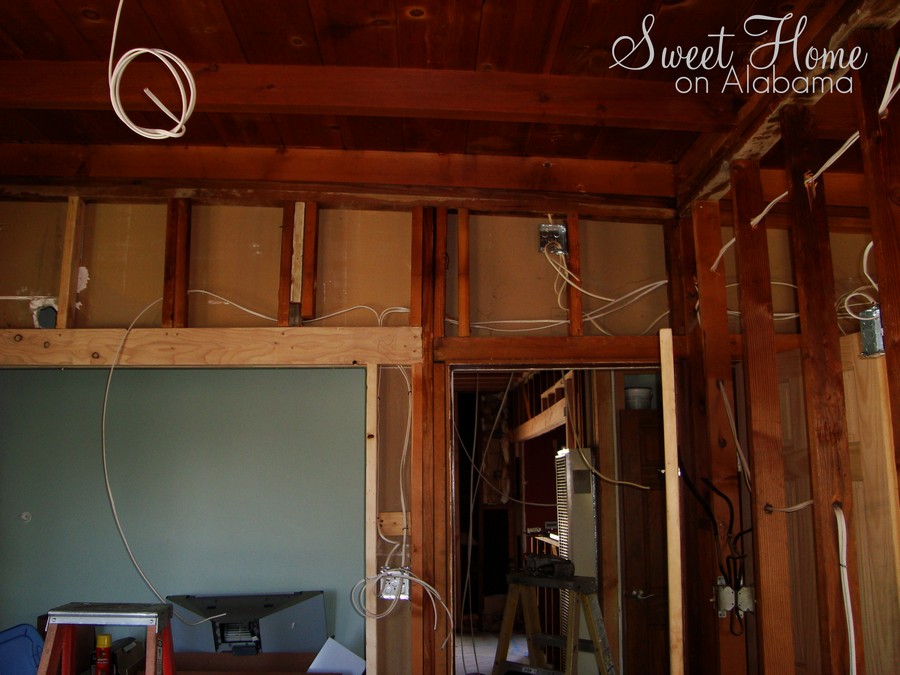
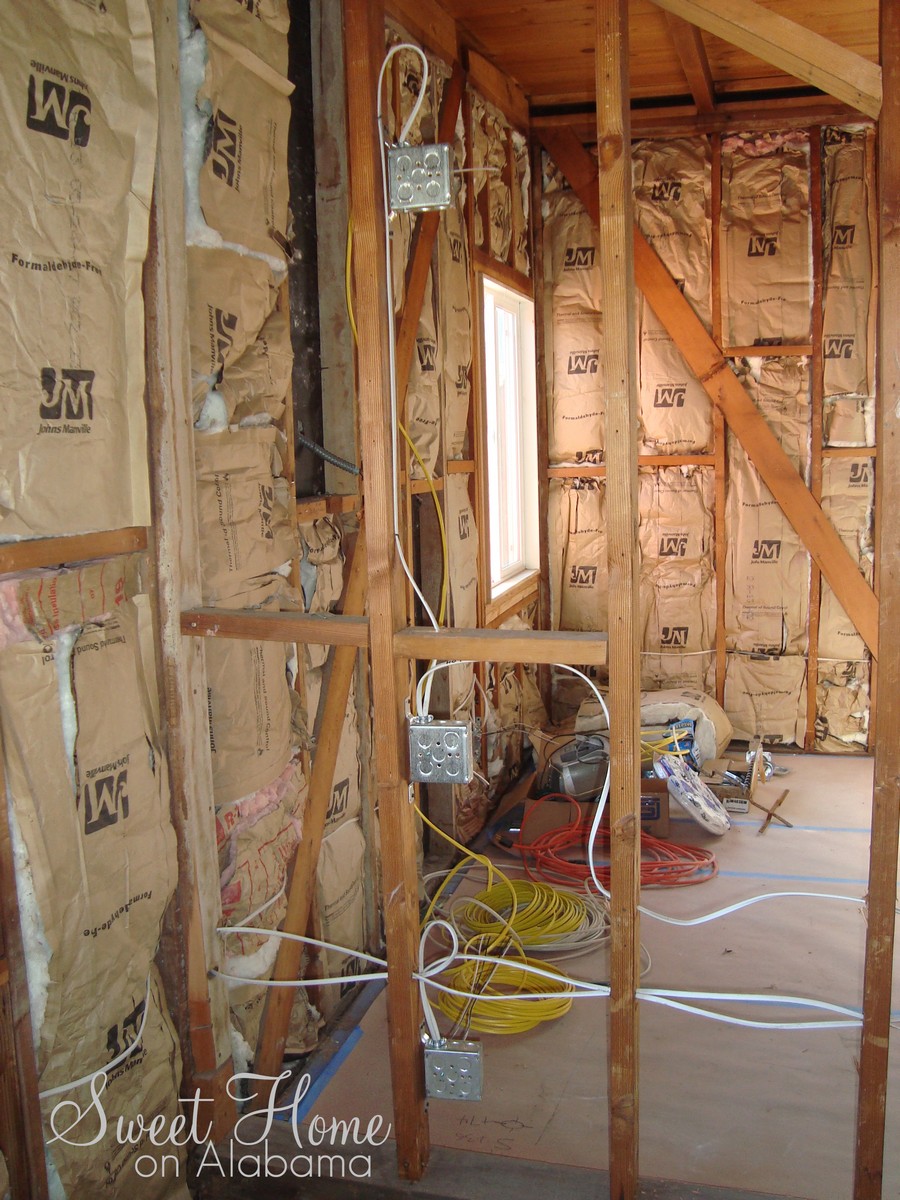
All of these white hanging wires are called "Romex" in the construction industry.
house48
Fresh new romex going in everywhere.
house49
They were able to run the wires along the ceiling since we were going to be drywalling them in.
house50
This is where we will have two wall sconces on either side of our bed. Each one on its own switch so they can be turned off from the comfort of our bed. How luxurious...
house51

If you look closely, you can see the old light switches hiding behind the bedroom doors. That is not very convenient. Those will be moving to the other side of the door thank goodness.
house53

One of our favorite new features...recessed lighting in the living room. With our new ceiling, we were able to add these awesome lights. The really light the place up!
house57
These babies will shine down on the brand new bar counter top. Nobody wants to eat in the dark right?
house58

Here is the back of our master bedroom lighting detail. Top: Wall sconce, Middle: Switch, Bottom: four outlets for alarm clocks, electric blanket, etc. It is the same on the other side of the bed. The Ritz has nothing on this!
house74
These are receptacles for our new hardwired smoke detectors.
house75

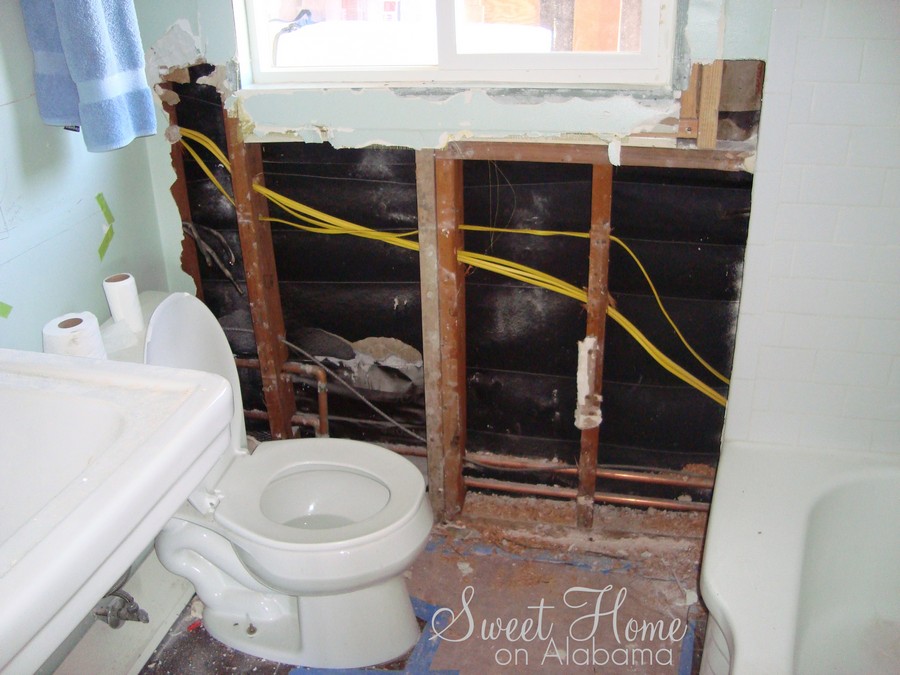
It a good thing we opened up this wall...
house77
We'd like to thank Dave and Kathy at the Elextrix Company in Montrose for making our house a state-of-the-art electical wonder.

Bring on the Drywall! Oh wait, we have to finish insulating first...