Bathroom Tile
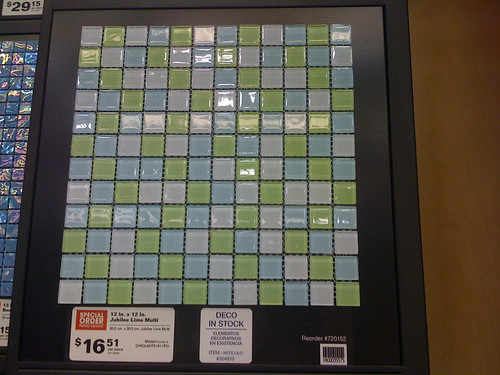
For our bathroom we decided to go with glass mosaic tiles. We both really like how they look. We did not expect it to be so hard to find the colors we wanted. We were looking to go with something that had some greens and some blues. You would think that one trip to the tile store would be all we needed to locate the right pattern...
We went to a few different places. Everyone had patterns with blues and patterns with greens but none that combined the two colors. We were about to settle with a blue pattern from Home Depot when I said, "Let's try Lowes just in case..."
Wouldn't you know it? They had the perfect tile right there. Here it is in the picture below. We had to special order it but it was worth the wait and it only took 7 days to get it in.
I started this 2-week project by removing the sink and the toilet. Then I had to remove the old drywall from the walls where we would be placing the tile.
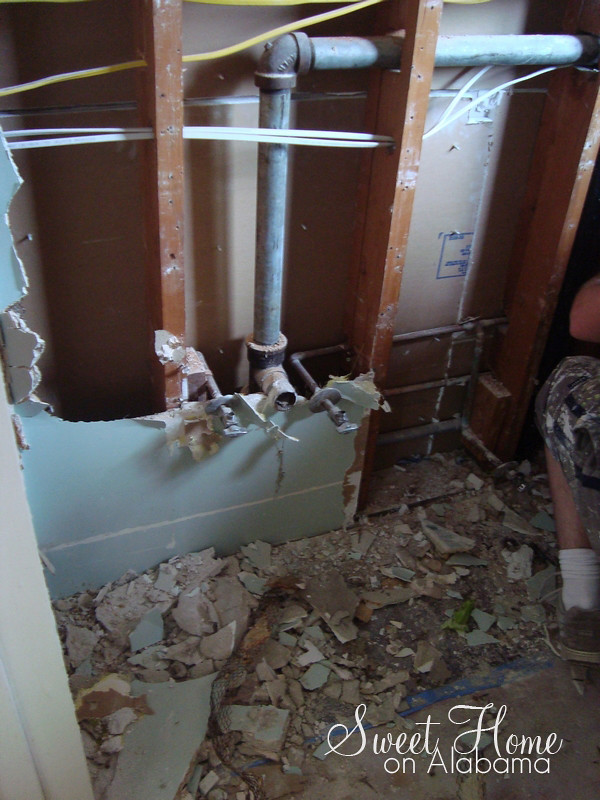
I kind of made a big mess...
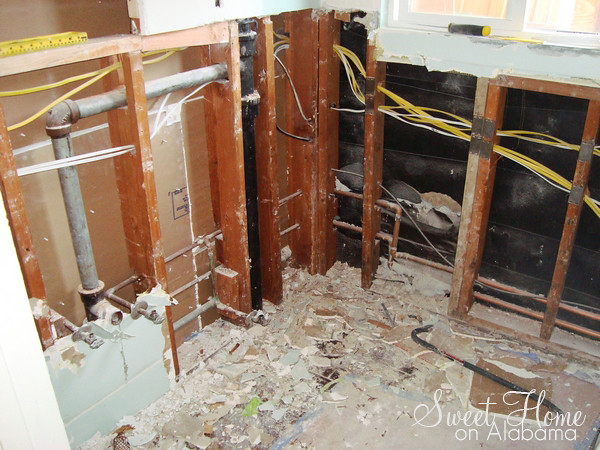
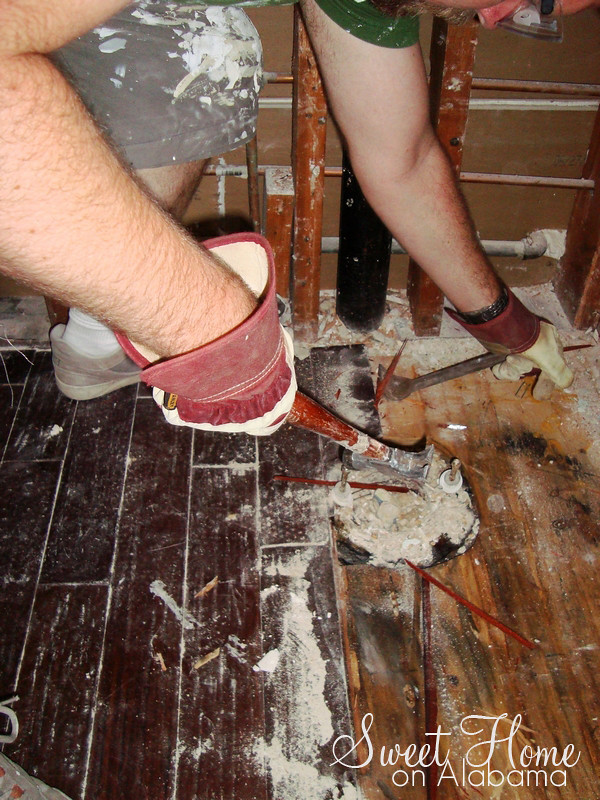
We removed the harwood flooring to put tile there as well. This will be better for a wet bathroom.
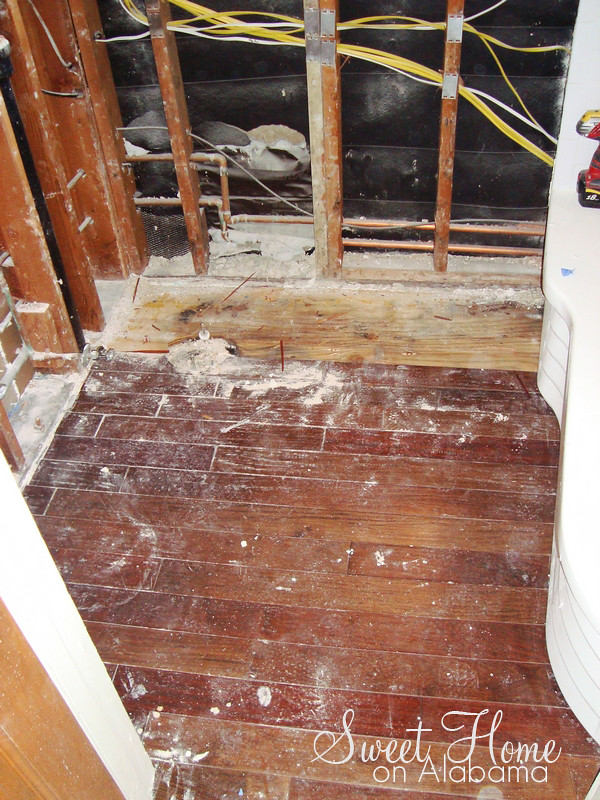
The hardwood planks are nailed to plywood.
With a little effort they come right out.
Almost done...

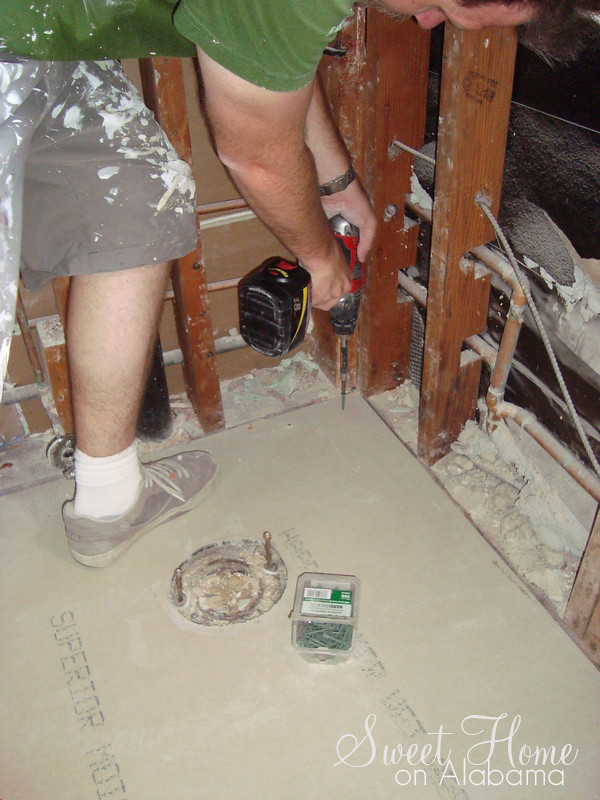
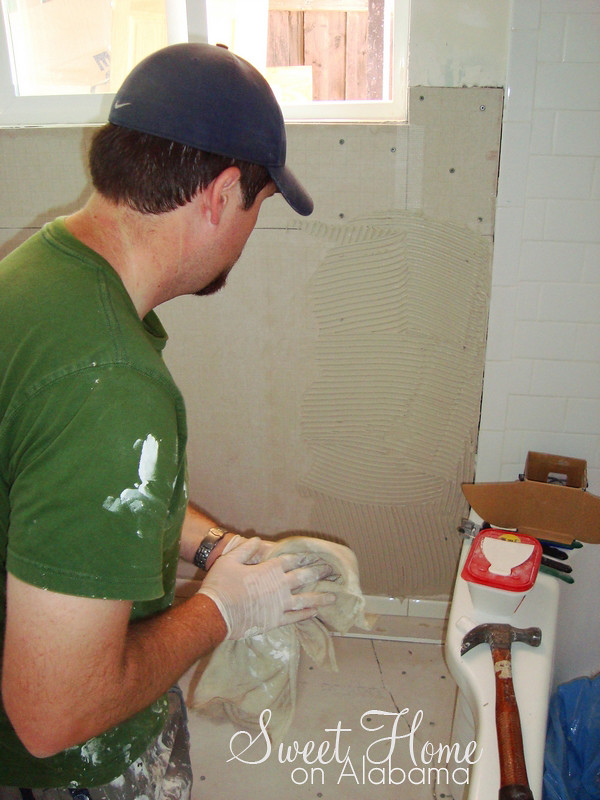
Here I am attaching Hardi-Backer board like I did in the kitchen. This is a great surface to adhere the tile to.
After that, the walls got blue board and then Hardi-Backer board as well. This process is almost as hard as putting up the tile.

We started with this tile base board. It will tie into the exsisting white subway tiles that surround the bath tub and shower. We will add a stip at the top as well to frame out the glass mosaics.
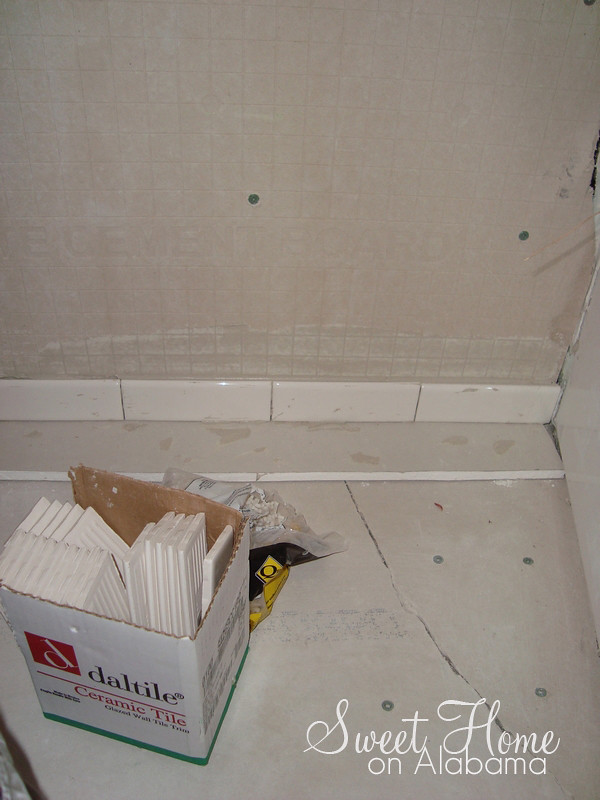
Here is a stack all read to go. Each sheet has 144 1-inch tiles.

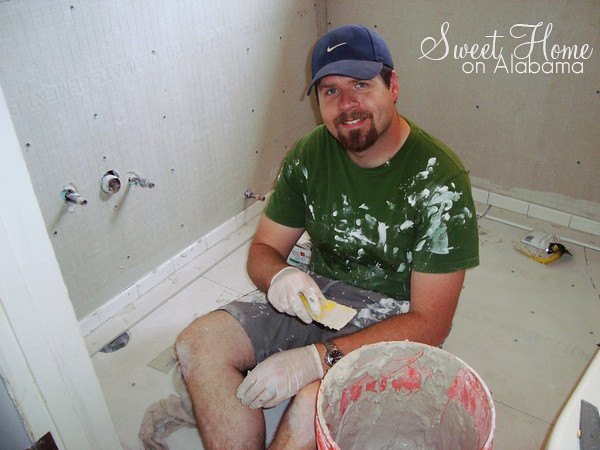
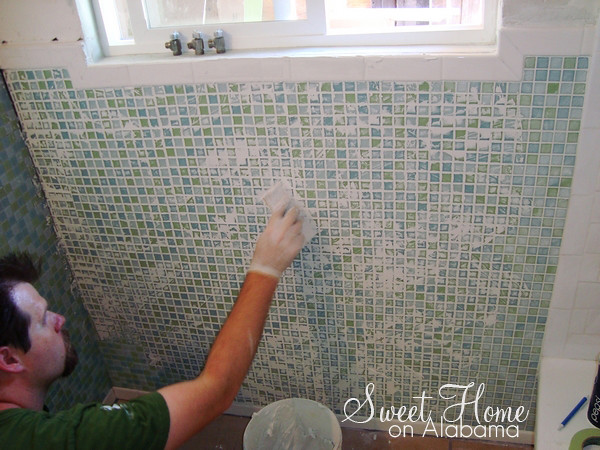
Doesn't this look like fun?
Start with a little mortar on the wall.
Always check that you are level.

The first three sheets are done! This is my starter row since your eye goes to this point on the wall when you enter the bathroom.
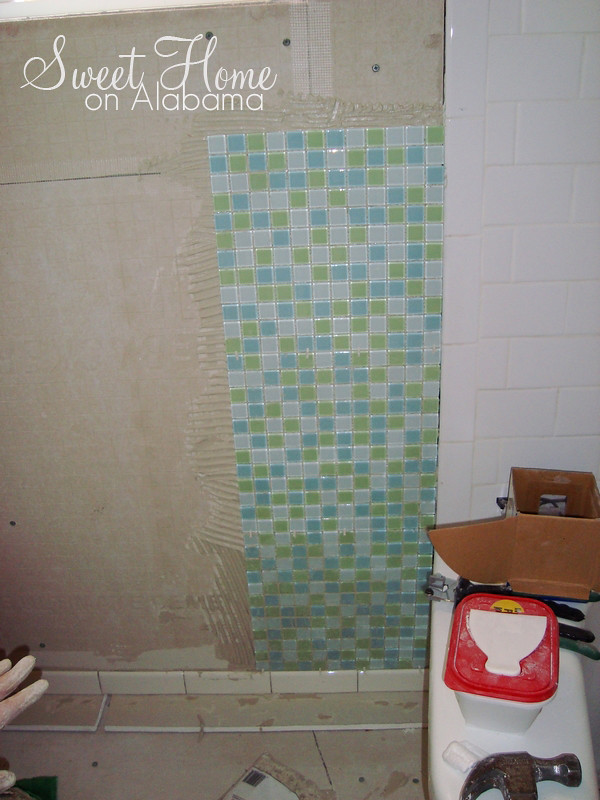
These tiles were a bit tricky to get the hang of, but once I got in the groove it went rather smoothly.
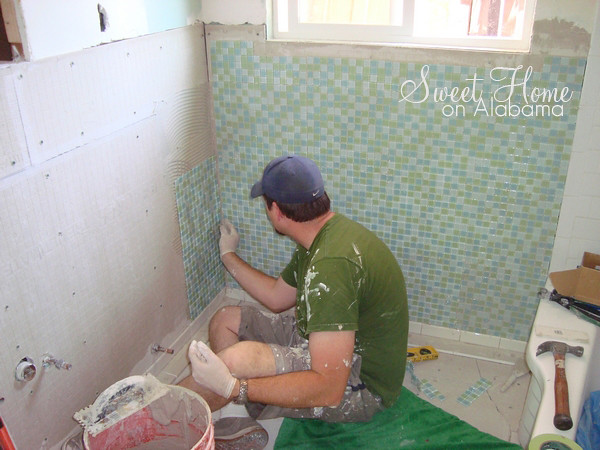
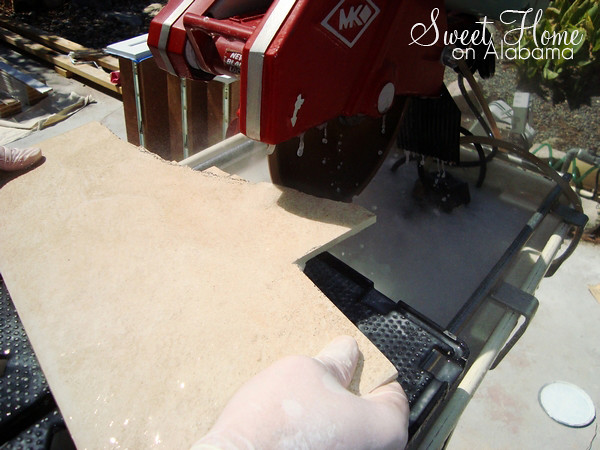
I was even able to cut these tiles on my rented tile saw. I really got it to cut the big floor tiles.
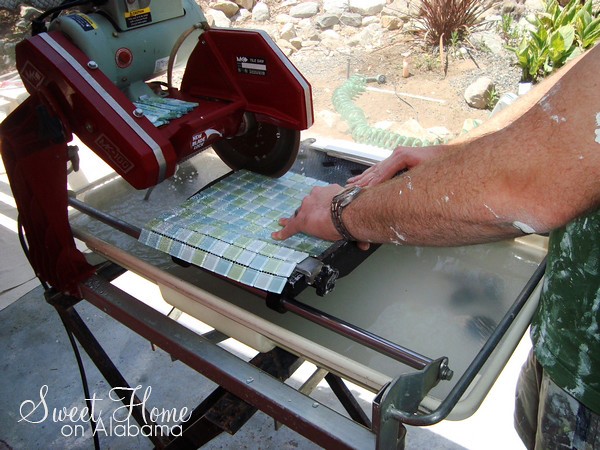
It was getting late so I decided to move on to the tiles that I needed the saw for. The wall will have to wait to be finished on another day.

First, I cut the tile that would frame the bottom of the window. Here are some nice mitered cuts.

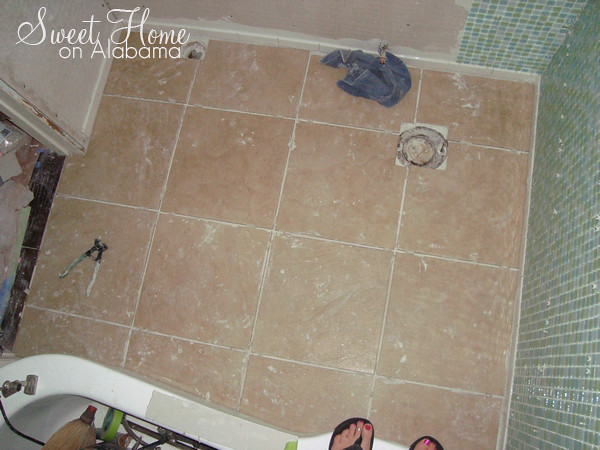
Now on to the floor. I placed my first tile halfway between the door opening. I will build my starter row off of this.

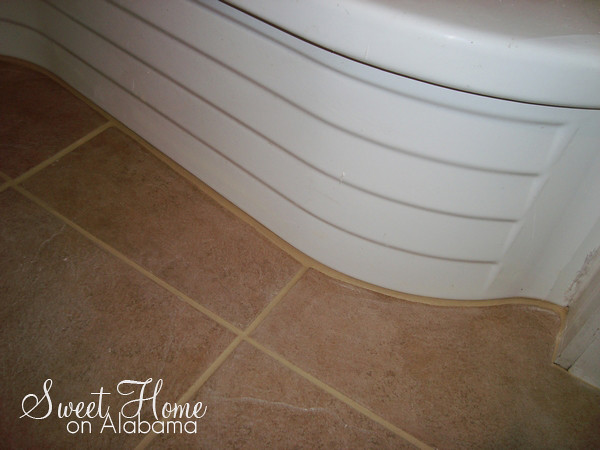
Here it is in all of its glory, the starter row. This gives a nice clean line of tile that the eye will follow to the glass mosaics. Notice how the edge of the tub is curvey?

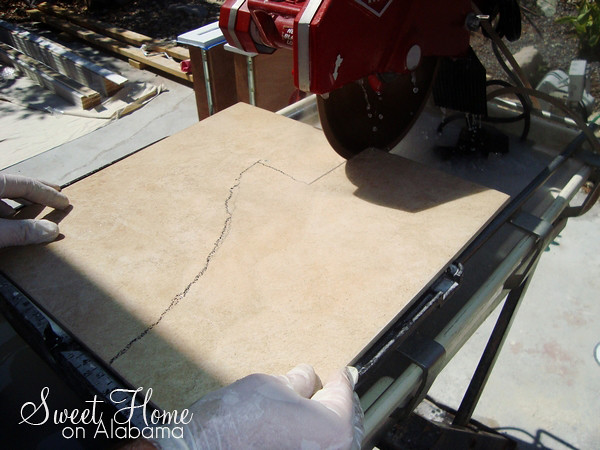
Here is how I cut the curved edges. First I cut as many straight lines as possible. I drew that cut line using a homemade wall scribe made out of a piece of drywall, a China marker, and some tape (not pictured).
On the curved portion I made several parallel cuts down to the cut line.
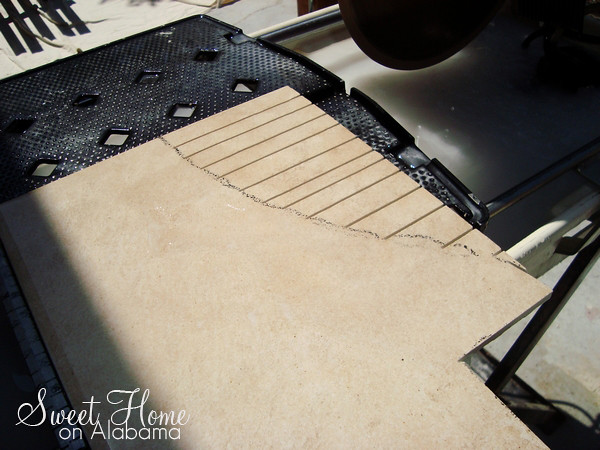
Then I broke them off. They break close to the cut line.
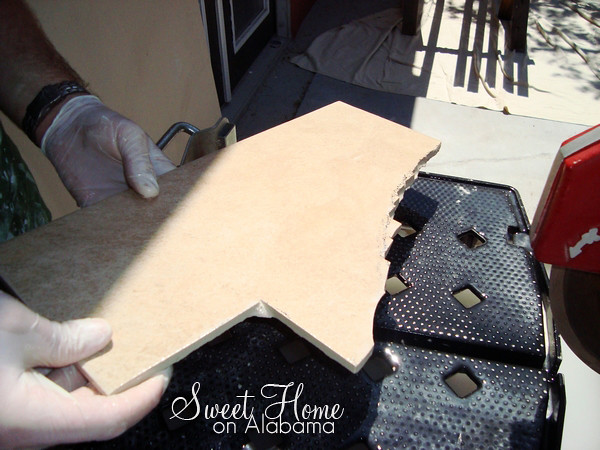
Then I cleaned up the line with the saw blade and my tile nippers (not shown).
And here they all are laid in nicely. Notice the curvey line just below Laura's tosies. (I think I broke 4 perfectly good tiles in the prcess of getting those curved cuts just right)
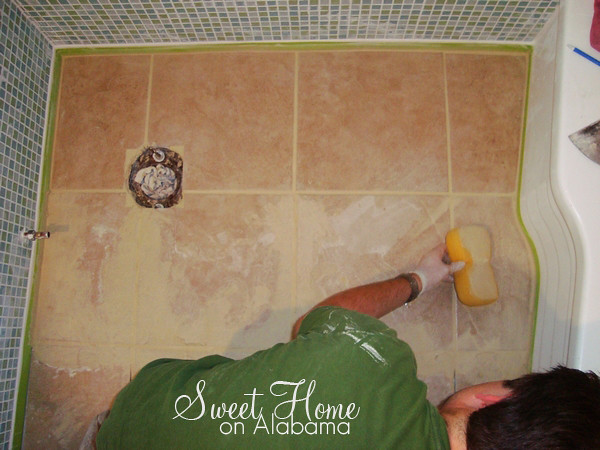
Next, it was time to grout. The glass mosaics took a lot of grout with all of those grout lines to fill.
After wiping with a sponge you are left with a white haze. That just buffs off with a clean rag. Just be sure to wipe off the excess grout better than I did or your will spend days trying to get the tiles clean...

For the floor I actually used my fingers to push the grout into the grooves.
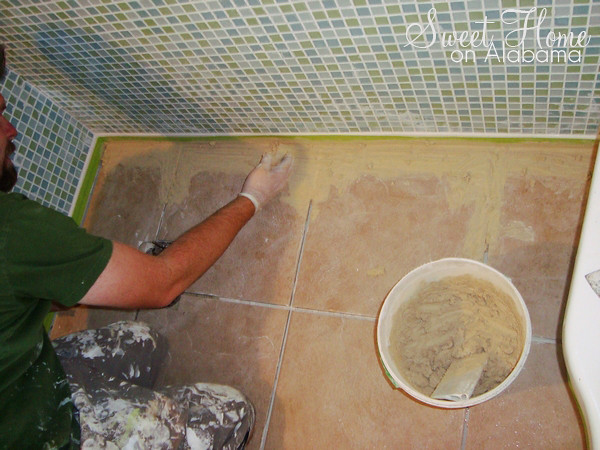
We went with a beige color for the floor grout.
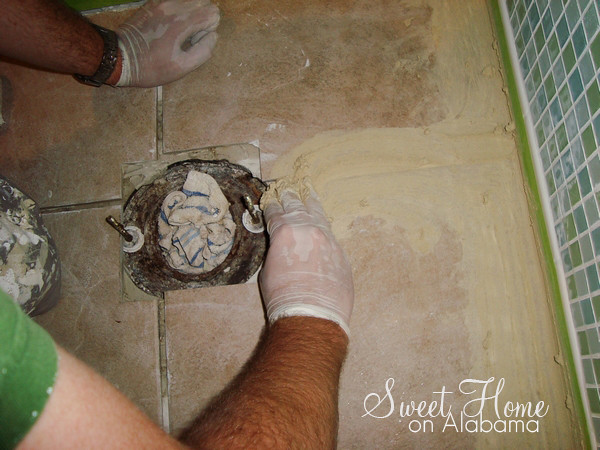
After getting the grooves filled in, you just use the sponge and wipe off the excess.

I did one row at a time and basically pushed myself out the door as I went.
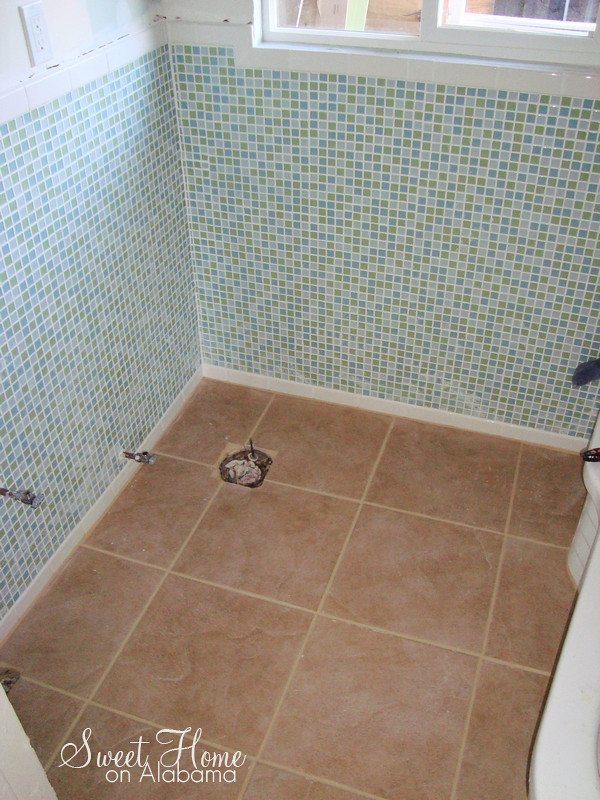
It looks good with the wall tile doesn't it?
Check out that nice curvey edge again...
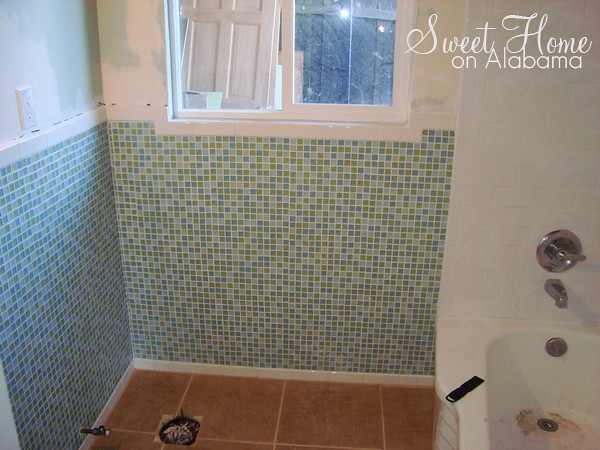
Here you can see how all of the tile works together. The exsisting white tile in the shower ties in with the border around the glass mosiac tiles, which coordinate nicely with the color of the floor tile.
Next we will seal the grout, paint the the walls white, put the toilet back in (thank goodness), add a new sink and sink cabinet, a new medicine cabinet and mirror, shelves, blinds, a shower curtain, towel bars, and the toliet paper holder of course.
We can't wait to show you the finished product. Stay tuned...

No comments:
Post a Comment