Wednesday, June 23, 2010

Bar Counter Top Extravaganza!

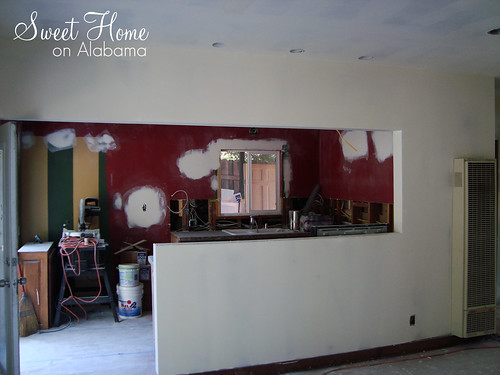
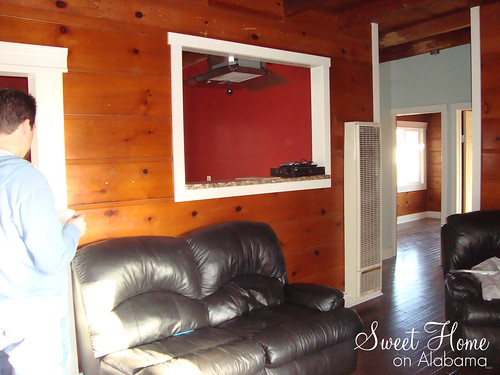
When we bought this house, there was a small opening in the wall between the kitchen and the living room. In this opening was a small granite counter. You might remember from the "before" video that the counters all had a rough edge.
DSC03421

Here it is close up.
DSC03421

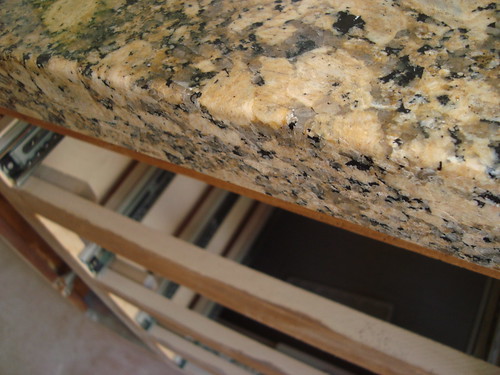
Notice the hand chipped edge. (very rustic)
DSC03439

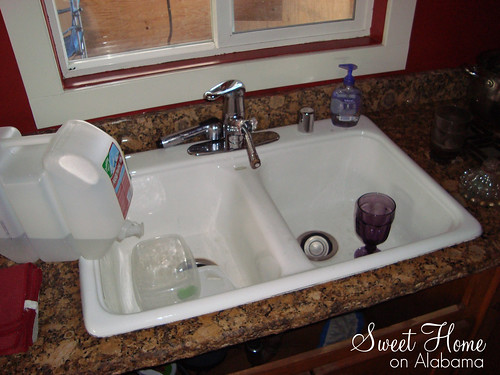
We had our granite guy come and smooth out the edges so they looked nice like this.
DSC04525

The granite guy decided to remove the piece in the opening and smooth it out while it was off the wall. Well, it broke. He offered to replace it and then suggested we make the opening bigger. He even offered to make it 18 inces wide like a bar top. We took him seriously and opened the whole wall up.
DSC04067

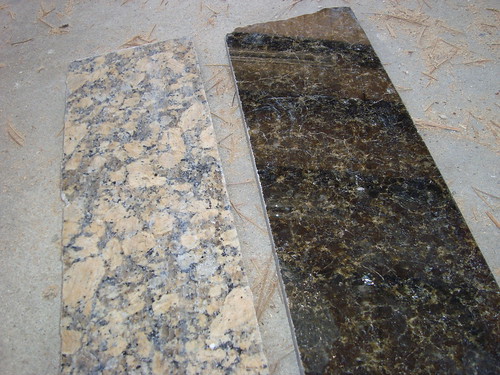
We even went to his workshop in Gardena and chose a granite color for the bar counter top from his scrap pieces of granite. We decided to go with a darker color that would play off the dark tones in the other granite and work with some of the colors in the living room. Here are the two granite samples next to each other. The existing color is on the left and the bar counter is on the right. The brown tones will match our couch and flooring nicely.
DSC04527

Here is the crazy part of the story:

We could not get a hold of the granite guy when we tried to have our new counter delivered. All of his numbers were not working. He literally fell off the face of the earth. My mother-in-law (Mom 2 as I call her) decided we should drive down to his shop (since we actually knew where it was) and see what was going on. When we got there, we spoke to a man who was working. Good thing mom 2 speaks Spanish. We asked what happened to the main guy. He didn't seem to really know.

I looked at the counter he was working on and realized it was ours (shocker!). I asked for a tape measure and noticed that it was 8 feet long instead of 88 inches like we requested (I originally told the granite guy to write down the measurements but he did not... He said he would remember them..). This nice man at the shop said he would cut it shorter and that it would be ready by 1:00pm. Somehow he believed that this counter top belonged to us. I guess we look very trustworthy.

So we went to target (2 different locations), had lunch at Red Robin (My fav), and went back to the shop at 1:00pm.

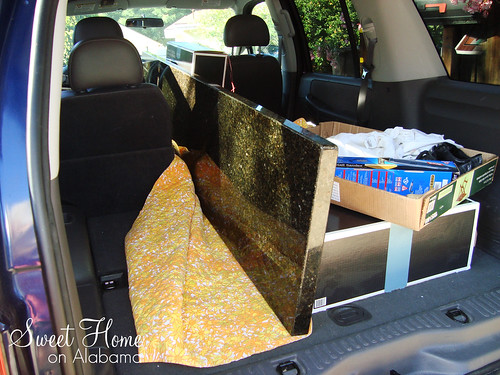
They were just finishing polishing it up when we got there. Rather than wait for them to bring the counter and install it, we decided to grab it and go (everything had been paid for anyway).

Here it is in the back of the car.
DSC04510

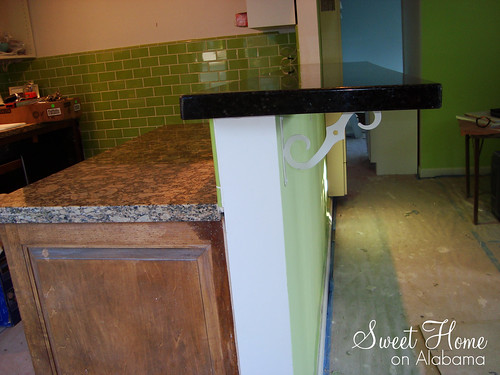
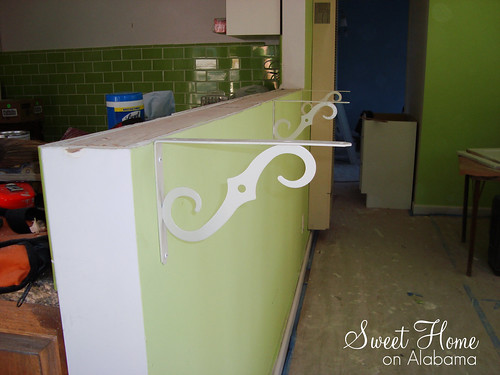
I had to get the area ready where the counter would go. Here are the brackets that we chose.
DSC04509

Plywood goes under the granite. We stained the bottom brown since it is slightly visible while sitting on the couch in the living room. This way it will not be noticed easily.
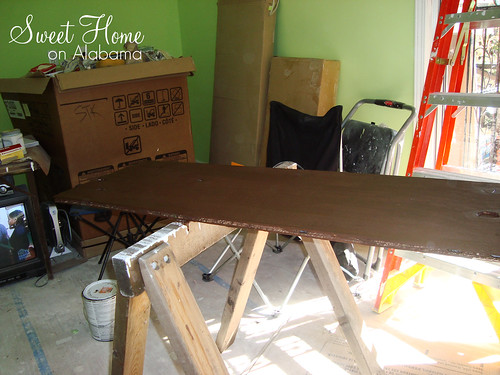
DSC04508

The plywood gets attached to the top of the wall.
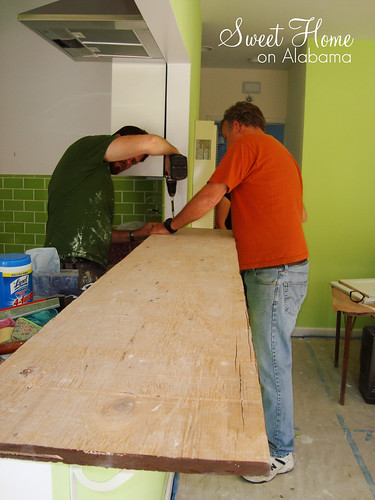
DSC04514

It took all four of us to hoist this thing on the wall. This picture is staged since Laura had to step away to take it. It must weigh about 200 pounds. Underneath I put some construction adhesive even though it probably would not be coming off that wall ever. The top slips right over the plywood. The edge hides the plywood nicely (the edge of the counter is twice as thick as the main part).
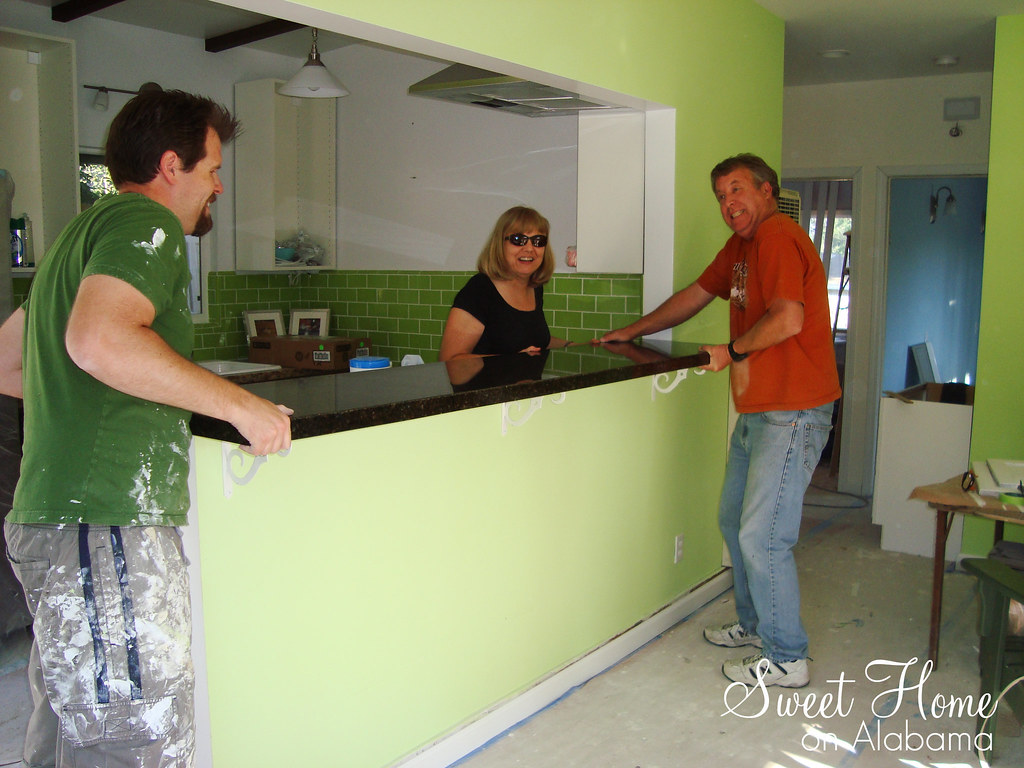
DSC04515

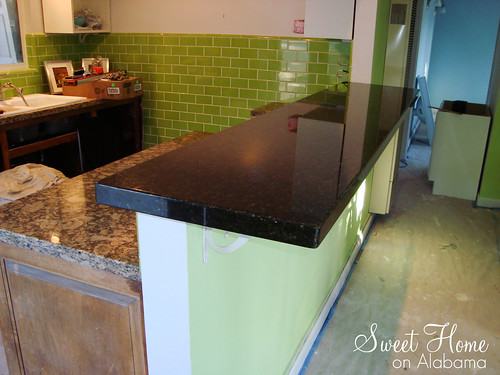
Doesn't it look great?
DSC04524

Here is the side view.
DSC04523

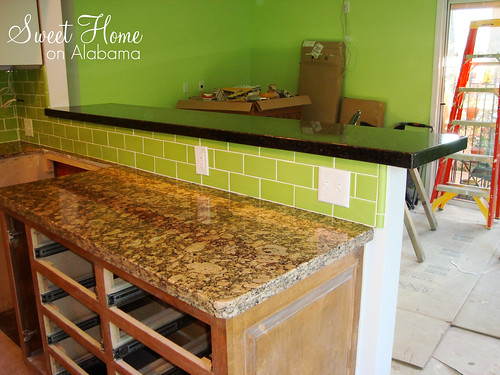
And now from the kitchen. We love it! This is where we will be eating since there is no room for a dining room table in this cute little house.
DSC04521

So that is our crazy story about the counter top that just happened to be made the day we decided to randomly show up at the shop that did not know we were coming. And, they actually gave it to us. How did that happen? I thought we were going to be eating off of a plywood counter for a while. We are just so glad it is here!

We hope you will come and dine with us in the near future and help us enjoy this miraculous addition to our home.

Friday, June 18, 2010

Bathroom Tile

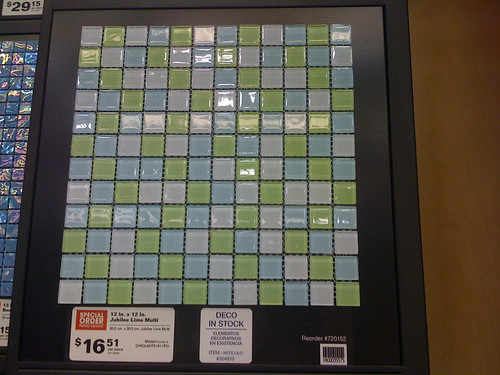
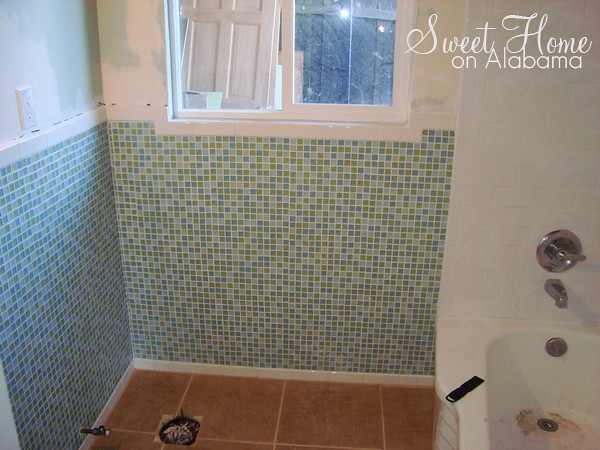
For our bathroom we decided to go with glass mosaic tiles. We both really like how they look. We did not expect it to be so hard to find the colors we wanted. We were looking to go with something that had some greens and some blues. You would think that one trip to the tile store would be all we needed to locate the right pattern...

We went to a few different places. Everyone had patterns with blues and patterns with greens but none that combined the two colors. We were about to settle with a blue pattern from Home Depot when I said, "Let's try Lowes just in case..."

Wouldn't you know it? They had the perfect tile right there. Here it is in the picture below. We had to special order it but it was worth the wait and it only took 7 days to get it in.
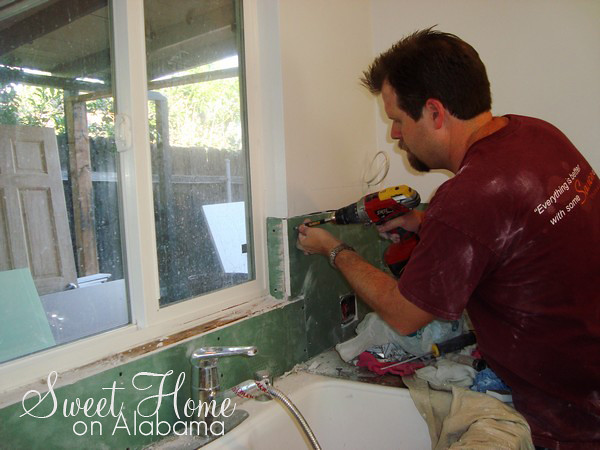

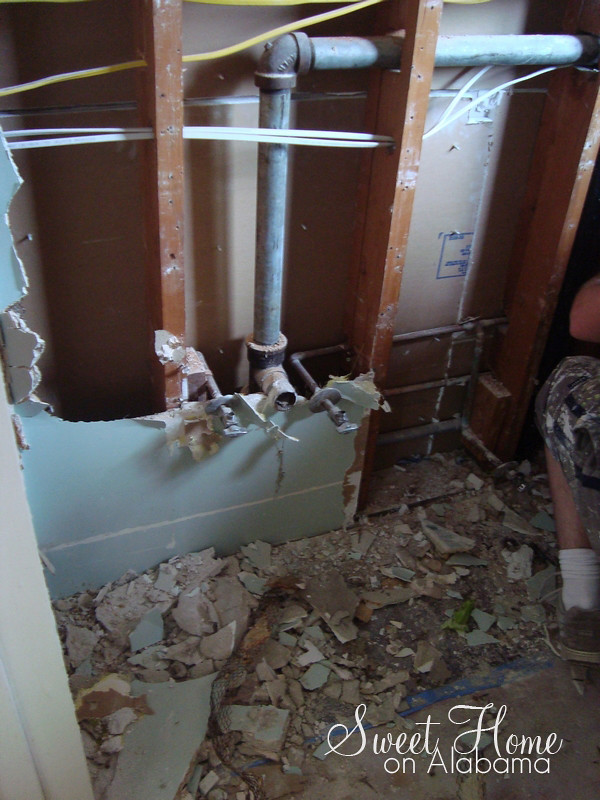
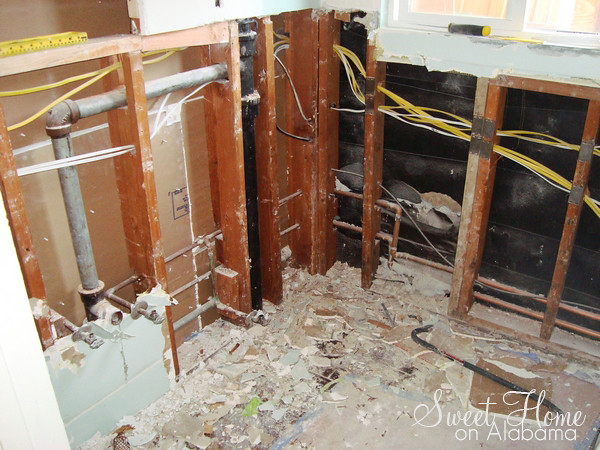
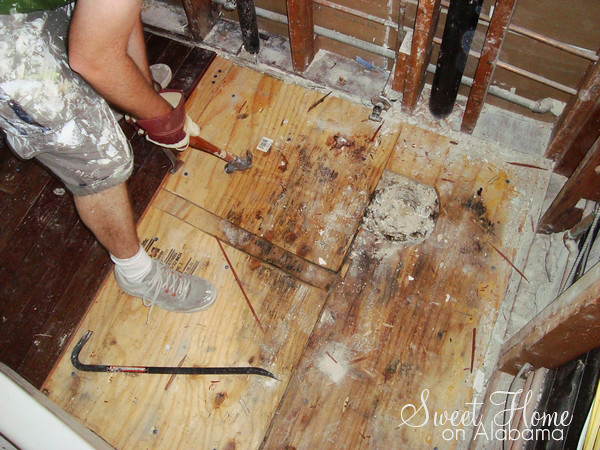
I started this 2-week project by removing the sink and the toilet. Then I had to remove the old drywall from the walls where we would be placing the tile.
House323

I kind of made a big mess...
House377

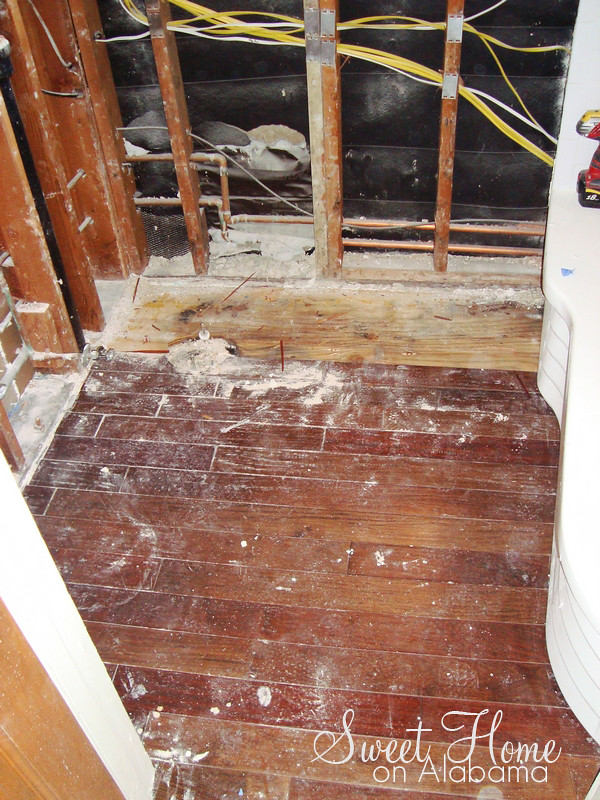
We removed the harwood flooring to put tile there as well. This will be better for a wet bathroom.
House322

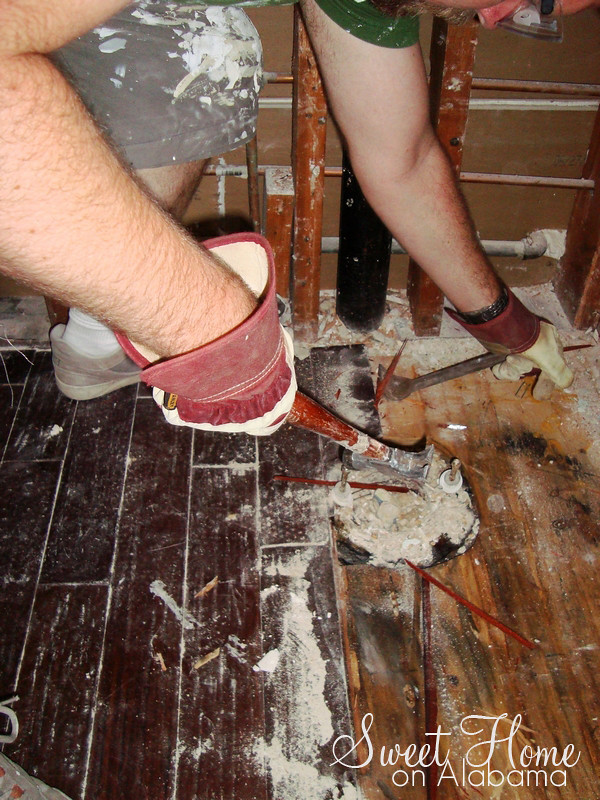
The hardwood planks are nailed to plywood.
With a little effort they come right out.
House321

Almost done...
House371

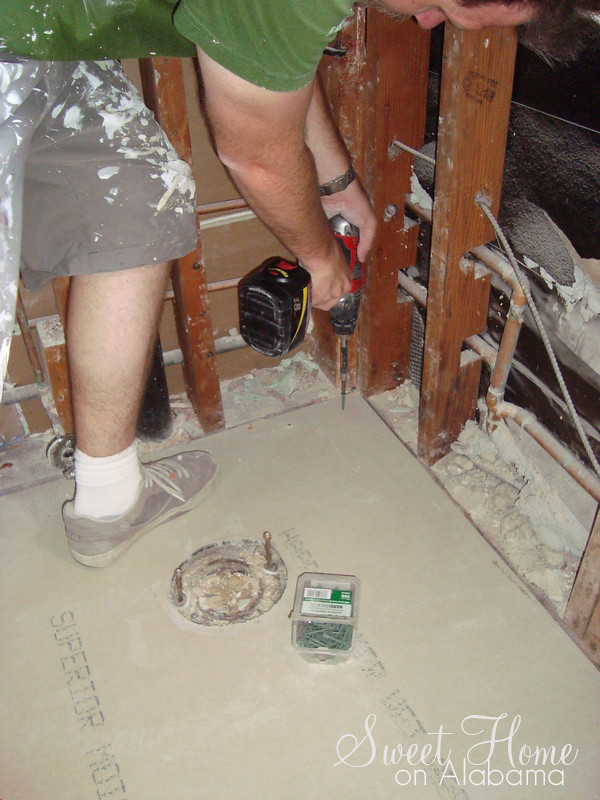
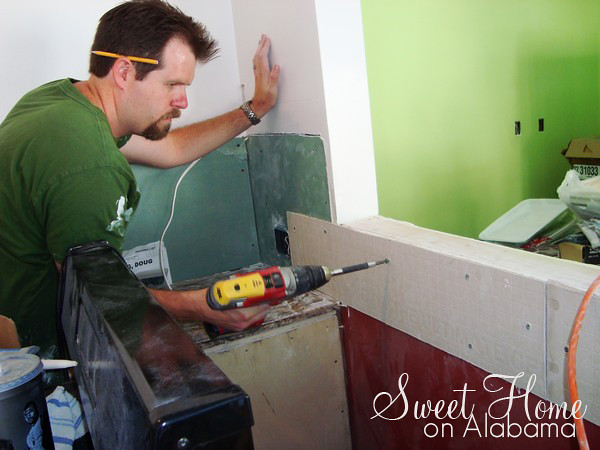
Here I am attaching Hardi-Backer board like I did in the kitchen. This is a great surface to adhere the tile to.
House317

After that, the walls got blue board and then Hardi-Backer board as well. This process is almost as hard as putting up the tile.
House365

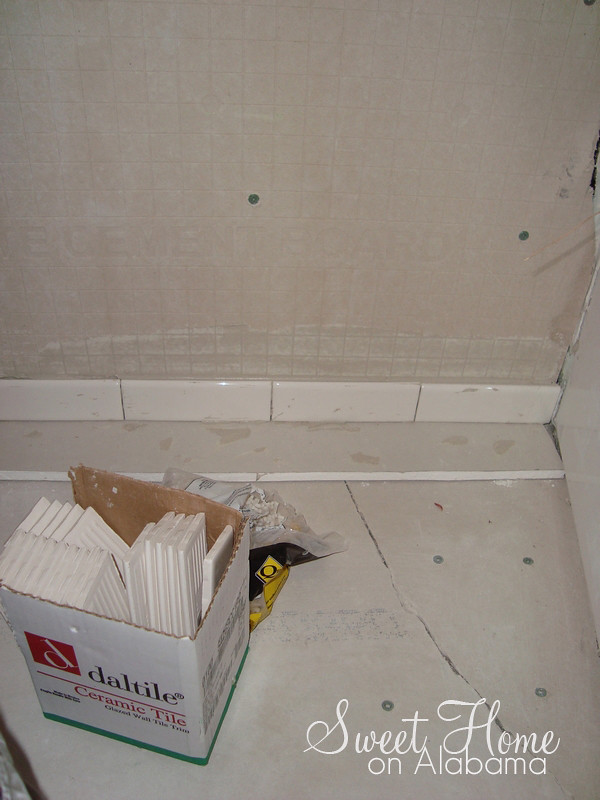
We started with this tile base board. It will tie into the exsisting white subway tiles that surround the bath tub and shower. We will add a stip at the top as well to frame out the glass mosaics.
House312

Here is a stack all read to go. Each sheet has 144 1-inch tiles.
House362

Doesn't this look like fun?
House361

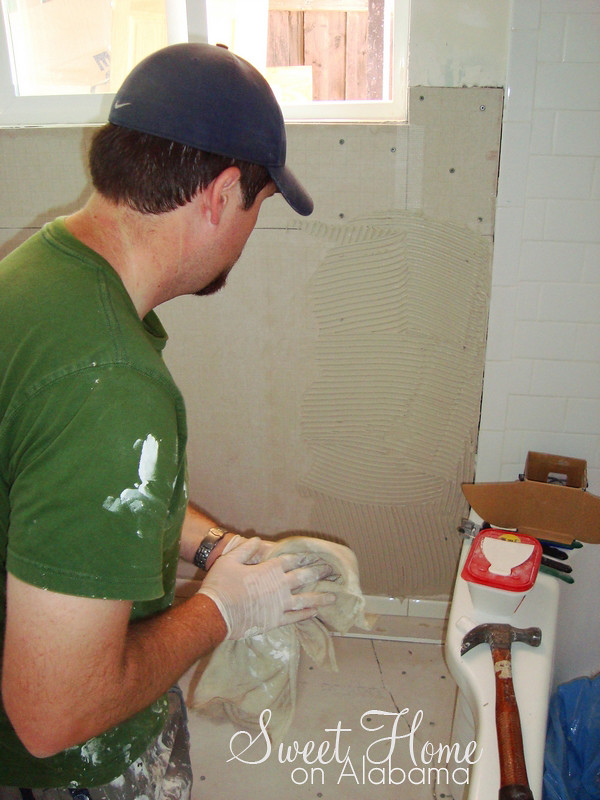
Start with a little mortar on the wall.
House311

Always check that you are level.
House310

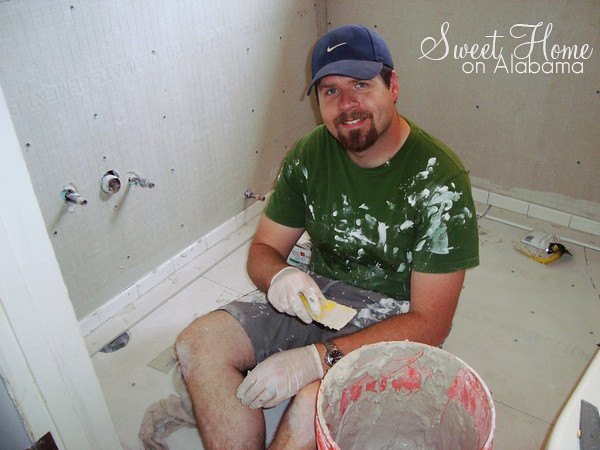
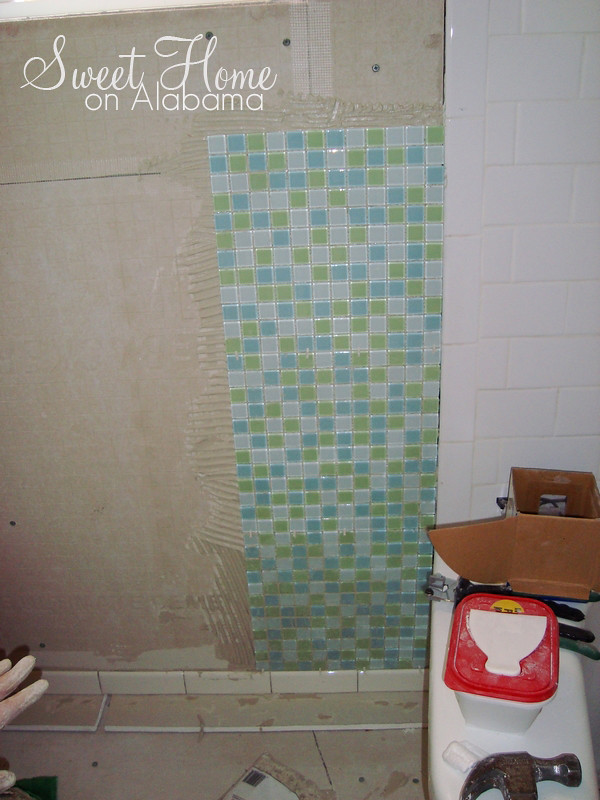
The first three sheets are done! This is my starter row since your eye goes to this point on the wall when you enter the bathroom.
House306

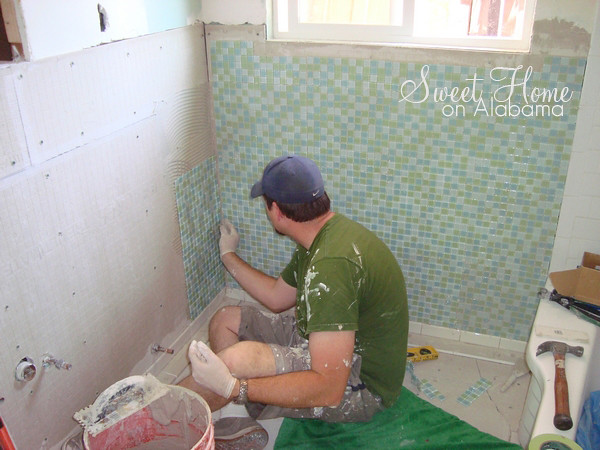
These tiles were a bit tricky to get the hang of, but once I got in the groove it went rather smoothly.
House360

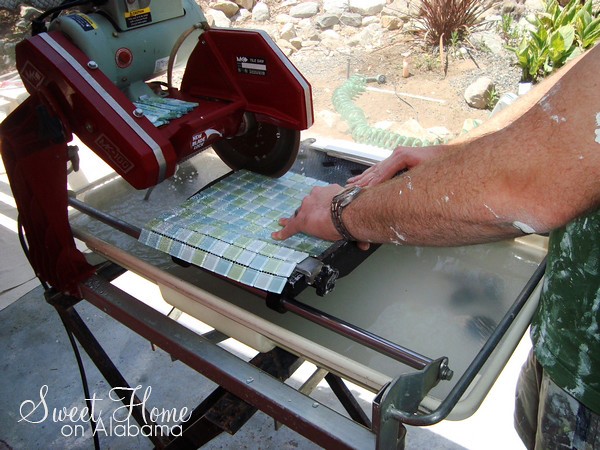
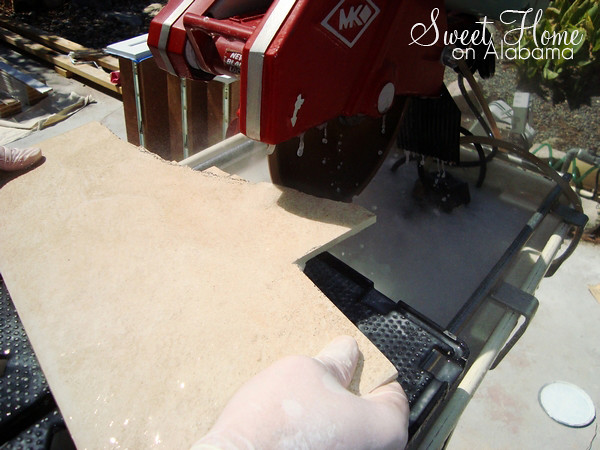
I was even able to cut these tiles on my rented tile saw. I really got it to cut the big floor tiles.
House358

It was getting late so I decided to move on to the tiles that I needed the saw for. The wall will have to wait to be finished on another day.
House354

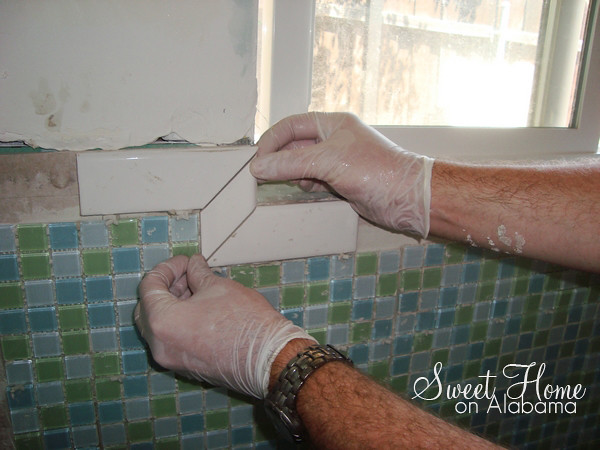
First, I cut the tile that would frame the bottom of the window. Here are some nice mitered cuts.
House353

Now on to the floor. I placed my first tile halfway between the door opening. I will build my starter row off of this.
House349

Here it is in all of its glory, the starter row. This gives a nice clean line of tile that the eye will follow to the glass mosaics. Notice how the edge of the tub is curvey?
House347

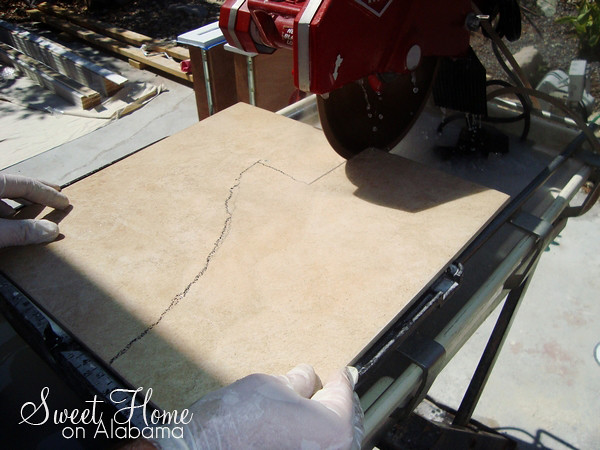
Here is how I cut the curved edges. First I cut as many straight lines as possible. I drew that cut line using a homemade wall scribe made out of a piece of drywall, a China marker, and some tape (not pictured).
House346

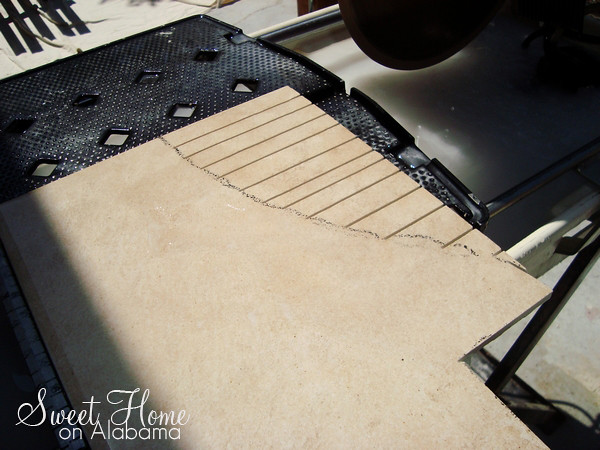
On the curved portion I made several parallel cuts down to the cut line.
House341

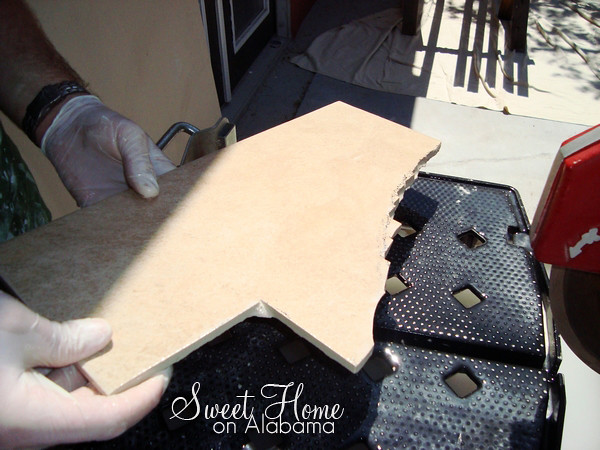
Then I broke them off. They break close to the cut line.
House340

Then I cleaned up the line with the saw blade and my tile nippers (not shown).
House339

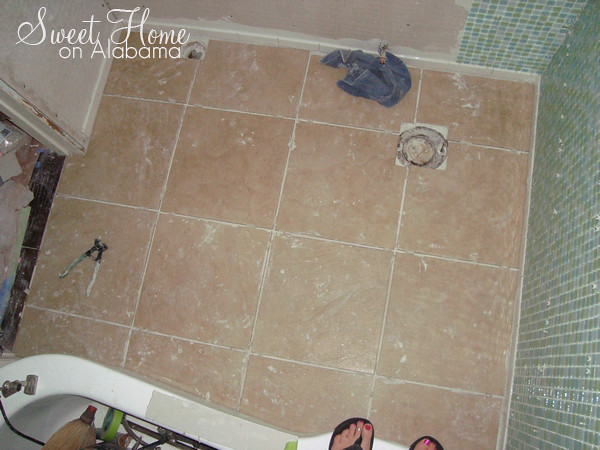
And here they all are laid in nicely. Notice the curvey line just below Laura's tosies. (I think I broke 4 perfectly good tiles in the prcess of getting those curved cuts just right)
House333

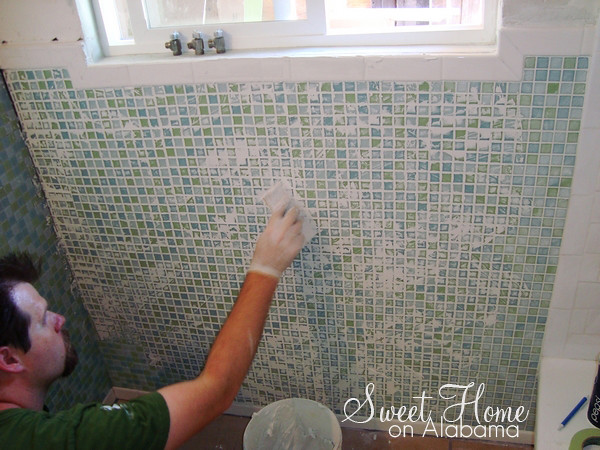
Next, it was time to grout. The glass mosaics took a lot of grout with all of those grout lines to fill.
House404

After wiping with a sponge you are left with a white haze. That just buffs off with a clean rag. Just be sure to wipe off the excess grout better than I did or your will spend days trying to get the tiles clean...
House405

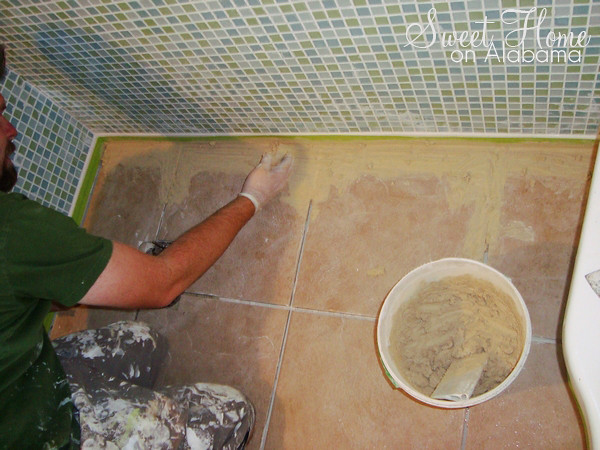
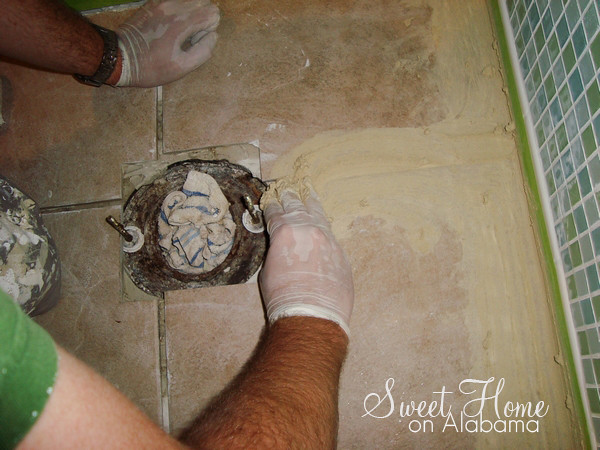
For the floor I actually used my fingers to push the grout into the grooves.
House407

We went with a beige color for the floor grout.
House408

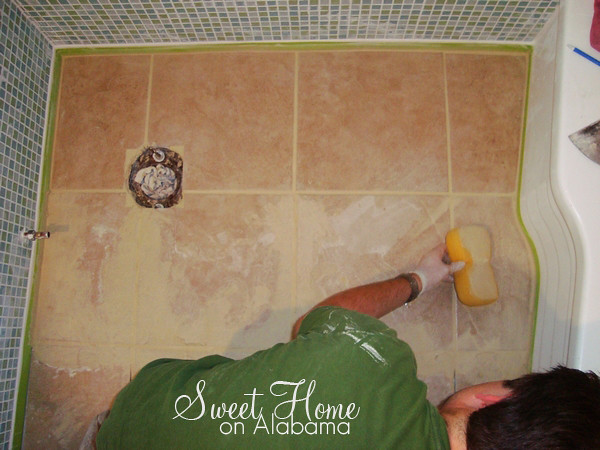
After getting the grooves filled in, you just use the sponge and wipe off the excess.
House410

I did one row at a time and basically pushed myself out the door as I went.
House411

It looks good with the wall tile doesn't it?
House412

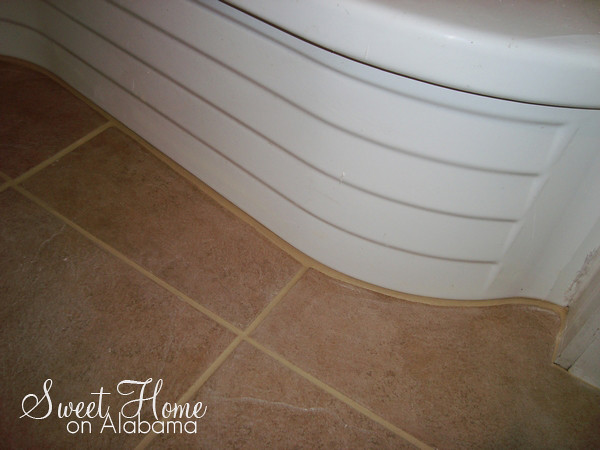
Check out that nice curvey edge again...
House413

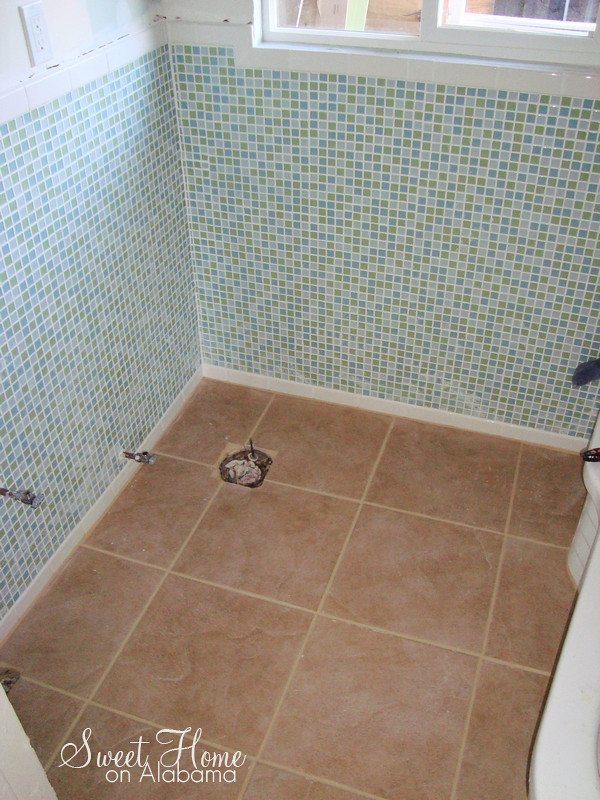
Here you can see how all of the tile works together. The exsisting white tile in the shower ties in with the border around the glass mosiac tiles, which coordinate nicely with the color of the floor tile.
House416

Next we will seal the grout, paint the the walls white, put the toilet back in (thank goodness), add a new sink and sink cabinet, a new medicine cabinet and mirror, shelves, blinds, a shower curtain, towel bars, and the toliet paper holder of course.


We can't wait to show you the finished product. Stay tuned...

Friday, June 11, 2010

Kitchen Tile Backsplash

You may not have known this, but I (Doug) have done several tile jobs over the years. When we got our own house, I knew I would want to do some custom tile. We decided to do a tile backsplash in the kitchen. We also are doing tile in the bathroom which we will post on next week.

The inspiration for our kitchen and the color sceme came from my favorite cooking show, "Tyler's Ultimate." This is with celebrity chef Tyler Florence. Here is a picture:

(This man and Bobby Flay are my heros)


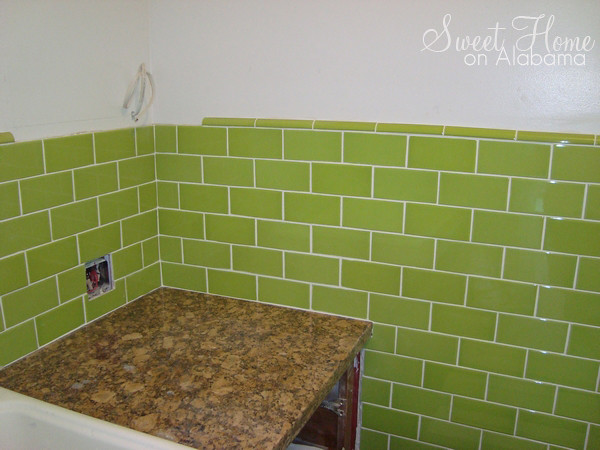
Notice how he has green subway (3X6) tile on the back wall. I love this look. I asked Laura if I could tile the walls with the same green tile. She was not feeling the whole wall thing so we comprimised and only went half way up the walls. This tile was no easy find. We had to custom order it to get the special green apple color.


First I had to put blue board up where I took out the old drywall. Blue board is basically waterproof drywall.
House221

On top of that I attached Hardy Backer Board, which is designed for tile installation.
House228

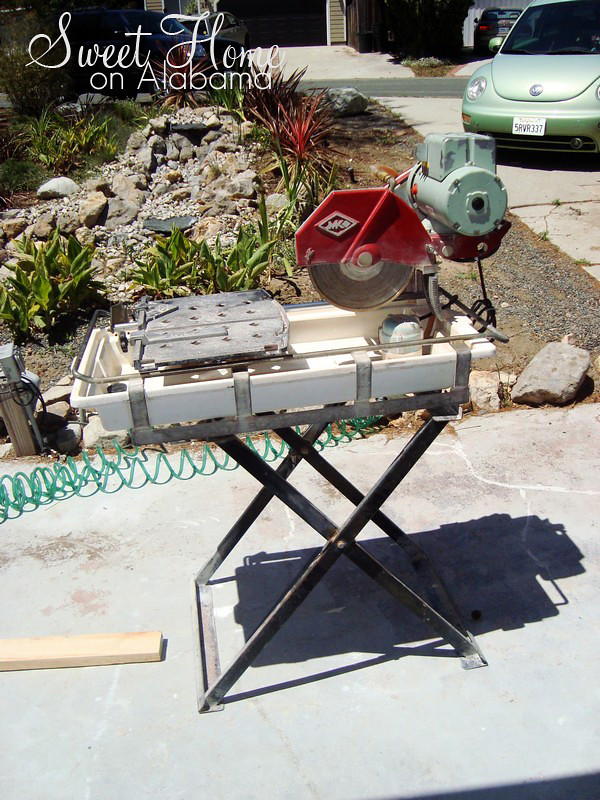
Here is the bad boy tile saw that I had to rent in order to get nice clean cuts in my tile. It only costs $40 per day to rent one of these.
House274

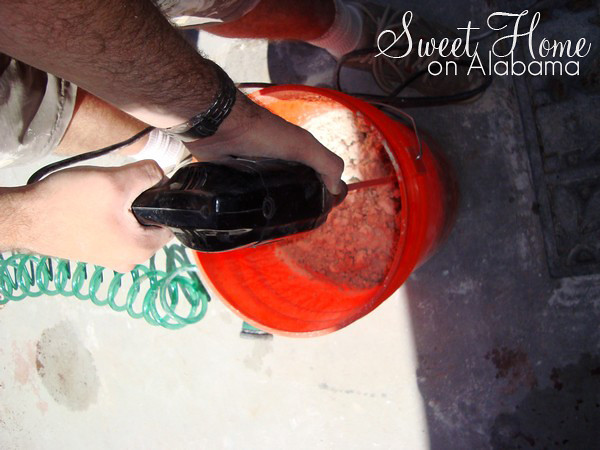
To mix the mortar I recomend using a drill mixer. You just attach it to your drill and mix away. It saves a lot of time and effort and gives you a real good mix.
House234

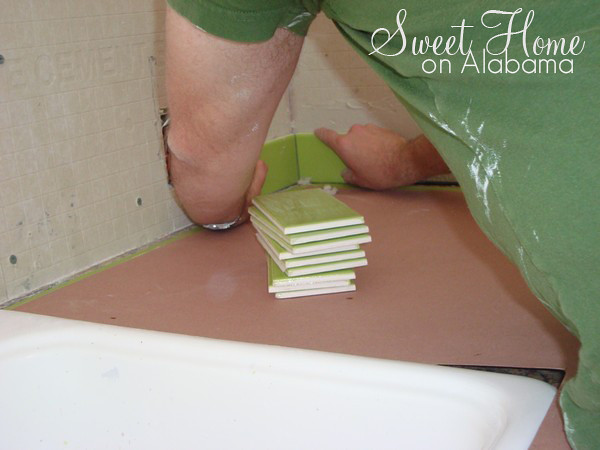
This corner is the focal point of the Kitchen when you look in from the living room and front entrance. I am taking care to make sure that these tiles are straight and perfect. Everything will build off of these.
House235

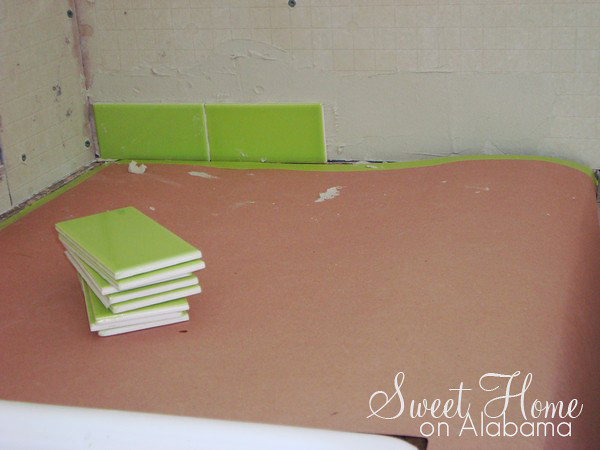
Two done...
House237

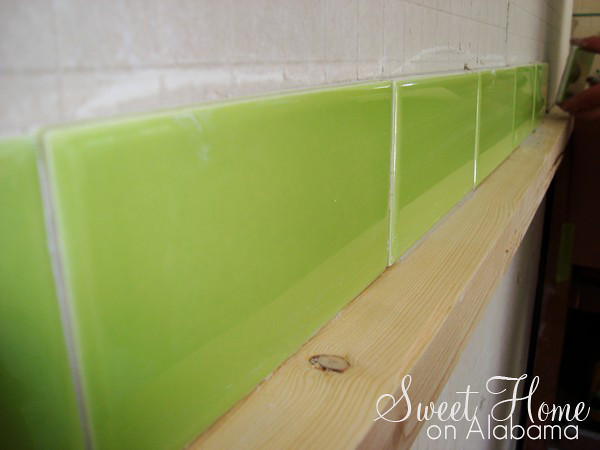
Here is the starter row. That wood block will be removed later.
House241

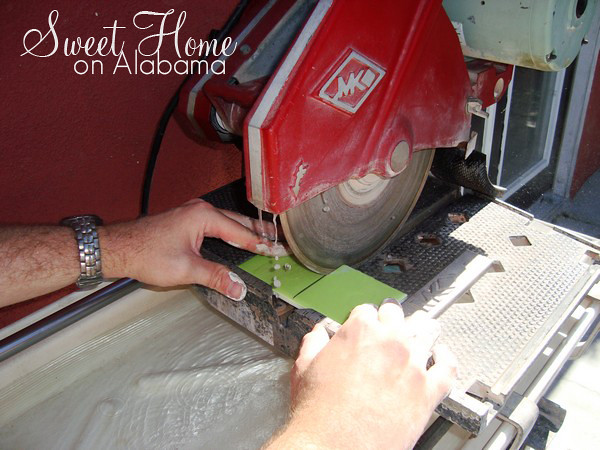
This saw is a "wet" saw. It runs water over the blade to prevent it from getting too hot.
House245

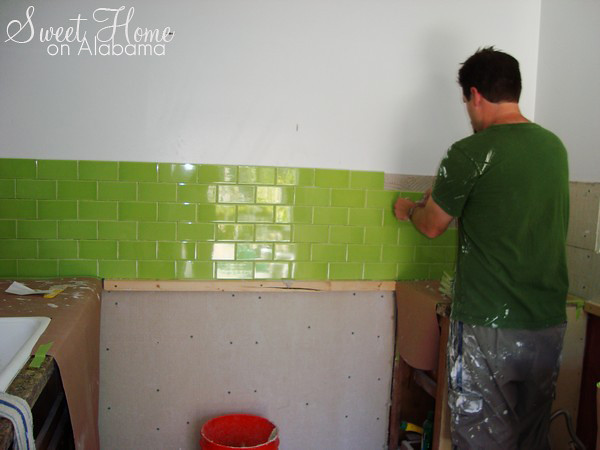
Making progress...
House250

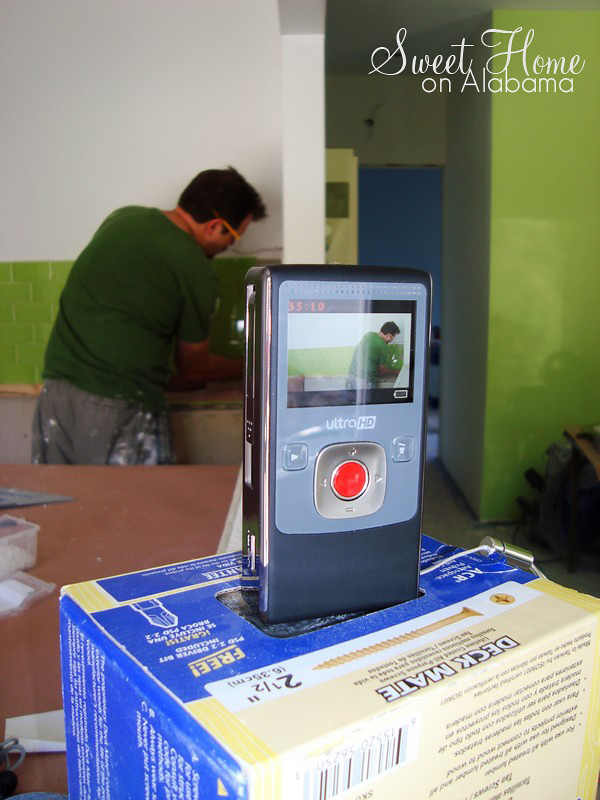
Laura filmed a nice time-lapse video which we will post very soon.
House278

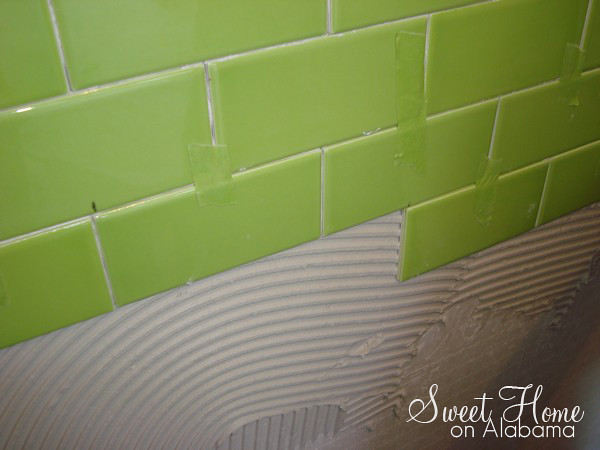
It is hard to see, but I am using green tape here to hold these tiles in place. After building the top half, I installed the lower half from the top down so I could build off of my starter row.
House255

Almost done...
House260

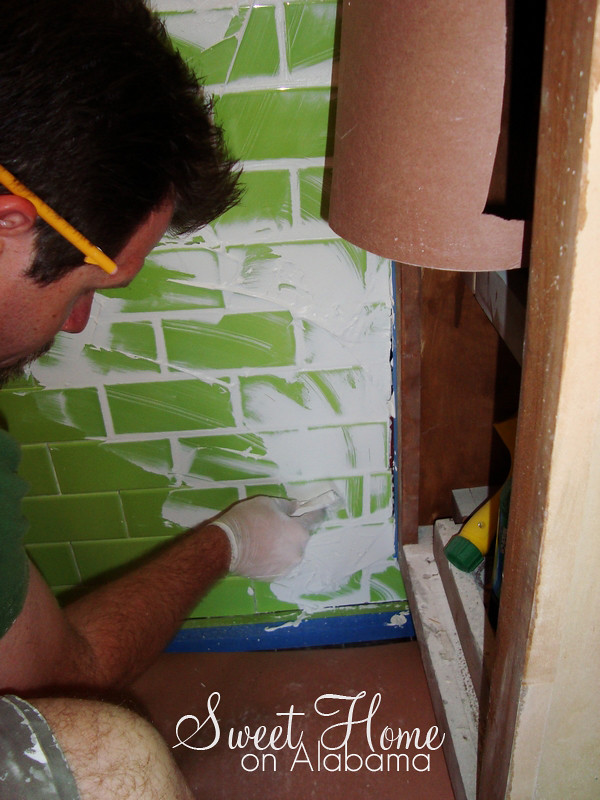
The next day it was time to grout the tile. First you have to push the grout into all of the gaps between the tiles.
House328

After that, you go back and wipe off the excess with a grout sponge. This will leave a white haze on the tile. No worries, it just buffs right off when the grout dries completely.
House326

And here it is. Looks great doesn't it?
House332

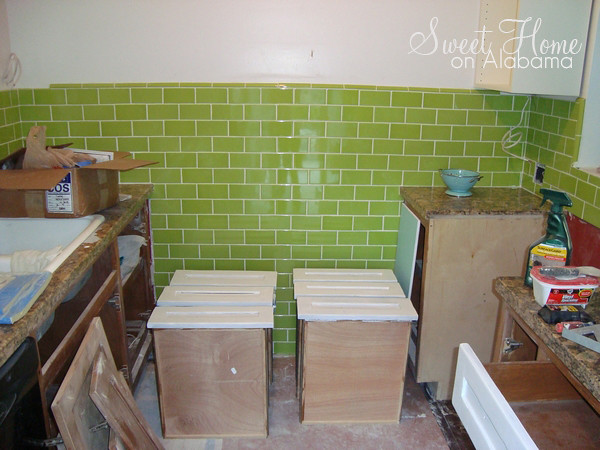
Now it is time to get these cabinets painted and installed. We look foward to showing you how it all looks when it is done. Thanks Tyler Florence for having a cool kitchen that inspired us to be bold with the color. We would also like to thank Laura's parents for helping cut tiles. Without them, I might still be tiling those walls.
House336
Leave a comment and let us know what you think.