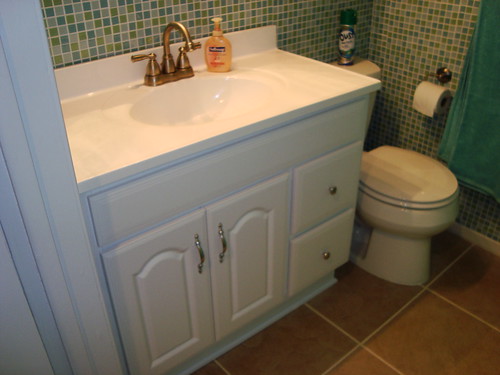
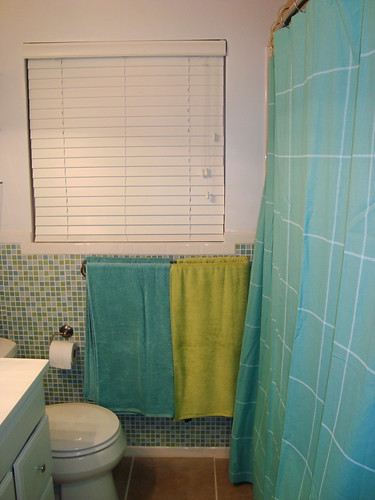
Friday, August 13, 2010

Furniture Building Party

Since we don't have tons of money lying around, we have decided to buy most of our new furniture from guess where...that's right...IKEA!

We have all been there before. I personally have been so many times that they should just give me one of those cool blue and yellow polo shirts so I can direct people around who are lost or confused.
I consider myself an IKEA pro builder. The problem here was that we had so much new furniture to build that it would have taken forever to do it ourselves, and building solo is not much fun either.

We invited Laura's family over for a furniture building party.

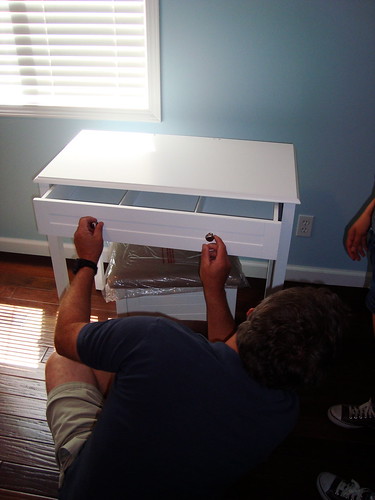
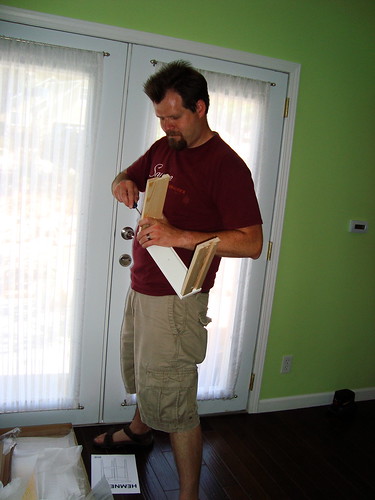
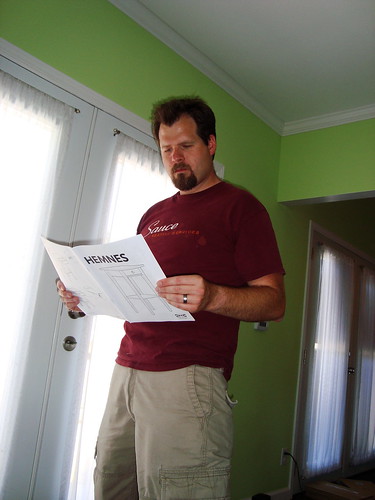
Even though I have personally built at least 100 IKEA pieces (no joke), I still like to at least glance at the instructions once in a while.
DSC04826

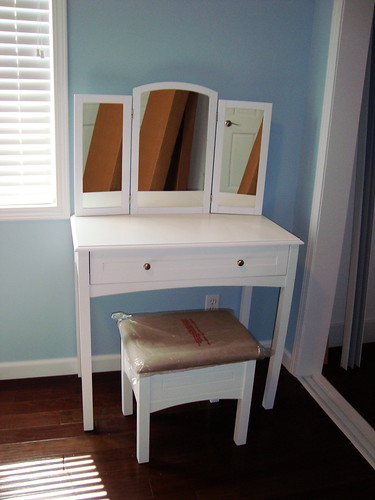
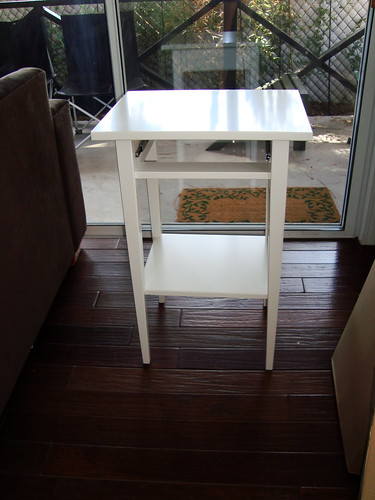
The first thing built was the new vanity that goes in our bedroom. This will be a great place for Laura to get ready in the mornings. This item is actually from Target.
DSC04824

Here it is all done and ready to go:
DSC04837

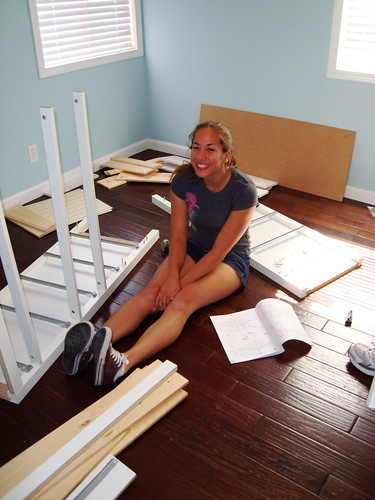
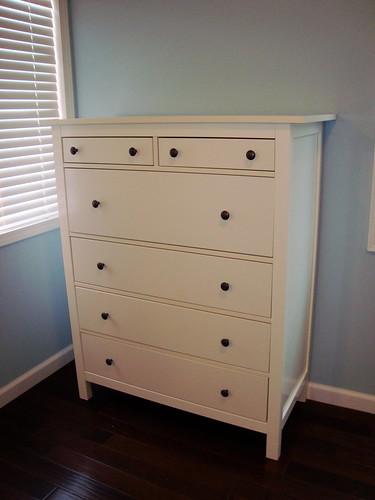
Let me introduce you to our secret weapon, Laura's sister, Diane. She just graduated from Caltech so she is basically a genius. It is good to have people like this around when building IKEA furniture. She is heading off to Yale for grad school this week so we only had her for a limited amount of time. She is sitting in an ocean of parts that will become our new dresser.
DSC04835

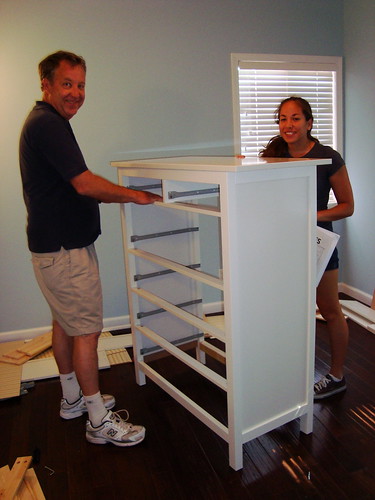
Her and her dad busted this thing out.
DSC04839

Nice work guys!
DSC04843

"Wait for me! I want to build stuff too!"
DSC04840

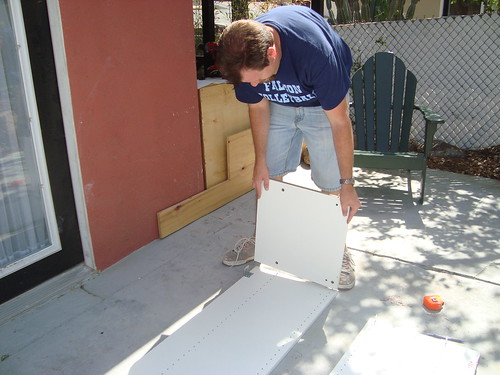
I am building the drawer for this masterpiece:
DSC04834

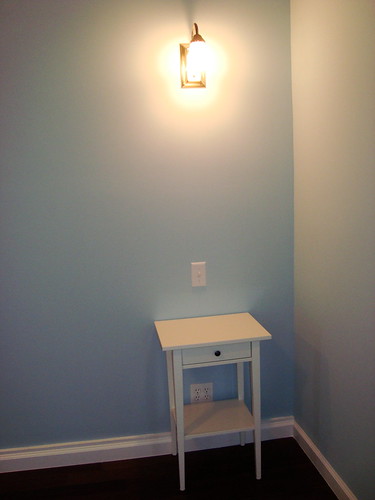
Here it is in place where it will go right next to the bed. Notice how it works with the wall sconce and the switch...
DSC04844
We didn't stop here, we just stopped taking pictures. There is much more furniture to show you. You will have to wait until we post on the living room and the bedrooms to see it all. I know, you are hanging on the edge of your seats. Sorry about that...


Monday, August 9, 2010

Vote for our new couch on Facebook

We finally got our new couch from "The Sofa Company." They were able to customize the size and give us the couch we wanted in the length we needed. They took about half a foot off the length. We also had them make the perfect sized automan to put our feet on.

Here it is when it first was dropped off.
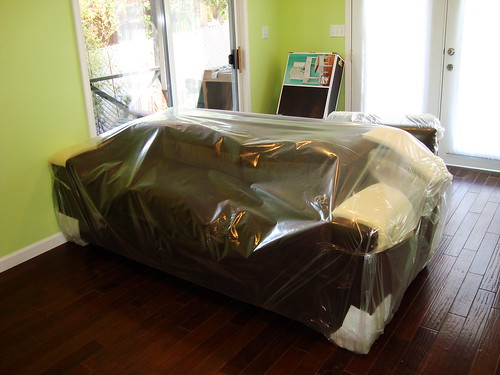
DSC04787

We love this couch! Doesn't it look all comfy and cozy?
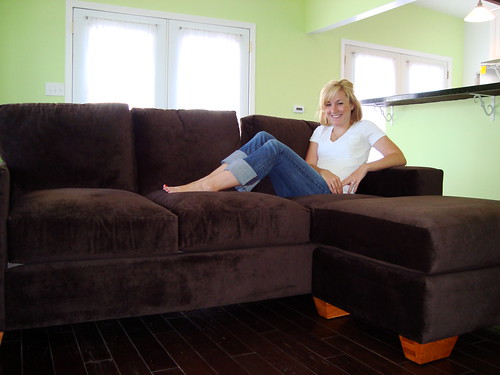
DSC04820
We are actually in a contest on Facebook where you can vote for our couch. The winners get $1,000.00! Please help us to win this money. I am still officially laid off with the school district so we may need it really bad...

Here is the link: http://apps.facebook.com/promotionshq/contests/45885/voteable_entries/6406731

Thursday, August 5, 2010

Kitchen Details


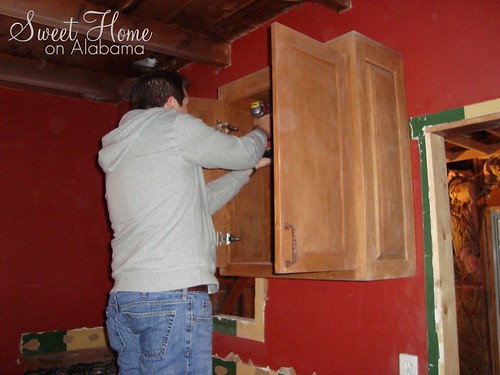
It seems like so long ago that we were pulling this one and only upper kitchen cabinet off the wall,
house10

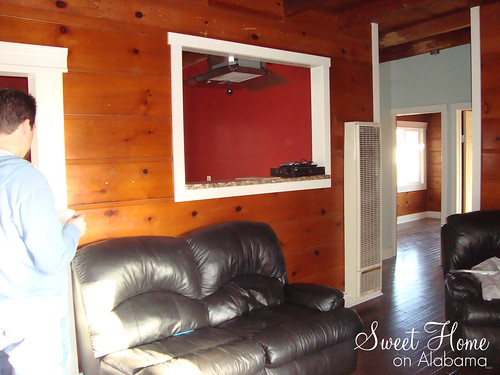
opening up the wall between the kitchen and living room,
DSC03421

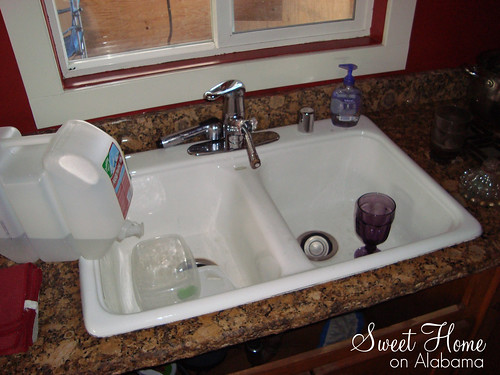
and hurting ourselves on that rough counter top edge.
DSC03439

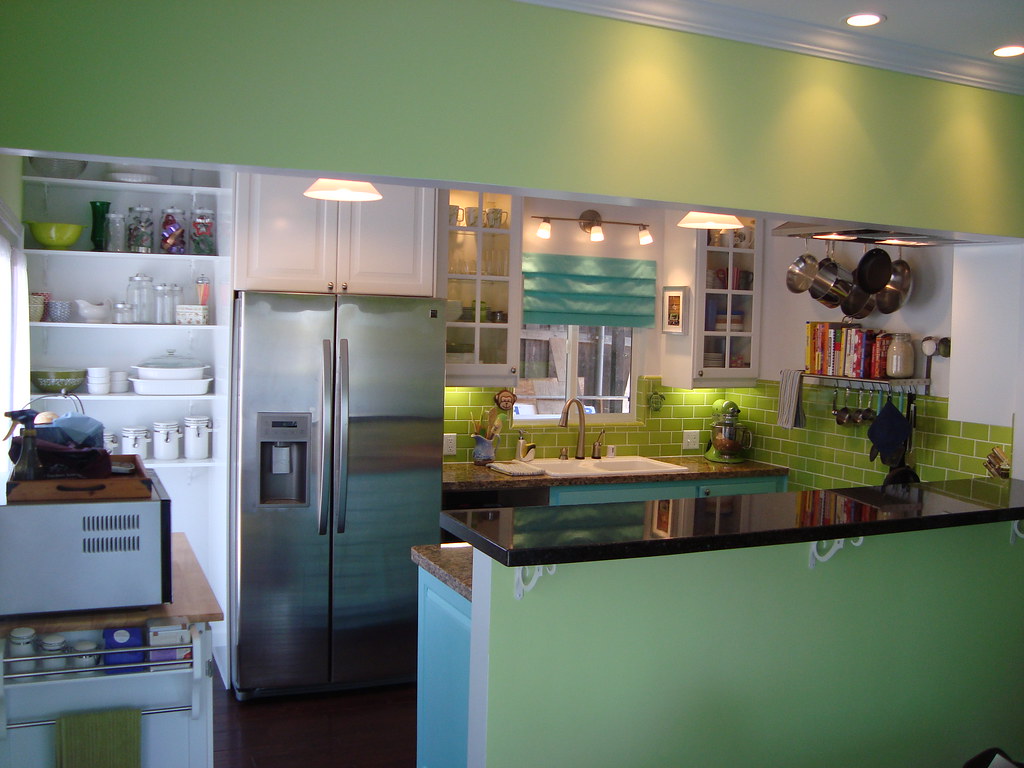
Well, after over four months, we are ready to show you how the kitchen turned out.

Here it is in all of its splendor:
DSC04887


I'll take you on a tour starting from the left side and working around to the right...

Here is the microwave cart. This has saved us valuable counter space and has provided much needed storage. It can be rolled out of the way if we need to use the door that goes from the kitchen to the front porch.
DSC04873

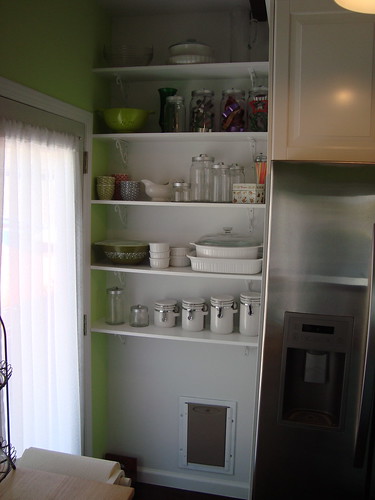
Next to the fridge, we added shelves to place our more decorative kitchen items. We are still playing with the arrangement, but you can see how nicely they display things.
DSC04874

Did you notice the dog door at the bottom of the wall. We added this for our future dog. Here it is close up (before I painted the black edges white).
DSC04866

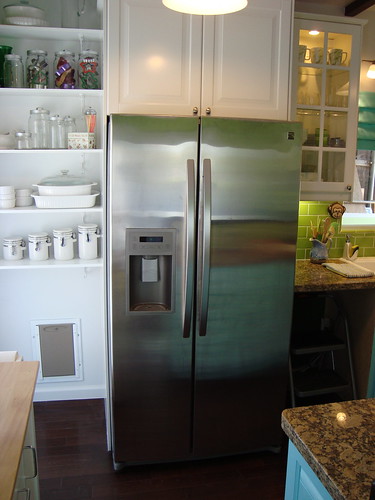
Next up is our brand new fridge. We love it! It has an ice maker and water in the door, unlike our old fridge.
DSC04875

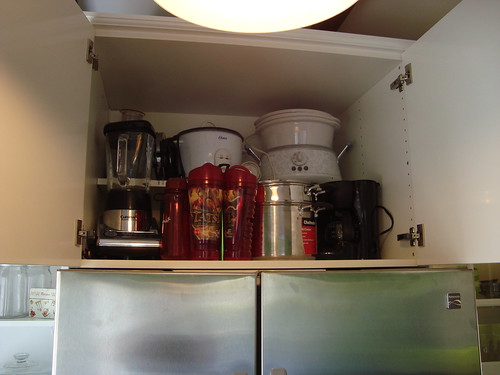
Above the fridge is a great upper storage cabinet. It is deep and can store all kinds of stuff. This is one of four upper cabinets that we added to the kitchen.
DSC04876


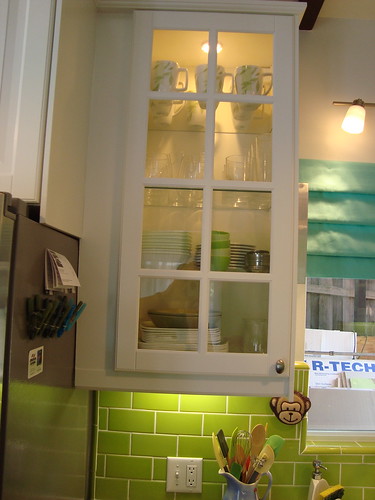
All of the new upper cabinets had to be trimmed out with moldings and side panels. Ikea provides all of these parts when you buy the cabinets. It is a bit of a jigsaw puzzle to figure out and cut right, but they look great when they are all finished. We used glass doors for the other three cabinets. We installed lights inside and underneath that shine on the countertops. They add a touch of class to our formerly rustic kitchen.
DSC04877

Here is the faucet, which you have seen if you follow this blog, but now you can see it completely finised with the new air gap cover on the right. That is the white thing you see there. This faucet is one of my favorite features because of the "touch" technology. (Try not to look at that pile of debris in the carport)
DSC04888

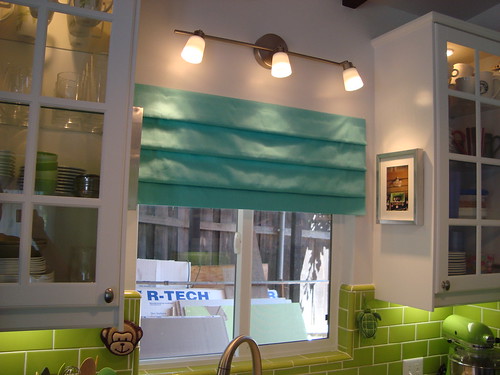
Above the window is this great faux roman shade. The color matches the blue on the lower cabinets. Laura's mom made this from a different curtain that we bought at Target. She is very gifted with a sewing machine. She completely deconstructed the old curtain and made a totally different design. She also made couch pillows out of the scraps (you'll have to wait to see those). Thanks Mom 2!
DSC04878

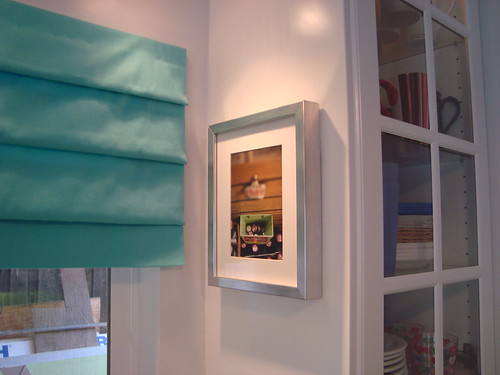
Laura added these accent pictures on the sides of the cabinets for a bit of decor.
DSC04882

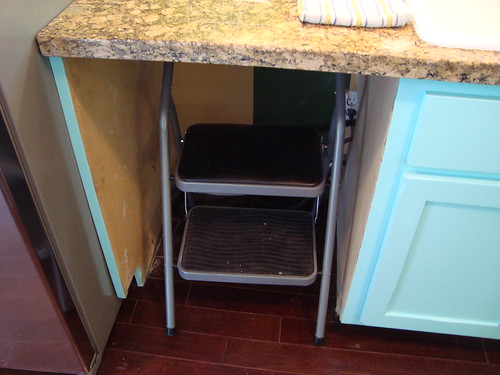
Oh, I almost forgot to show you our step stool storage compartement...
DSC04880
...actually, this is the future home of our new dishwasher. It doesn't come for another month. We'll show you that later...

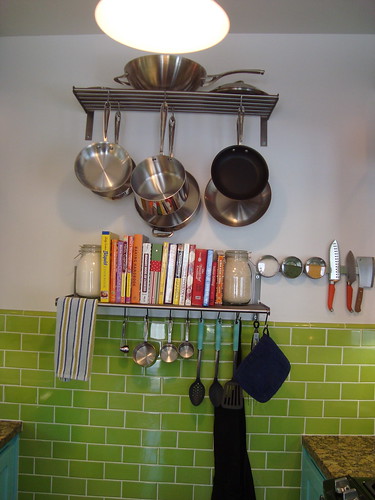
On the end-wall, we added two storage racks that are great for hanging pots or keeping our cookbooks. They also add a touch of that Tyler Florence kitchen look. You'll know who that is if you watch Food Network. His kitchen helped inspire our kitchen's colors and look.
DSC04883

Here is the new convection oven/range again. I just like to show it off.
DSC04884

Of course, here is the new stainless steel hood fan.
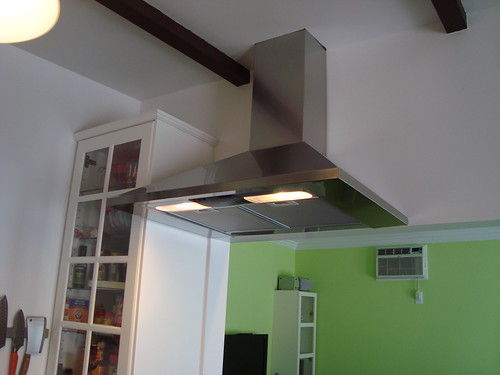
DSC04885

These drawers are great. Here they are all painted up with their new handles. You can see how all of the colors work together with the green tile, the blue cabinets, the stainless steel appliances, the dark wood floors, and the two different granite colors.
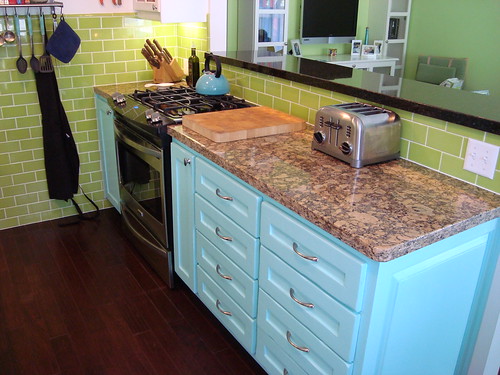
DSC04886
We are quite pleased with how it has all turned out. We would love to hear what you think. Leave us a comment.

I see you eyeing that entertainment center in the living room. You'll have to wait to see that when we finally finish moving all of our stuff into this house.

We are now living in the house so stop by any time and see it in person.

Wednesday, July 28, 2010

Sinking the sink

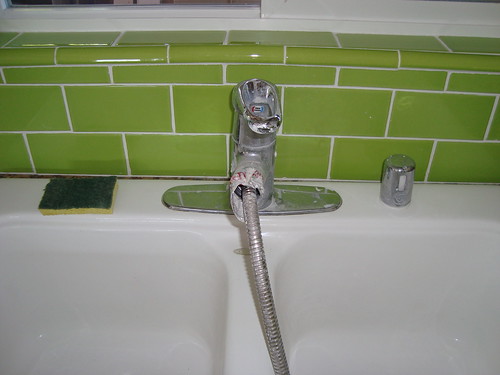
You may remember from the before video, the dramatic moment where I showed off the awesome kitchen faucet. The hand sprayer hand completely come off and all there was was the left over tube that retracts into the faucet neck. If you werent careful it would spray all over you when you turned it one. All of us had been soaked at least once.
DSC04671

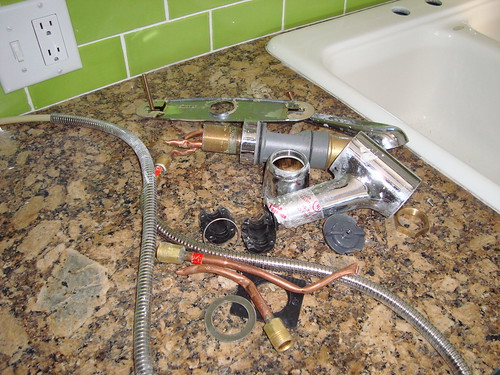
First I had to remove this crusty old thing. Die faucet die! I rendered it useless in the process as you can see.
DSC04672

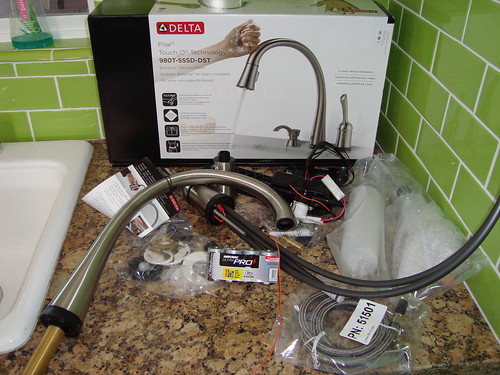
Since I (Doug) am all about the kitchen, I wanted this cool new faucet from Delta. It has "Touch" technology. You may have see the commercial for it. It comes with a lot of parts. Notice the wires and batteries. This thing is pretty high tech.
DSC04673

It works! Notice the cool blue light at the base of the neck. It glows when the the water valve is open. All you have to do to turn it off is touch it.
DSC04674
All I need to do now is add the soap dispenser on the left side. I will show you that and how the faucet works in the "after" video (coming soon).

Tuesday, July 27, 2010

Pizza Pizza

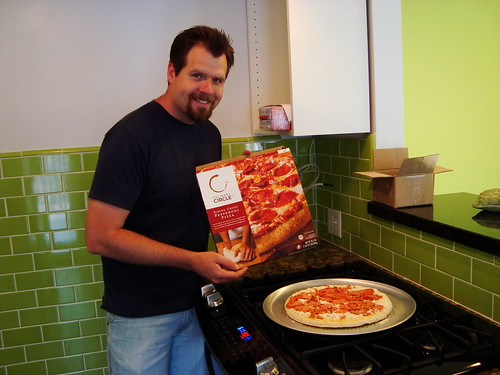
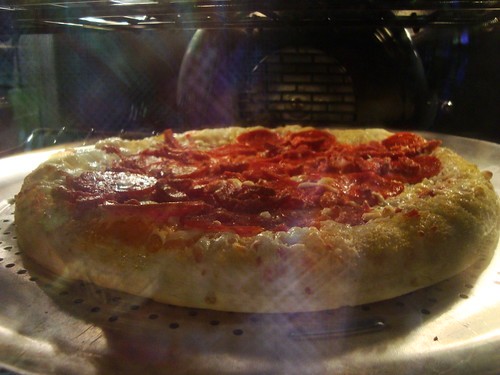
So we decided to try our new convection oven out... To test it, we baked our favorite frozen pizza. This is the "Culinary Circle" rising crust pizza from Albertson's.
DSC04692

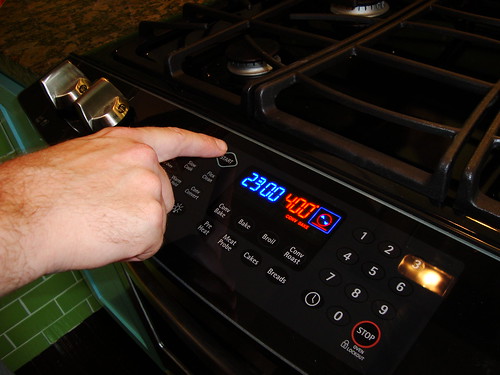
First you must preheat the oven. Here I am trying to figure out how to use the touch control panel. I just accidentally set it to bake the pizza for 23 hours. Oops...
DSC04695

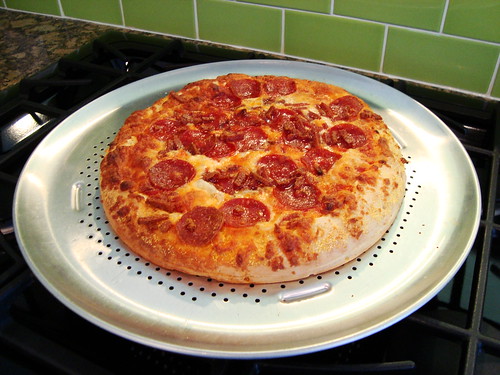
You have to make sure that all of the peperoni are not hanging over the edge. I am excited to be using my special pizza pan. It has holes in it to give the crust a little crispiness. It did not fit in our old oven so this is a great moment for us.
DSC04693

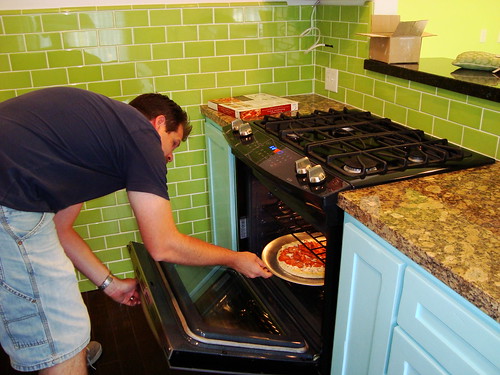
It's going into the oven! I see you eying those cabinets... Don't worry, we'll be posting on the kitchen later this week.
DSC04694

Yummy! You can even see the convection fan in the back. That is really all there is too it. It's an oven with a fan in it. The hot air blows all around ensuring a nice even bake. No more burnt crust with undercooked peperoni.
DSC04697

Ooh Bubbly...
DSC04698

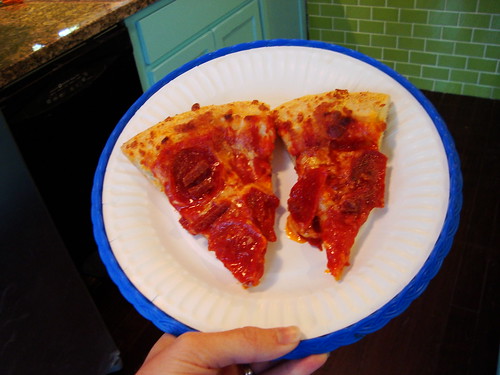
"Honey...dinner!" We broke out the fine china for this glorious event.
DSC04701
Come over some time and we'll bake a pizza for you..

Monday, July 26, 2010

Storage Solution

One of our challenges with this small house is storage. The hallway (and I use the term "hallway" loosely) originally had some shelves which were set into a little nook next the the bathroom door (refer to "before" video).

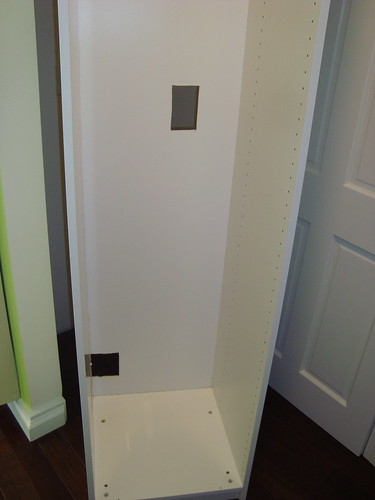
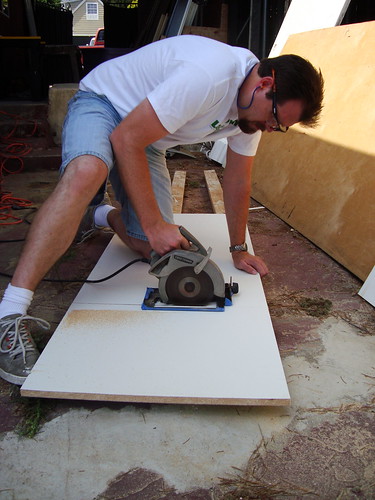
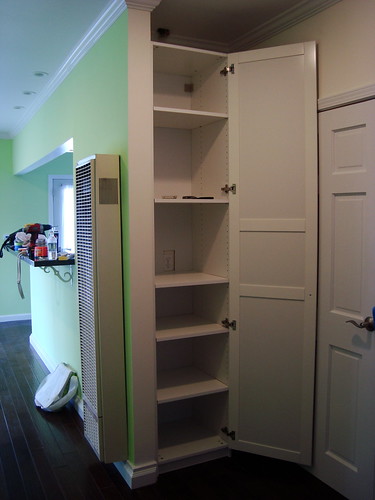
We took out those shelves and bought a tall, narrow wardrobe cabinet from Ikea. The only problem was that the cabinet was about four inches too deep for the space. I decided I could cut it so we bought it anyway.

After cutting four inches off the back of every piece I assembled the cabinet like normal with a few small modifications.
DSC04601

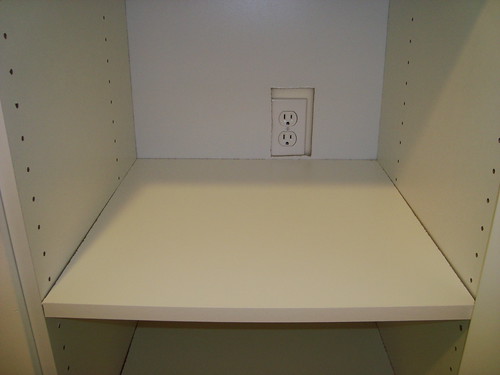
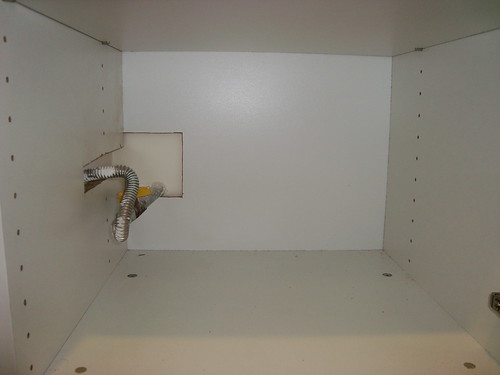
Here it is all ready to go into the nook. You can see the holes I cut for the electrical outlet and the gas line that sticks out.
DSC04603

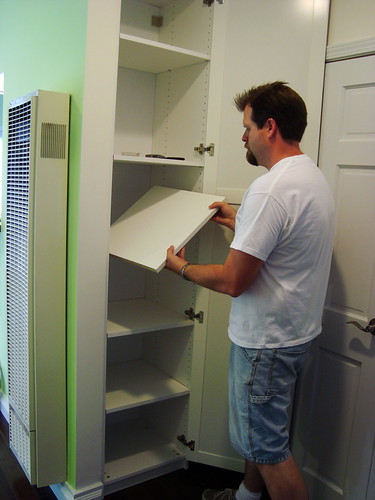
Ikea sells shelves for this unit but they are a bit pricey. All you have to do is go to Home depot and get a piece of melamine shelving. They sell all different sizes. From this piece I was able to cut 5 shelves.
DSC04645

Add a few shleving posts (from any hardware store) and the shelves pop right in. Sorry Ikea, you don't get my money for this one... but we'll be back...again...
DSC04647

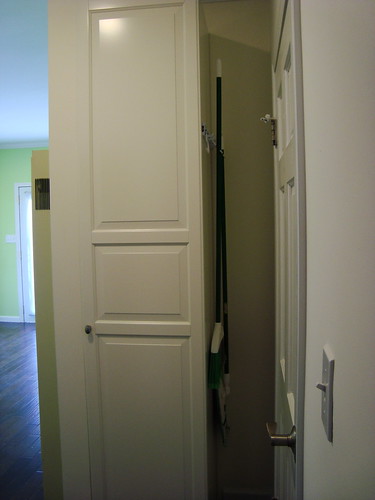
We liked this cabinet because it left some space on the side for things like brooms, dust mops, the ironing board, etc.
DSC04651

Here is the cutout with the electrical outlet showing through. Picture the iron sitting in here nicely hidden away and ready to go.
DSC04649

Here is the gas line at the bottom. This is connected to the wall heater on the other side. The nice thing is that it is hidden in the cabinet so nobody will ever see this ugly thing. DSC04650

We can't wait to fill these shelves with towels, extra blankets, cleaning products, and any other things that need to be stored away in a nice clean place.
DSC04648
Just wait until you see what we did with the bedroom closet...


Tuesday, July 20, 2010

Bathroom Details

Before moving in, it is important that the bathroom be fully ready to go. This way we can get ready for work in the mornings. Here are all of the finishing details that have been patiently waiting to go into our wonderful little bathroom.

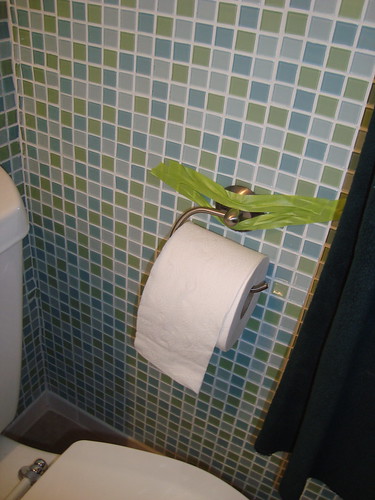
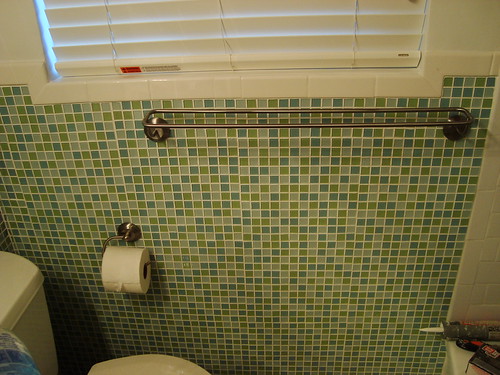
You may be wondering what is going on in this picture... Well, before you attach your toilet paper hanger permanently, it is a good idea to test it out at that level. Nothing gross here but we actually taped it to the wall and took turns doing the reach test to get the location right. If your toilet paper is too hard to get to, that can be a problem for obvious reasons. Moving on...
DSC04635

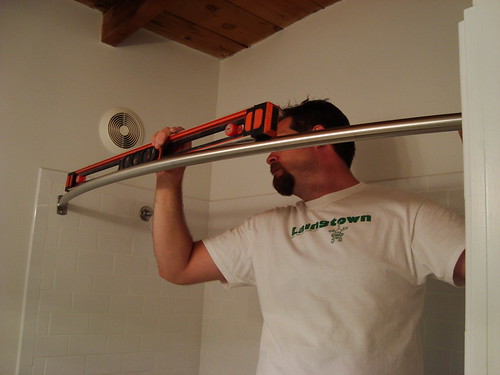
Here I am installing a curved shower curtain rod. This will give a little more elbow room than a normal rod. Always make sure your shower curtain rod is level!
DSC04653

Next to the toilet paper hanger is the double towel rack. There is very little space between the back wall and the shower so the double rod is crucial to make sure that we can hang all of our towels.
DSC04659

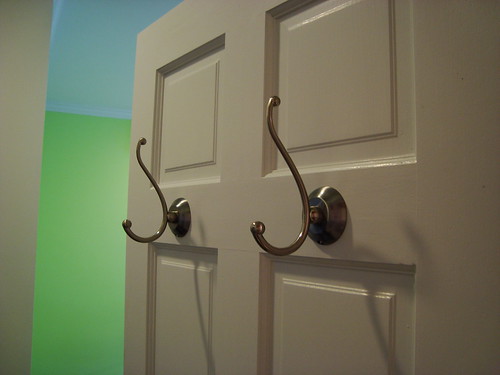
These are the new door hooks. Picture some bath robes hanging out here.
DSC04656

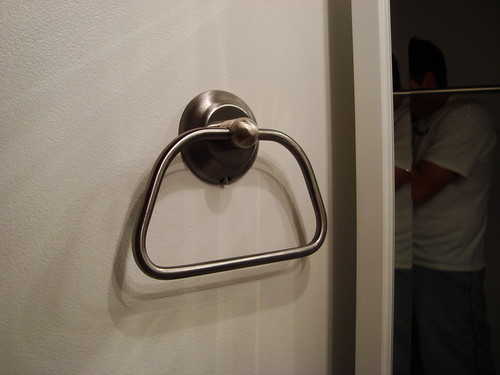
The hand towel hanger...
DSC04657

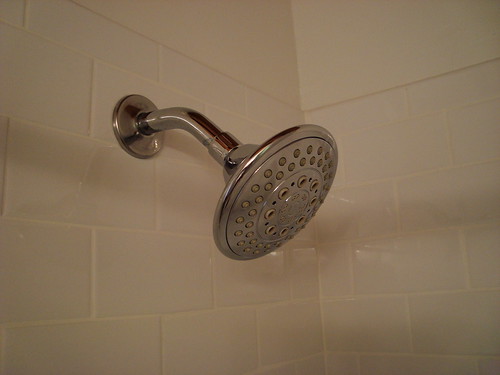
New shower head...
DSC04666

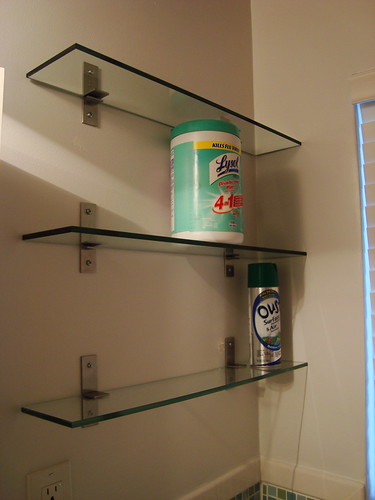
Here are some glass shelves that we added above the toilet. This will help with our storage issues. And they work nicely with the glass tiles...
DSC04658

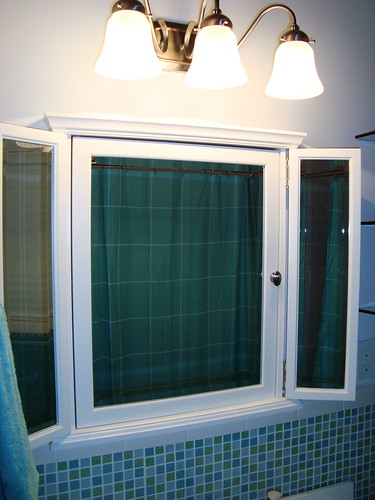
This mirror/medicine cabinet was actually a wall mounted cabinet, but I modified it with my jig saw and made it slide into the wall. This way it does not stick out so far off the wall. Now there is a nice deep storage area behind the mirror.
DSC04848

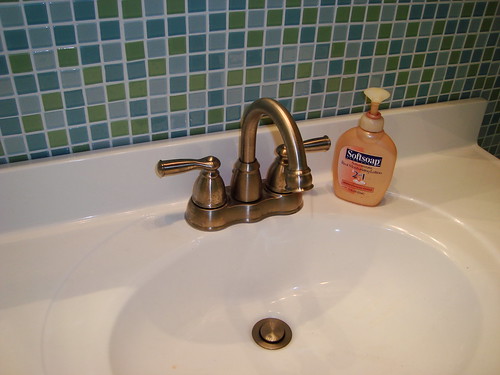
This faucet is nice because the neck swivels. This will be great when we are trying to clean the sink or share the counter while getting ready and brushing our teeth and all of that fun stuff.
DSC04850

We took out the old pedistal sink and added this nice cabinet and sink top. Now we have plenty of storage under the sink. So we bascally went from two shelves before to a sink cabinet, three wall shelves, and a deep medicine cabinet. This will hopefully really help meet our storage needs. Anything alse can be stock piled in the new hallway cabinet (To be posted on later).

*Disclaimer: This picture is a bit out of focus. I took it, not Laura. So if you are thinking of hiring her to take pictures have no fear.

DSC04851

Here is how it looks with the shower curtain and the towels all working together with the colors of the tiles. We hope you like it.
DSC04849
Stay tuned this week. We are moving in over the next couple days and I am going to be posting some of the projects and things that have been happening these last few weeks since we have kicked it into overdrive.